The Outer Steppes Strangelet quest is the next step that you'll need to complete in The Edge of Fate, after completing the two prior Strangelet Quests. This quest contains the missions Morphology and Charge, and is the way to unlock the Mattermorph mechanic.
This mission takes place within the Outer Steppes region of Kepler, and has you investigating the region with the advice of Lodi's informant, Dr Carnahan. With this, you'll be investigating the area and figuring out the motives of the Archon.
Quest Guide
1. Locate Lodi's Contact in the Stacks
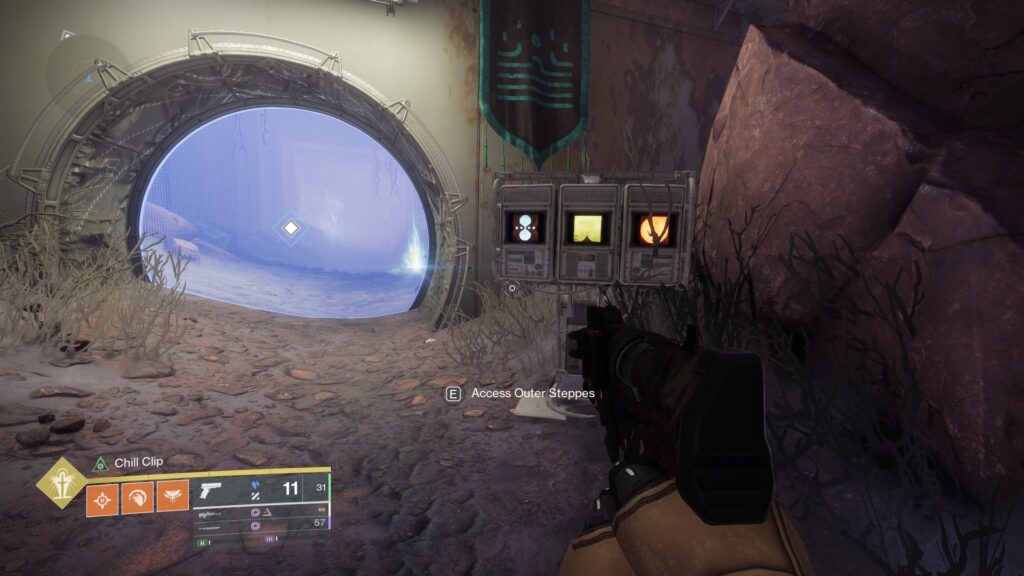
For this quest, you'll need to head to the Stacks. To unlock this location, head towards it on the map until you find a barrier. Interact with the terminal in front of it to pass through.
Continue forward and head through the train to arrive at your destination. Lodi will tell you his contact isn't here, and that her office has been ransacked.
2. Defeat the Stasis and Strand Exiles
You'll have to find the culprits of the damage. Traverse your way around the area, slaying out as you do, to find two Eliksni 'Conspirator' Captains; one Stasis empowered, the other Strand. Kill both to progress to the next steps.

3. Track down the last of the Exiles and claim it's Acceleron
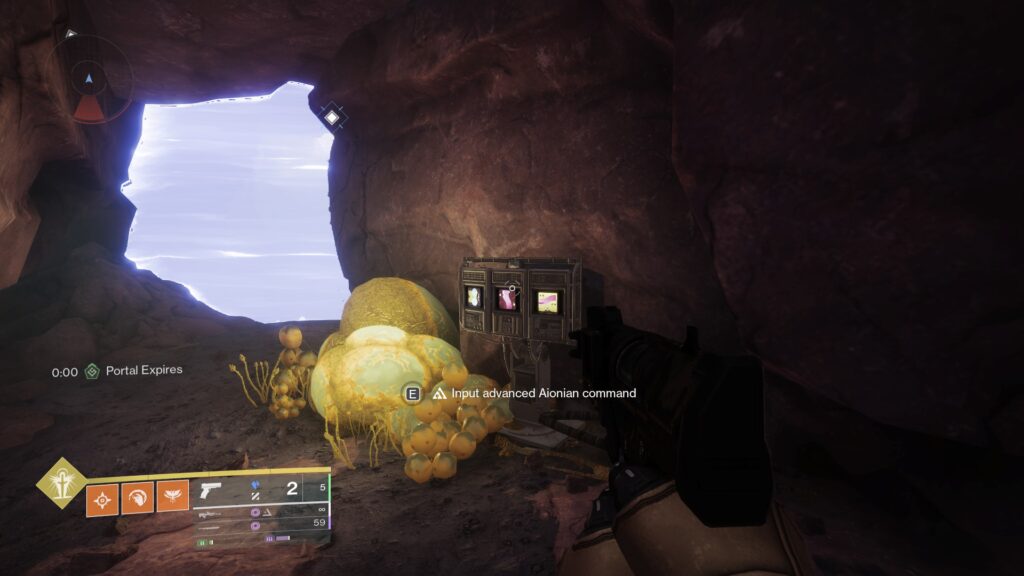
After defeating both captains, you'll need to track down the head of the crew. Continue through the Stacks, using the Relocator Cannon until you come across a barriered room with a terminal. Activate the terminal to progress through.
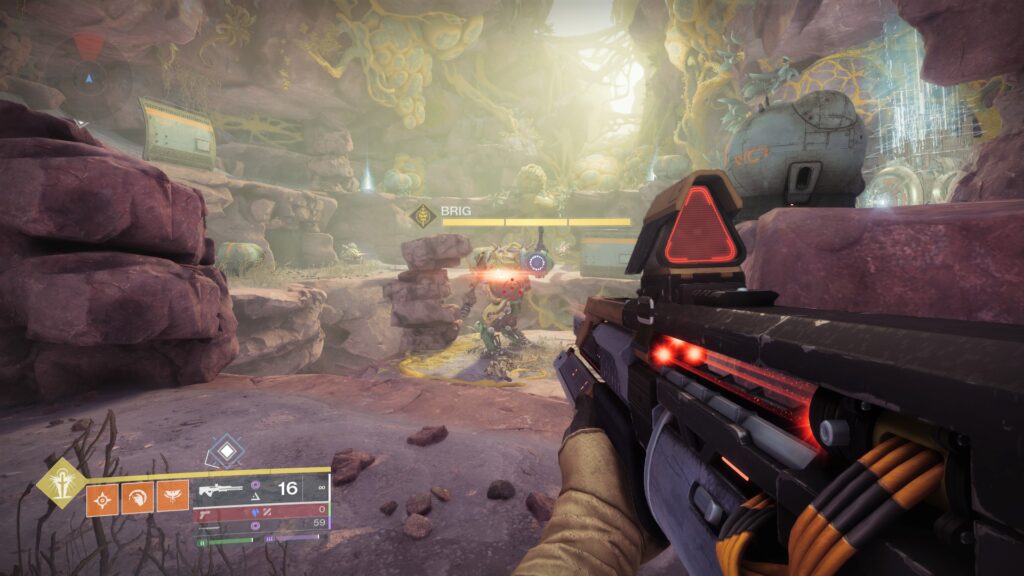
You'll enter a room cluttered with House of Exile Eliksni. Clear the room to summon a Brig mini-boss.
Once defeated, the Brig will drop an Arc Charge, which you'll need to pick up and take towards the barrier and deposit it inside the terminal.
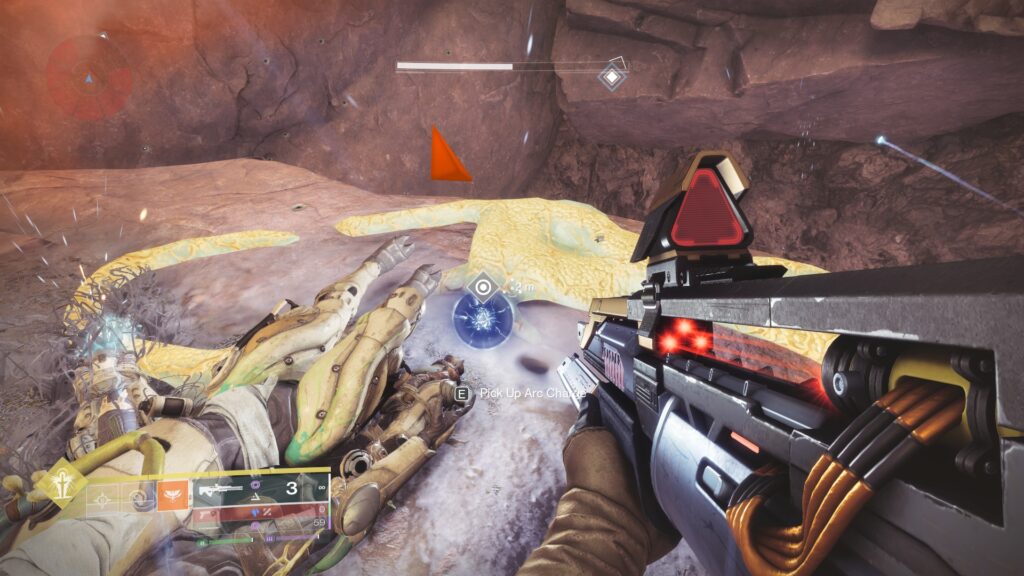
After unlocking the barrier and continuing through, you'll find the leader of the pack: 'Exiled Hermit'. You'll need to defeat it to continue to the next step.
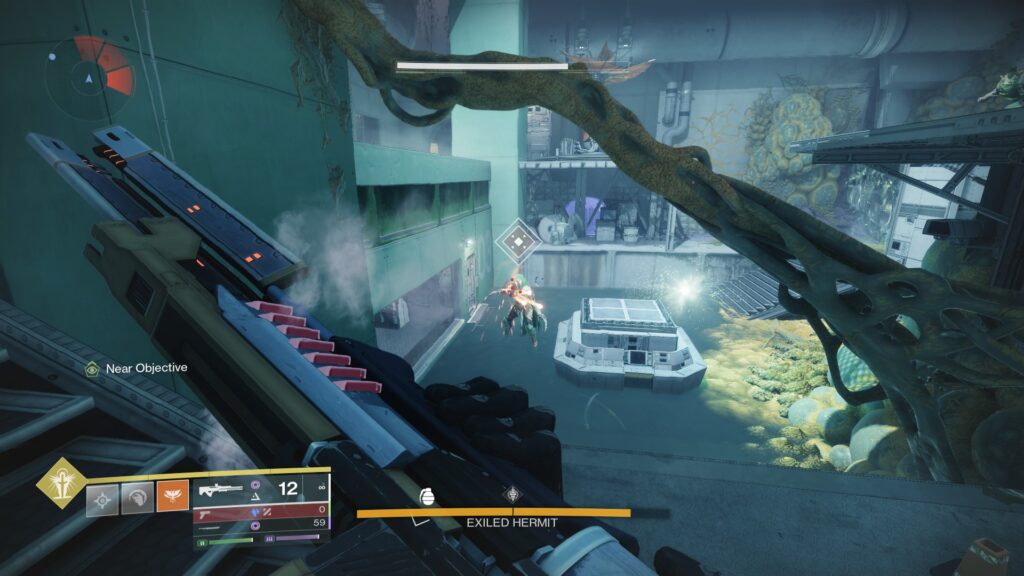
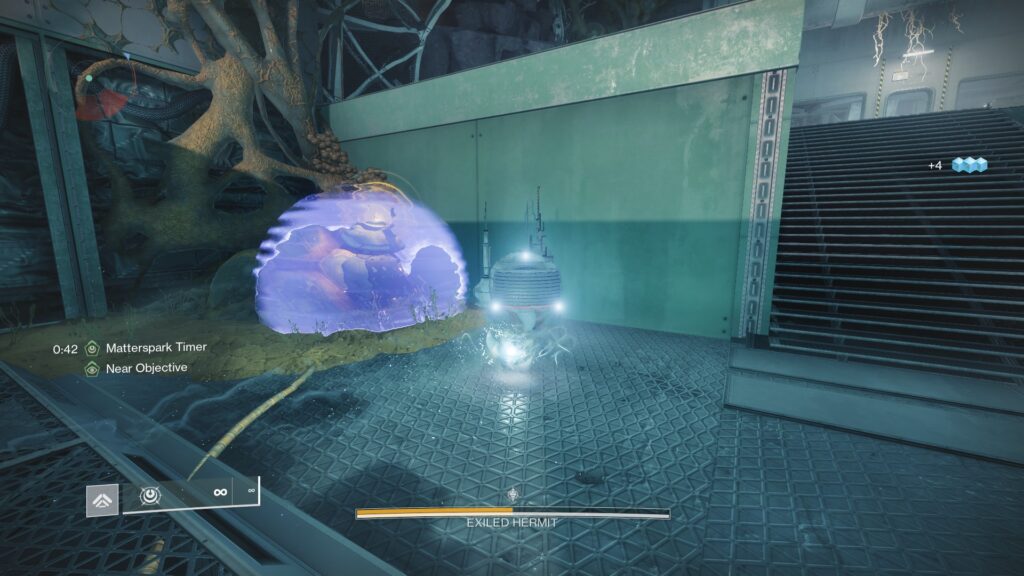
To lower it's shield, you'll first need to enter Matterspark and charge two pylons, one on each side of the room. These will reveal Rosetta Frequencies, which you'll have to destroy.
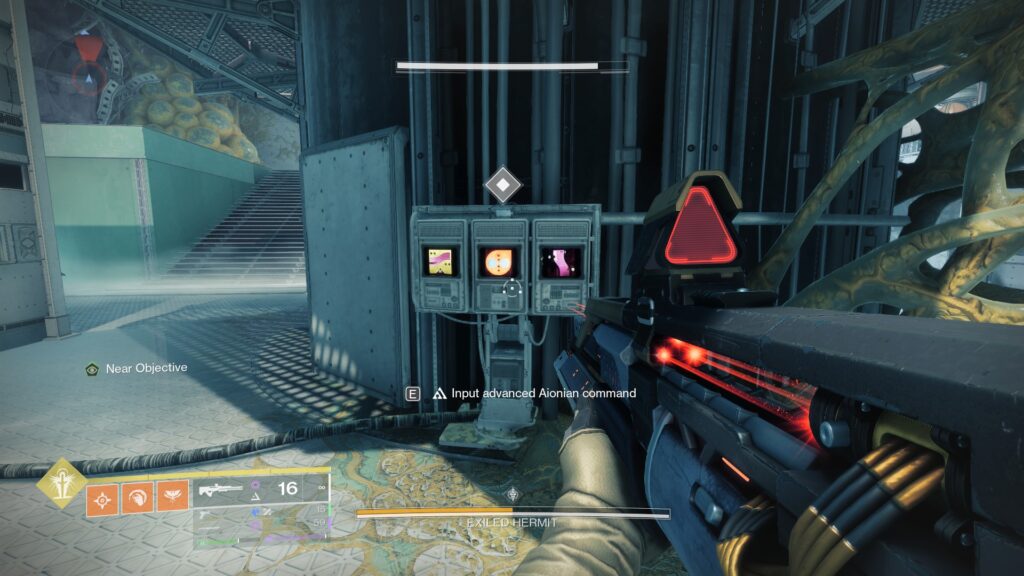
After destroying both, head to the back of the middle pillar, which will have a Rosetta Terminal to interact with.
Then, head slightly to the right where you'll find a switch on a metal bar. Activate this to resume DPS.

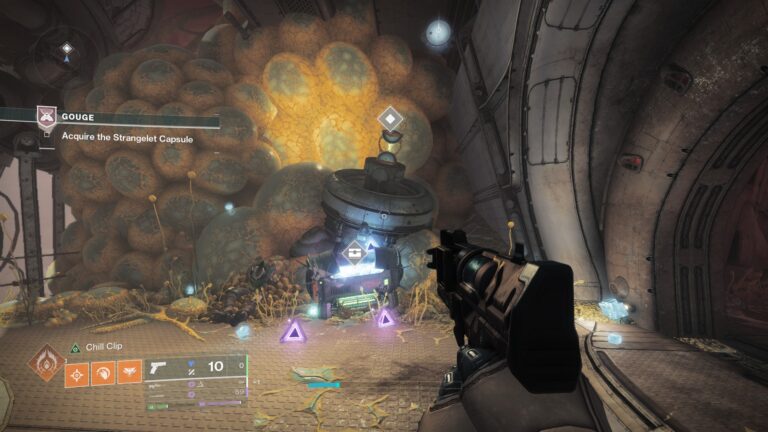
Once you're finished, head to the middle of the room and open the chest to claim the Acceleron.

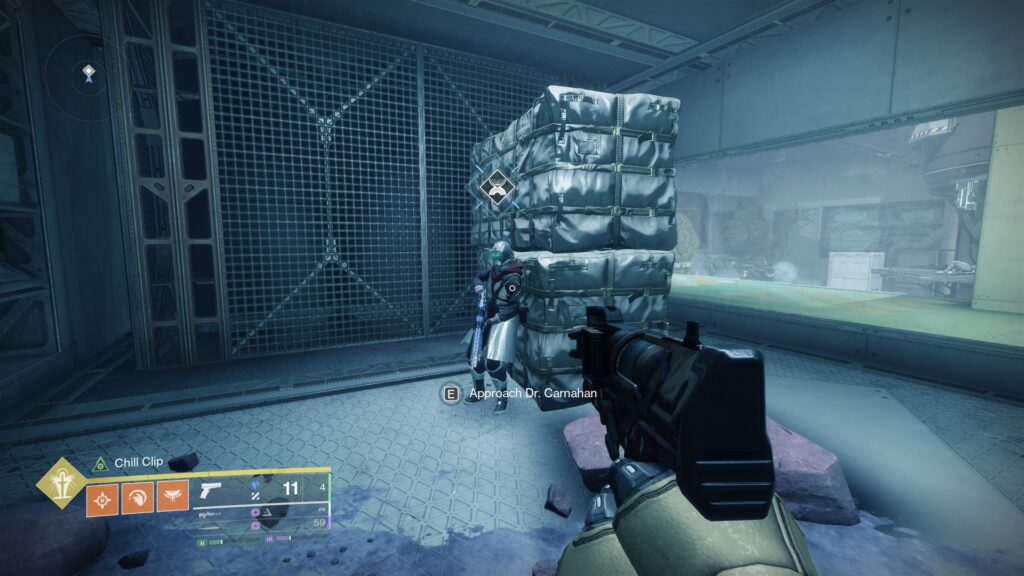
4. Talk to Dr. Carnahan
Dr. Carnahan can be found in the same area as the Exiled Hermit fight. Talk to her to progress forward to the next step.
5. Complete the "Morphology" Mission
To progress this quest, you'll have to complete the Morphology mission. You can find the mission in the room next to Dr. Carnahan. Within this mission, you'll unlock Mattermorph, the final piece of technology Kepler has to offer.
To learn how to complete this mission, read our guide further down in this post.
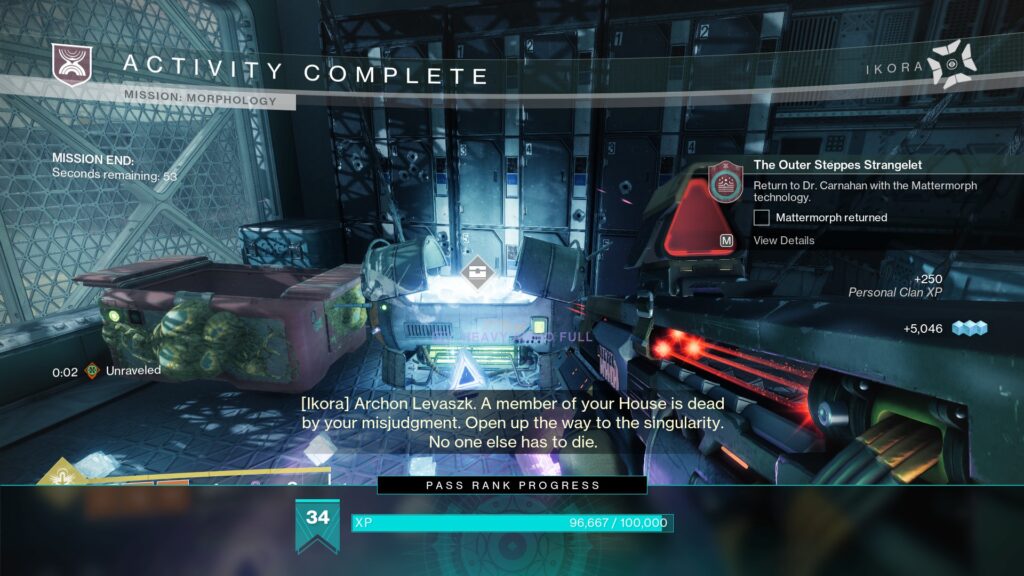
6. Return to Dr. Carnahan with Mattermorph
After completing the mission, talk to Dr. Carnahan about your new findings. They will grant you your next mission, and final step in the quest.
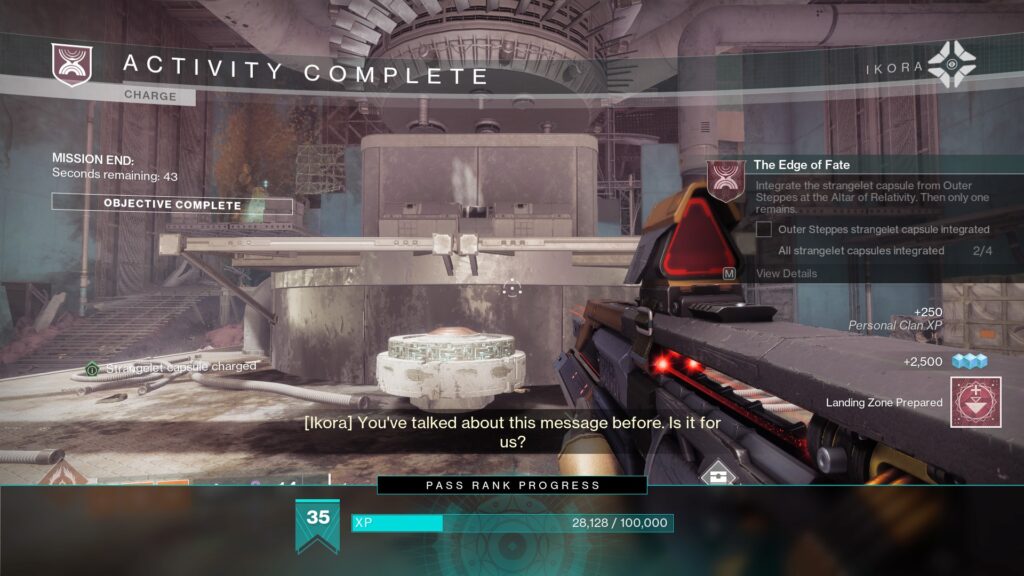
7. Complete the "Charge" Mission
The final step in The Outer Steppes Strangelet Quest is to complete the Charge mission.
Morphology Mission Guide
Launch into the mission and head down into the train.
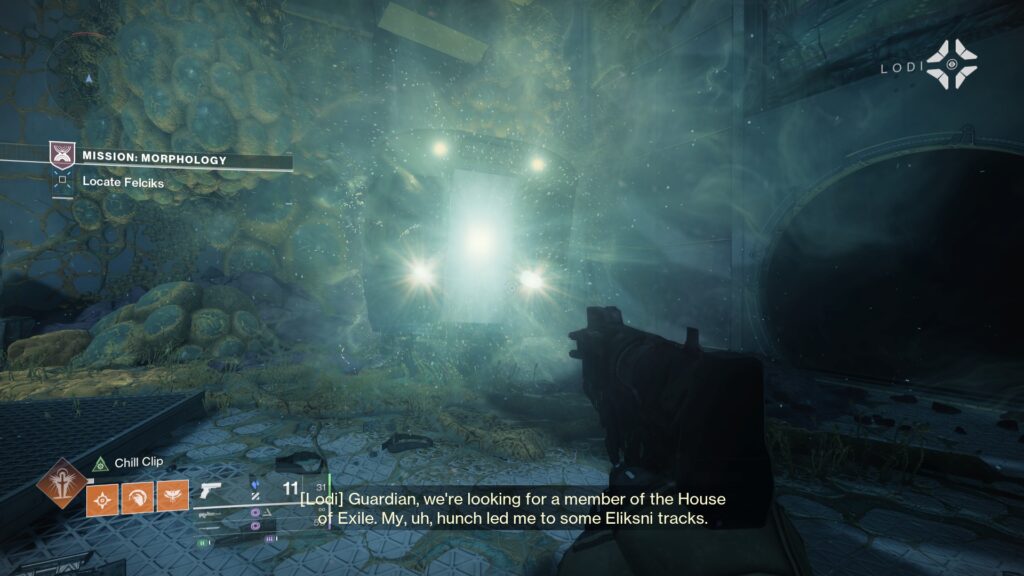
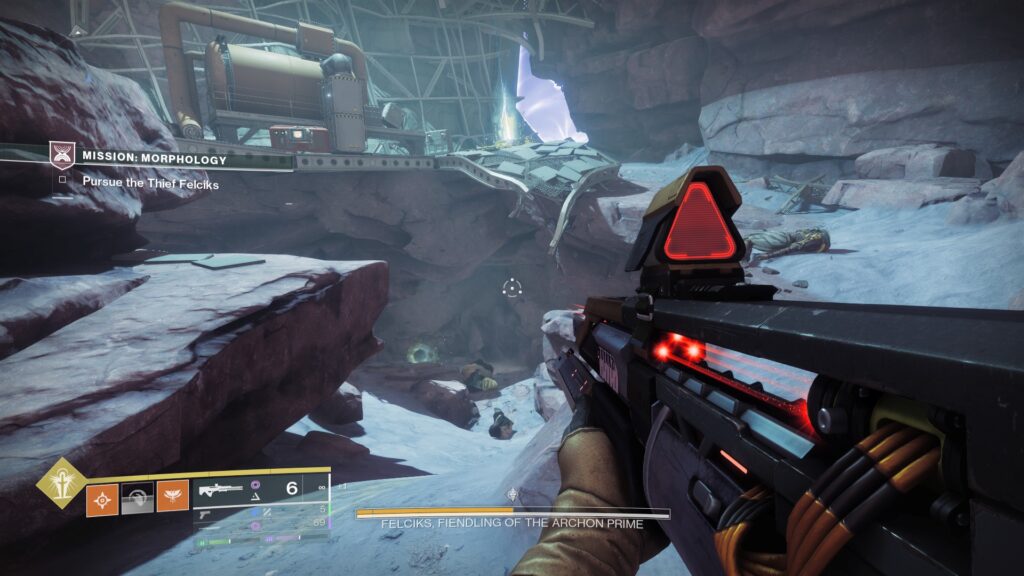
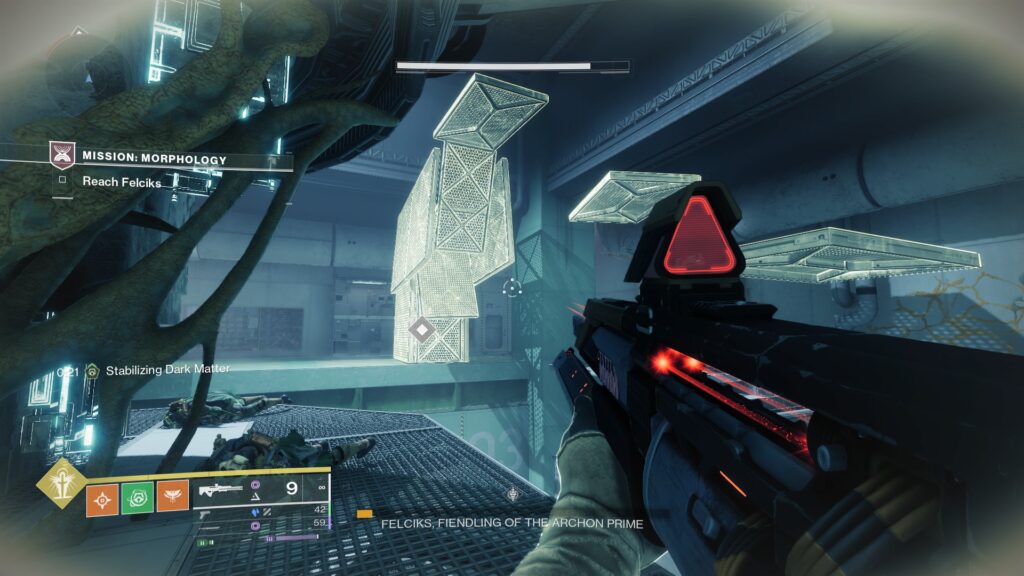
As you exit the train, you'll find your House of Exile culprit; 'Felciks, Fiendling of the Archon Prime'. Follow the Eliksni through the area, and interact with the door to begin the boss fight.

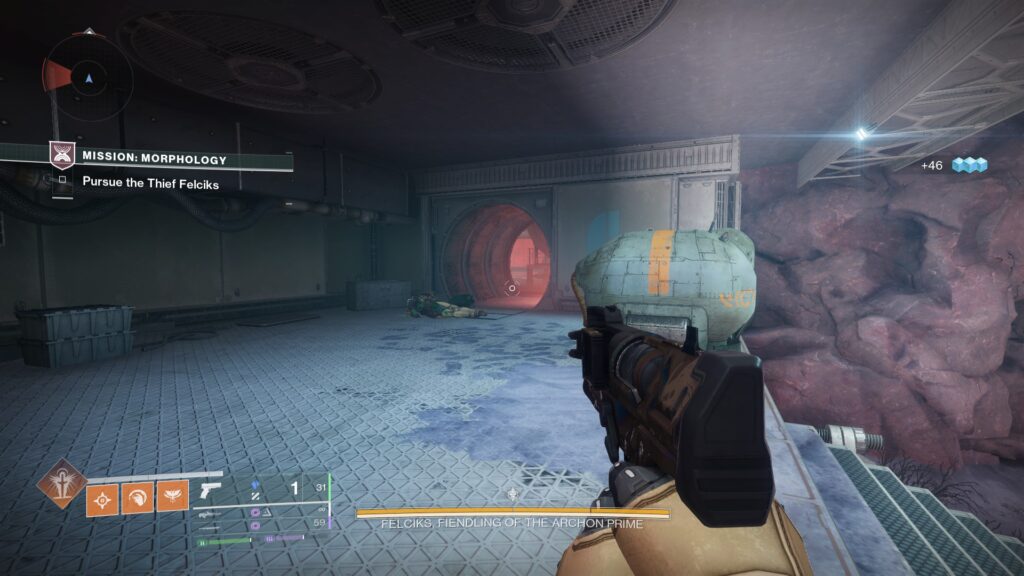
Slay enemies in the area, traversing through as you do. Head through the red door into the other side of the building to find Felciks.
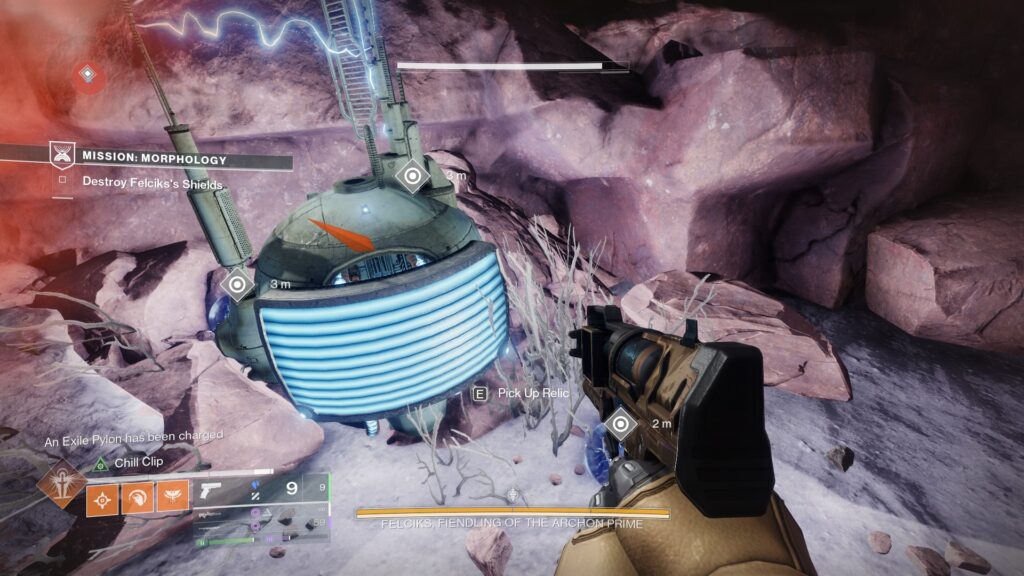
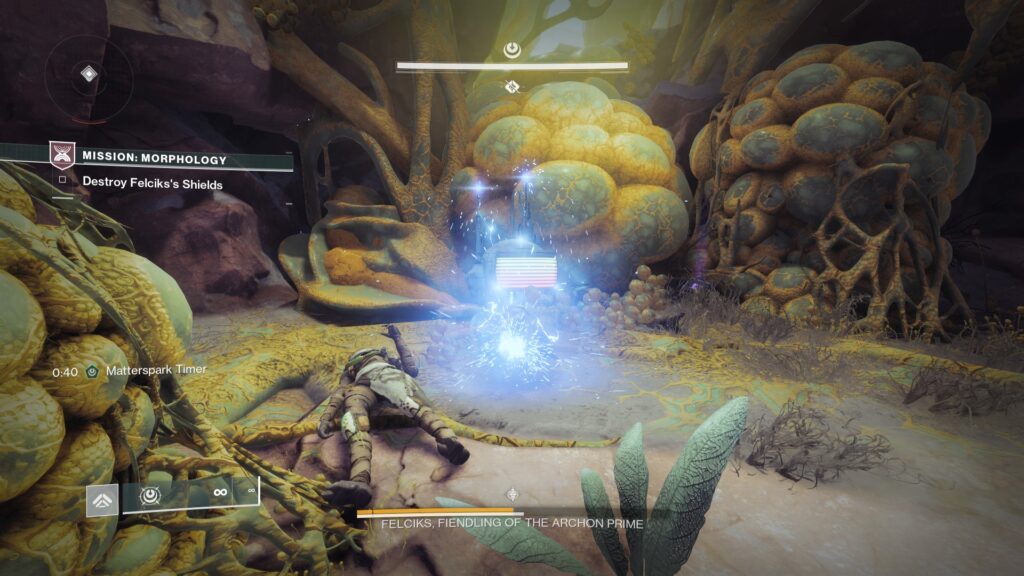
Here, you'll need to break The Thief's shield. Clear the room of enemies first, then enter Matterspark, and charge the terminal.
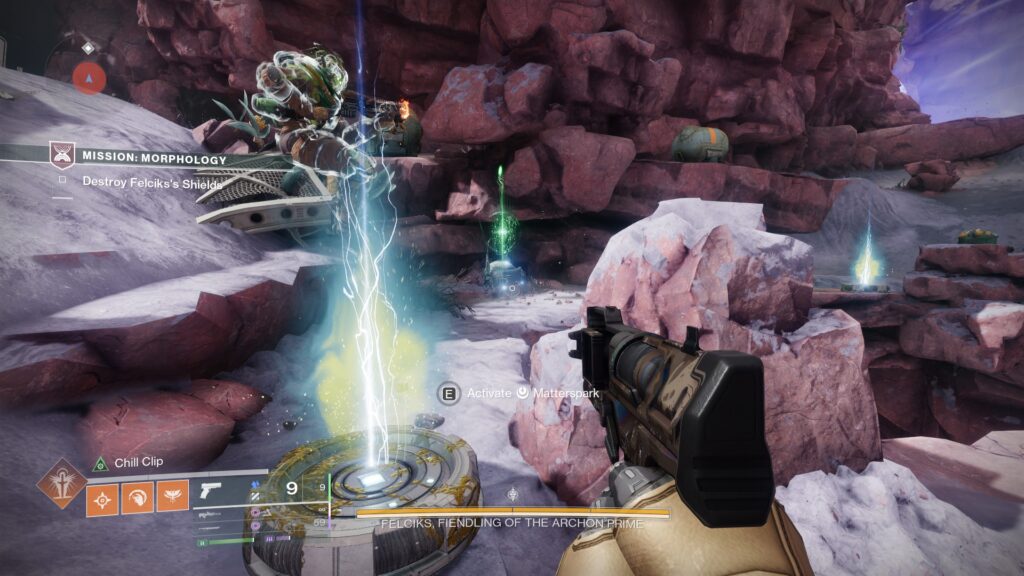
This will drop three Arc matters. Aim two of these at The Thief to break her shield.
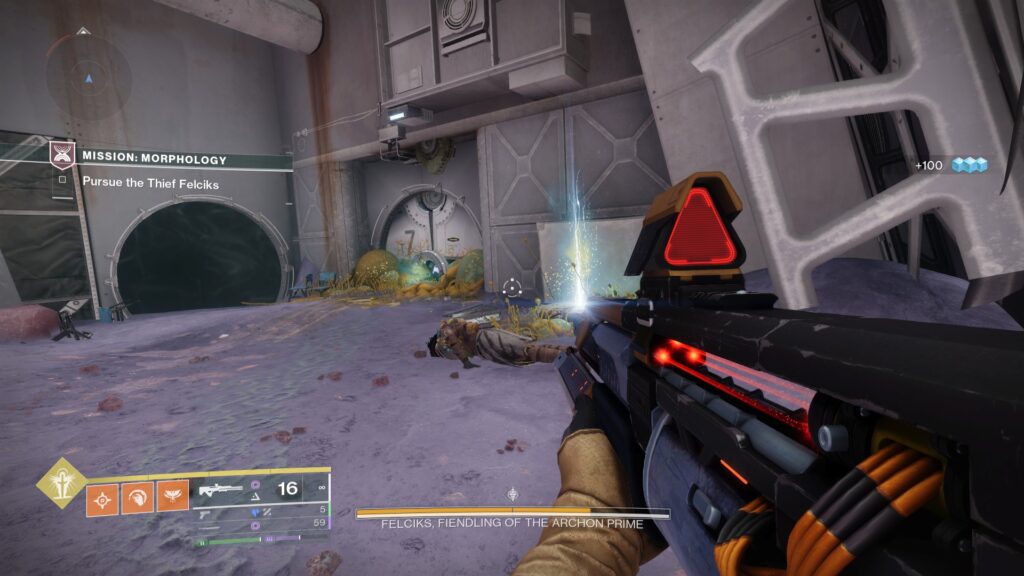
Felciks will be difficult to damage (and locate), sneakily moving around the arena. She will drop Dark Motes containing Aionian Artefacts as they traverse the arena. Pick these up to progress.
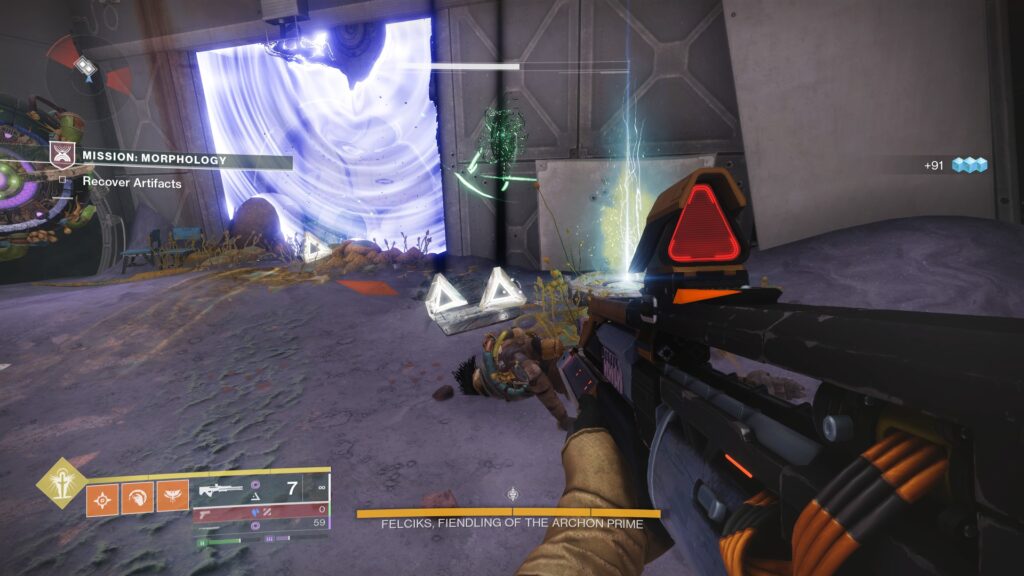
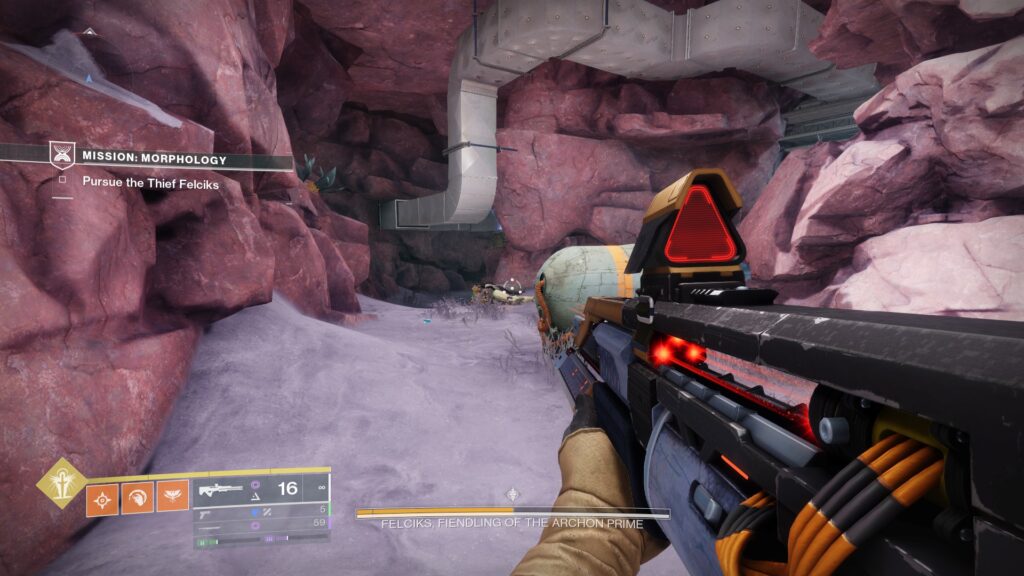
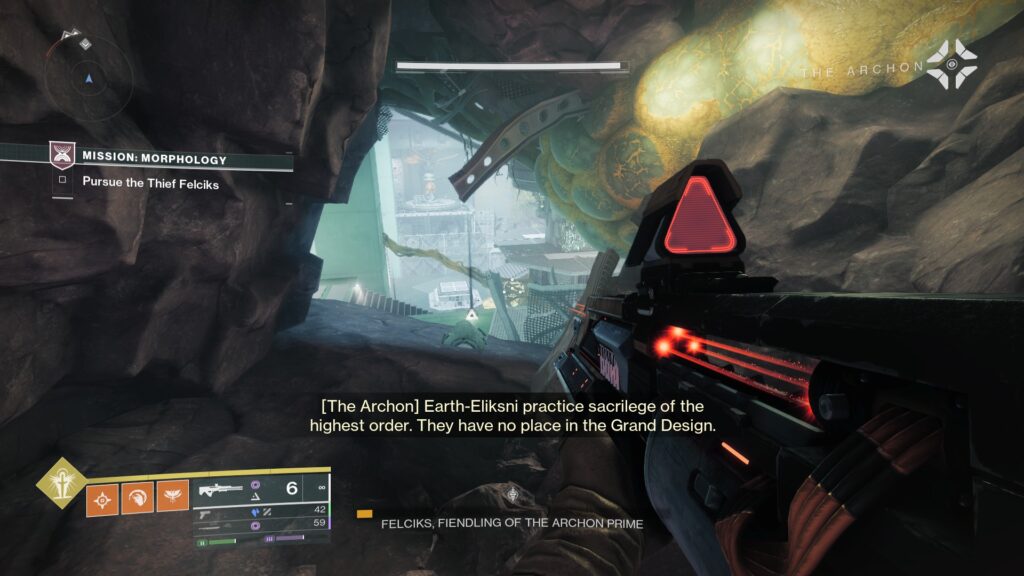
As Felciks runs away, follow her by entering Matterspark and traversing through the building.
In this second area, you'll repeat the same steps as earlier, charging up the Matterspark terminal to gain Arc Relics to break the Thief's shield.
Continue following and damaging Felciks around the arena until she retreats once more.
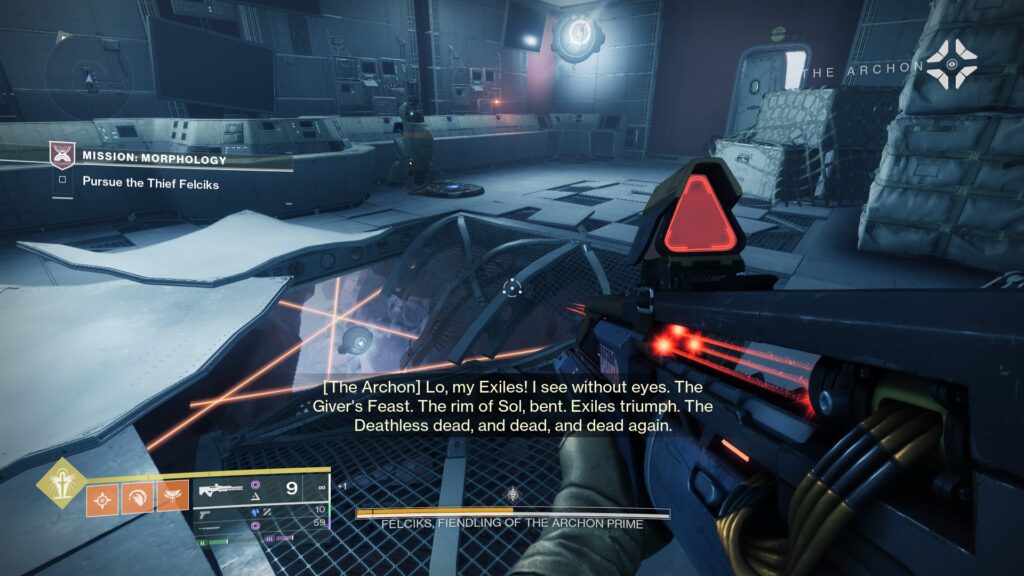
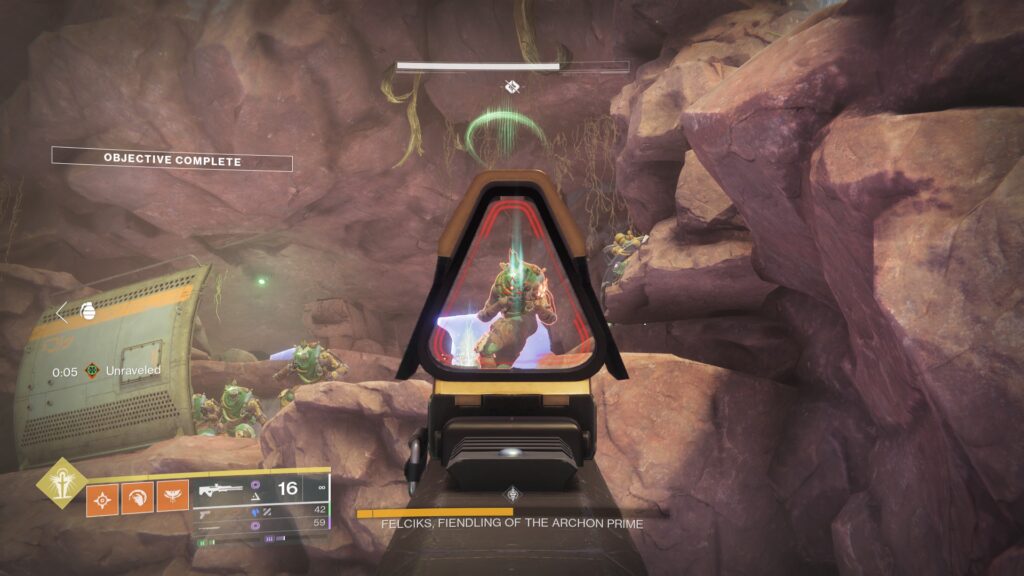
Traverse onward using Matterspark, then head upwards towards a red laser-trapped door.
Shoot through the lasers, then use the Relocator Cannon found outside the door to shoot through the lasers on the floor and activate the Relocator Portal.
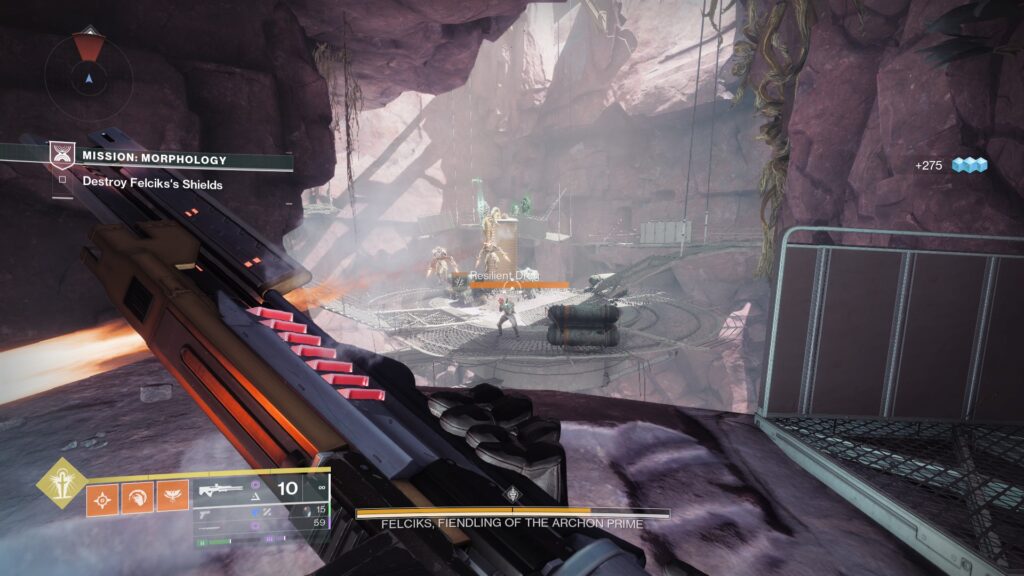
Continue forward through the rocky terrain to find the boss arena and a rally flag. Rally up to begin.
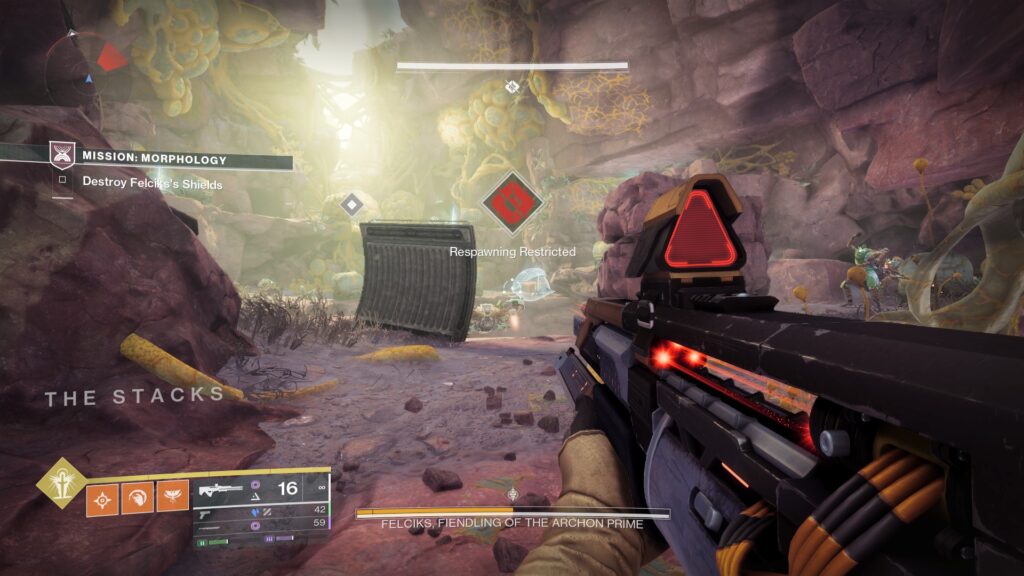
As the darkness zone appears, you'll need to break The Thief's shields once more. The matterspark pad and terminal can both be found at the back of the arena. Once charged, send the Arc Relics towards her to start damage.
Once she hits her final health bar, Felciks will retreat. Follow her trail of Dark Motes to find her, trapped inside of a room.
You'll need to head towards the top of the pillar in the room. Interact with the green matter to unlock Mattermorph.
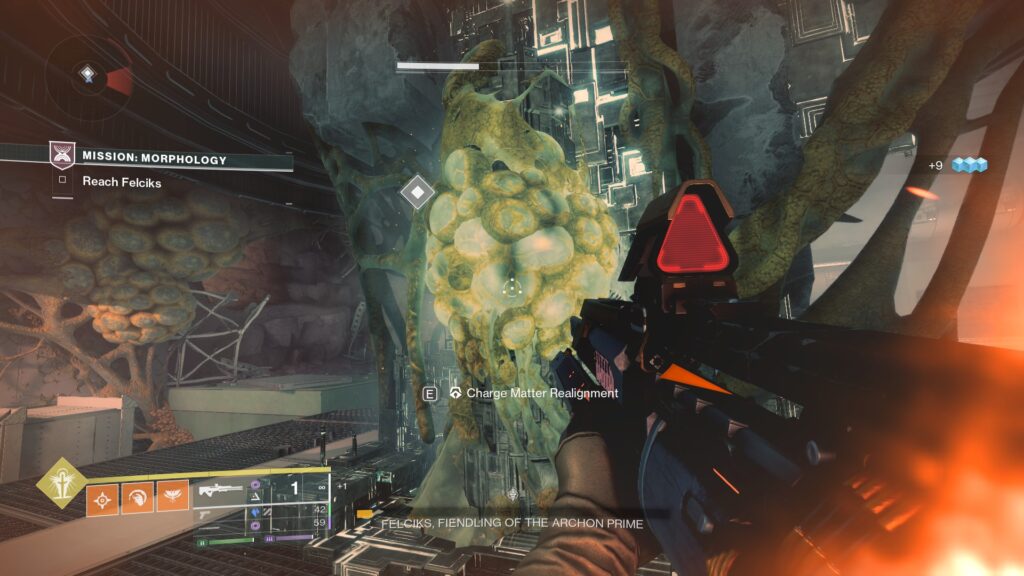
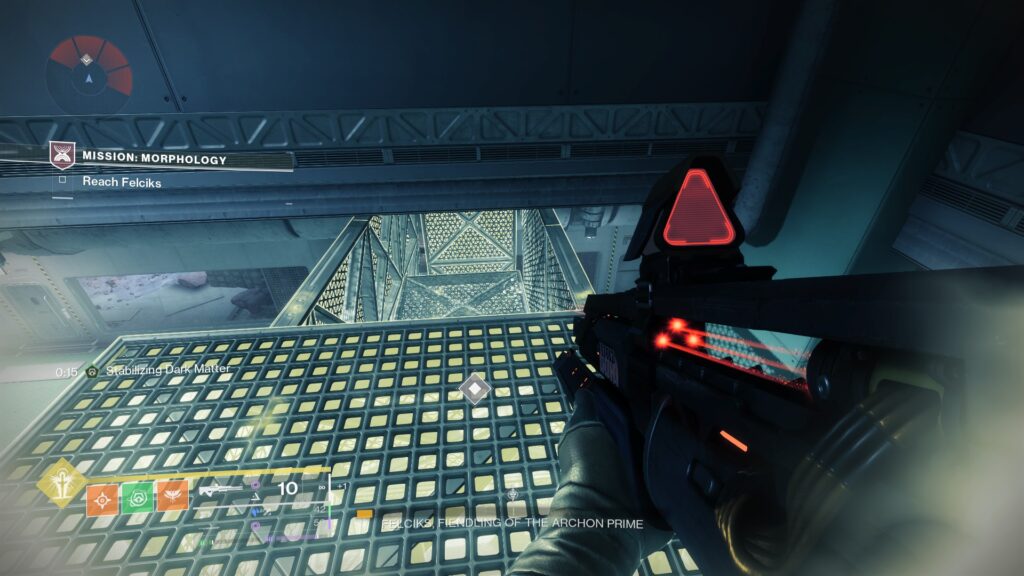
To use Mattermorph, use your charged/auto melee button to send forward a green projectile. Use this to interact with the glowing green objects above the boss's room to create a pathway inside.
Head to the top and fall in.
The mission will end once you've defeated the Thief, and your chest will be inside the room.
Mission Charge Guide
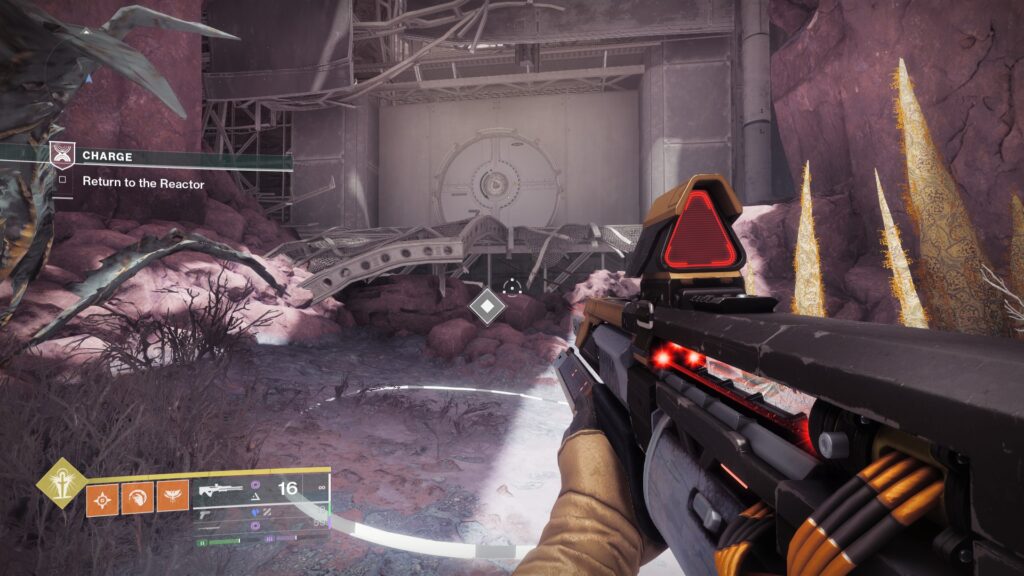
Once you enter the mission, traverse forward to reach the reactor.
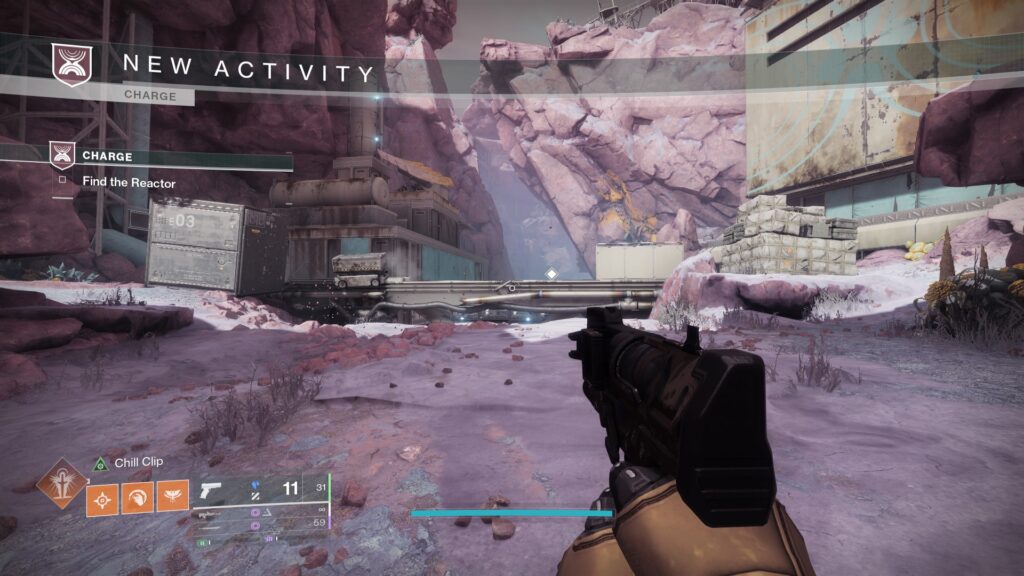
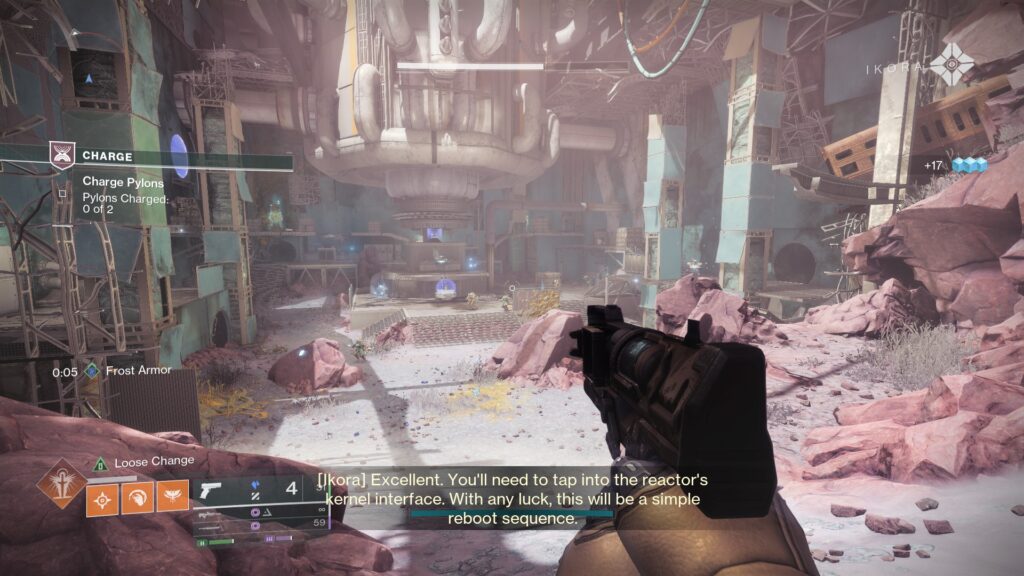
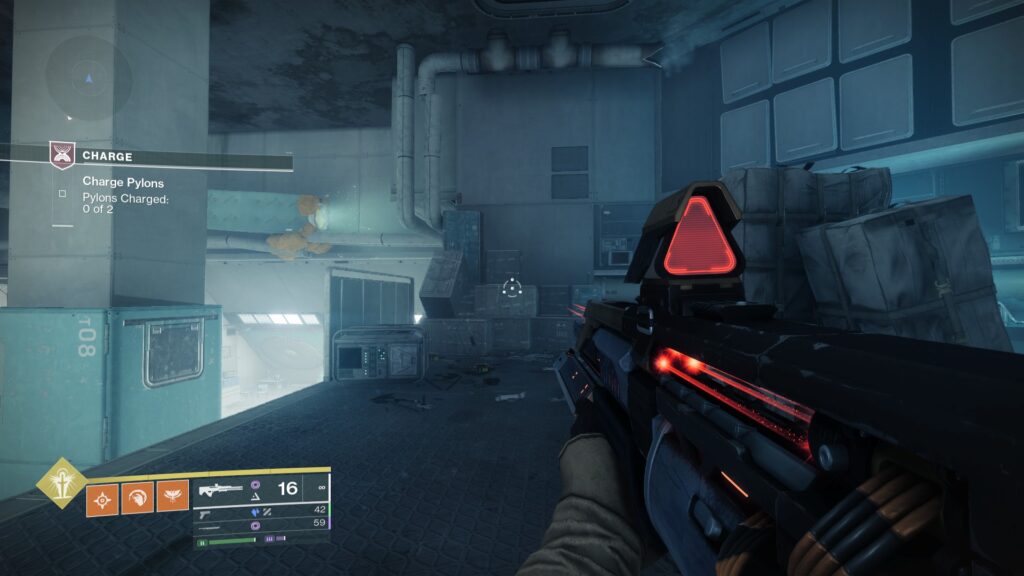
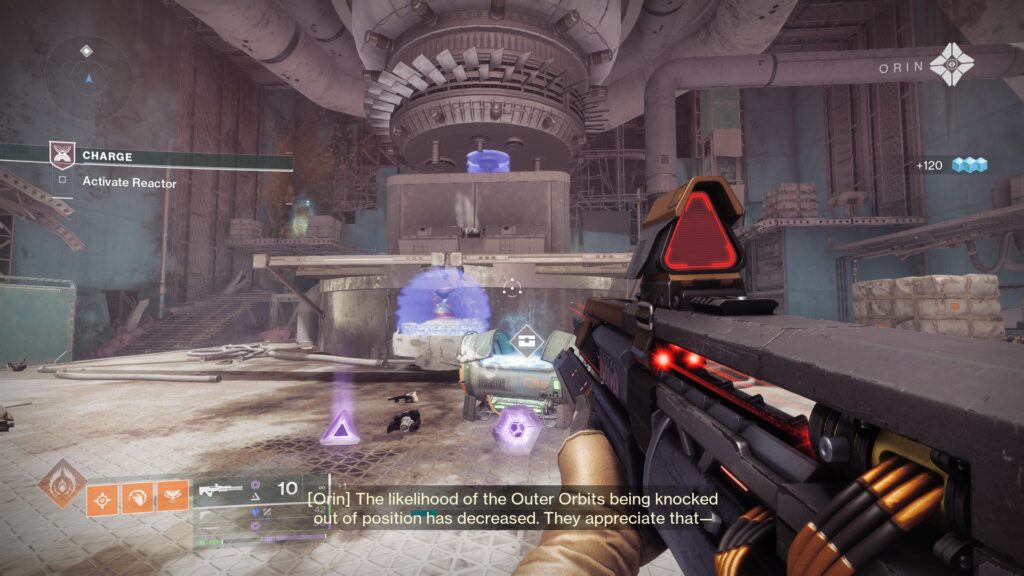
Press forward until you enter an open electric room. This is the Reactor. Here, you'll need to charge two Matterspark pylons in the center of the room.
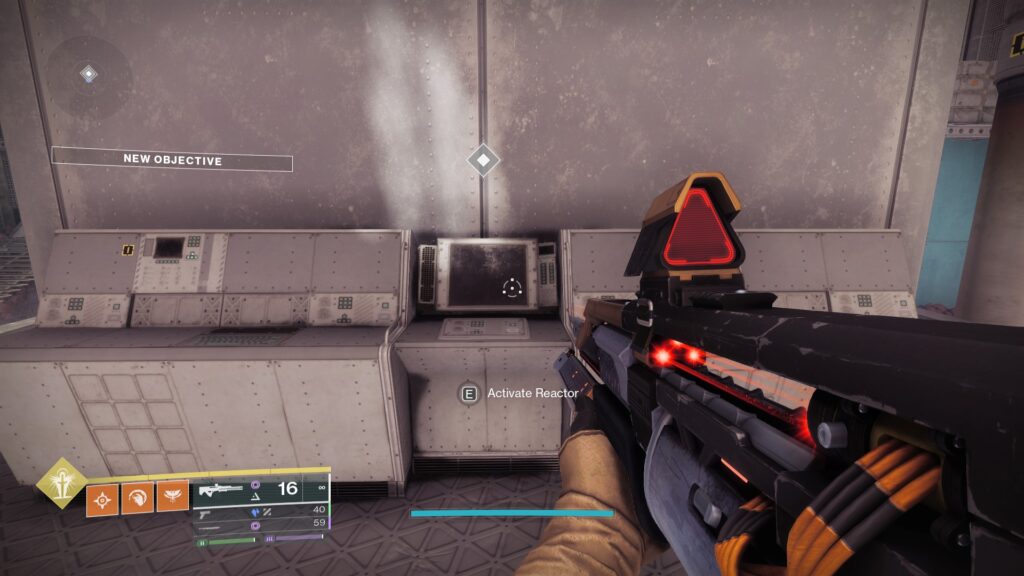
Once active, you'll be able to interact with a terminal in the middle of the room to activate the Reactor. This will open a door at the back of the room to continue through.
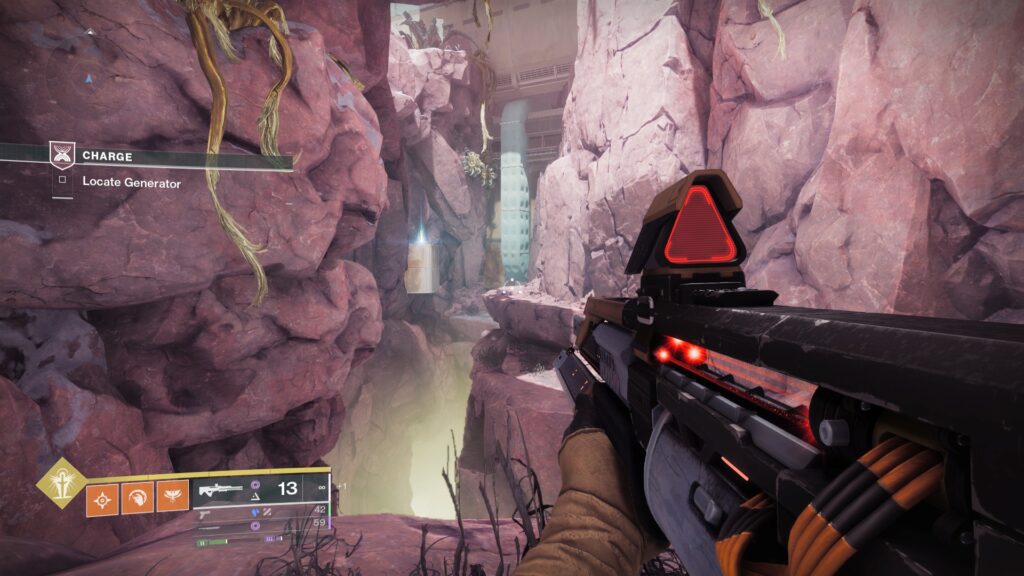
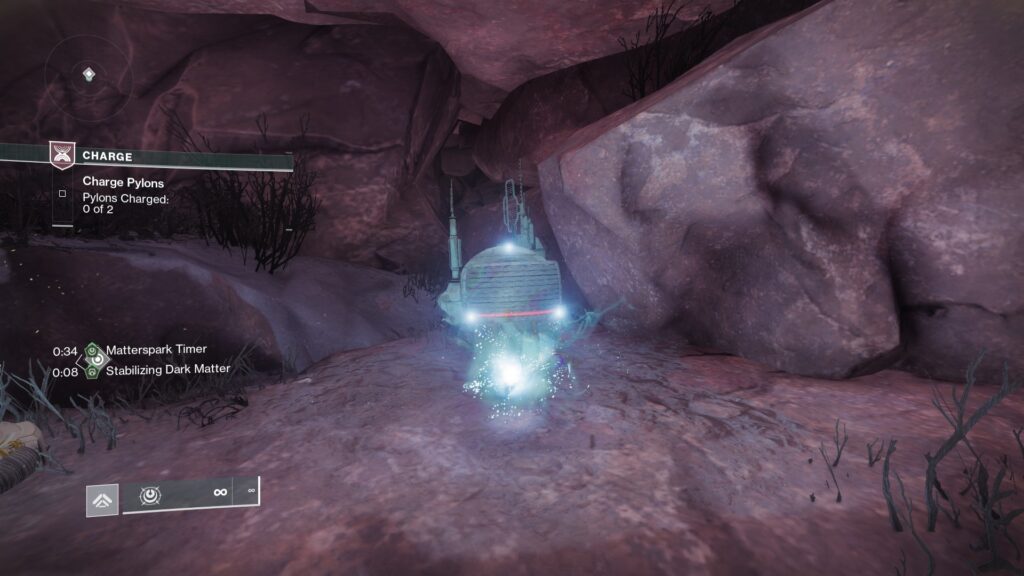
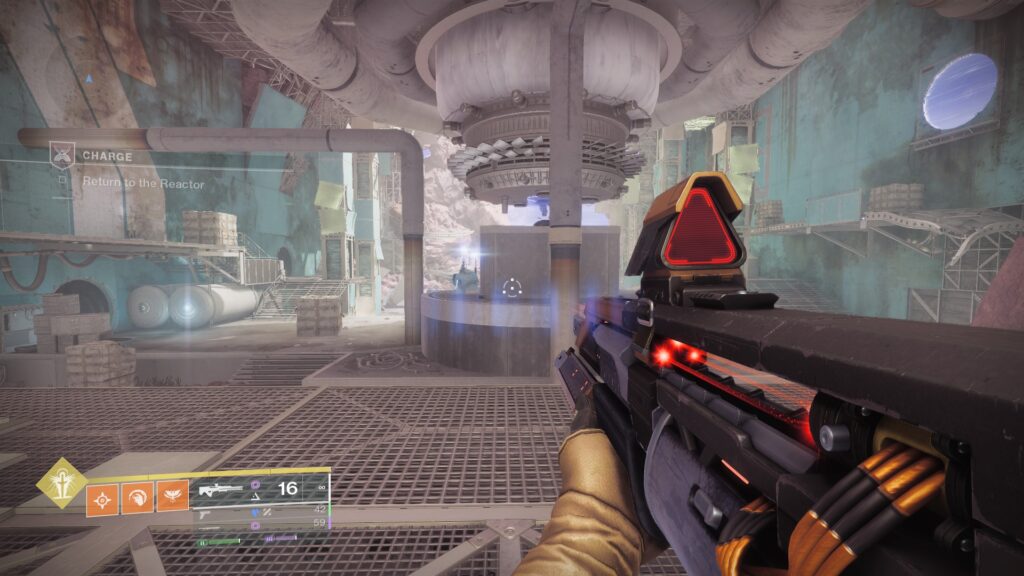
Press forward using Matterspark through the rocky terrain until you enter another generator room.
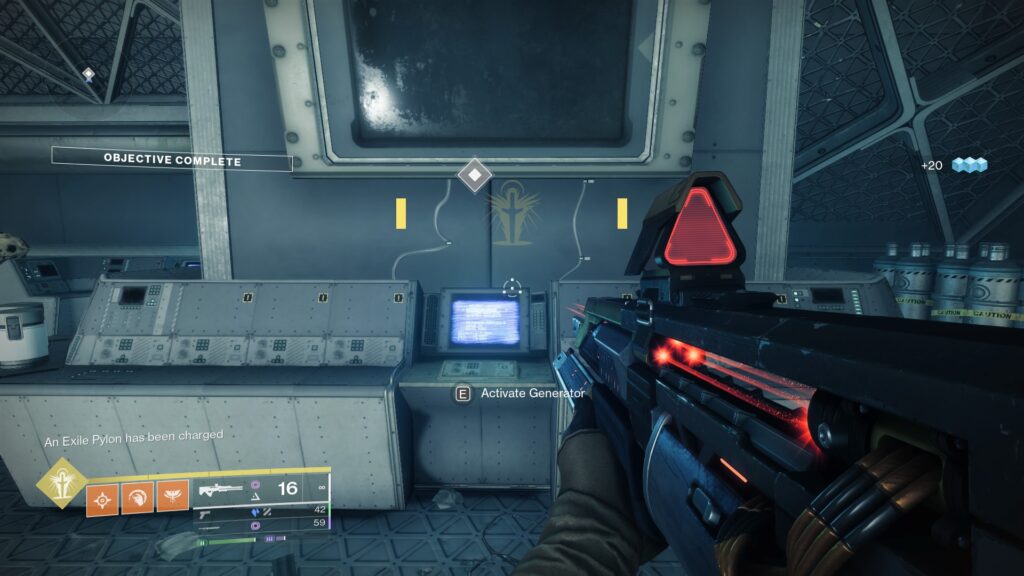
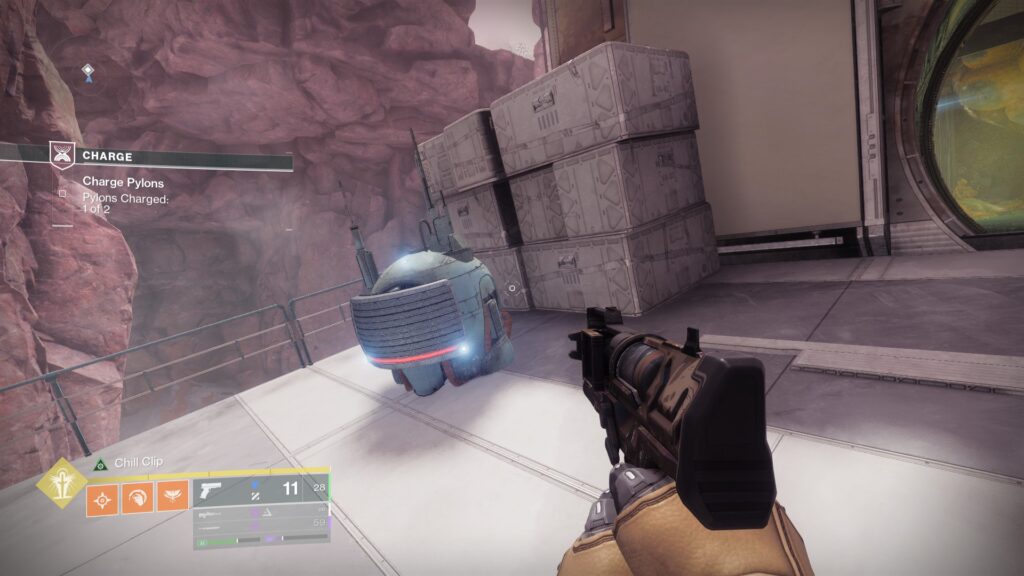
In the next room, you'll need to charge two more pylons. To access them, head to the back of the room to the Matterspark pad.
Access to one terminal can be found on the left wall next to the Matterspark pad.

The second can be accessed from the pipes above by jumping across the boxes next to them.
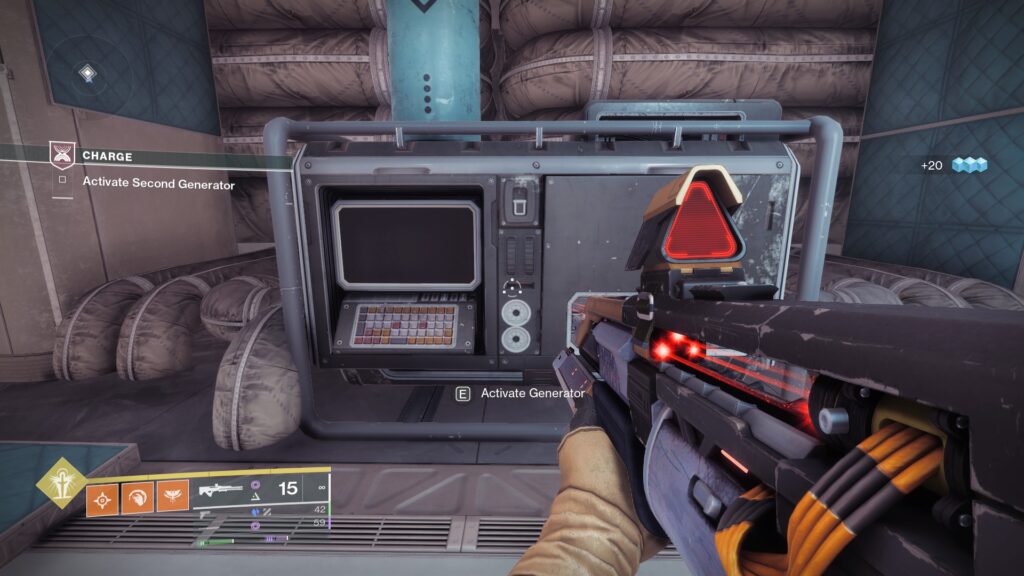
After charging both, interact with the terminal to activate the Generator and open the next door to return back to the Reactor.
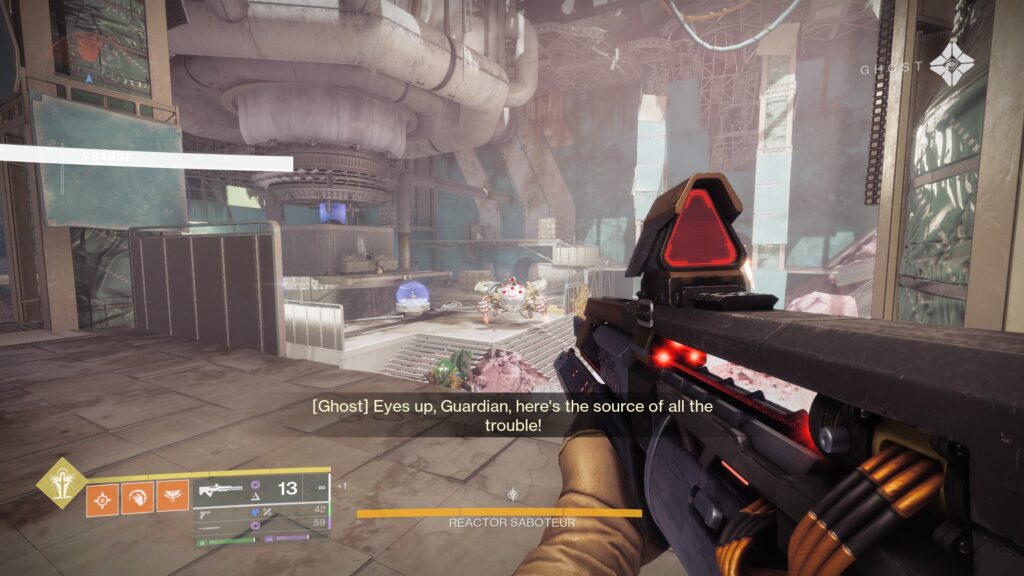
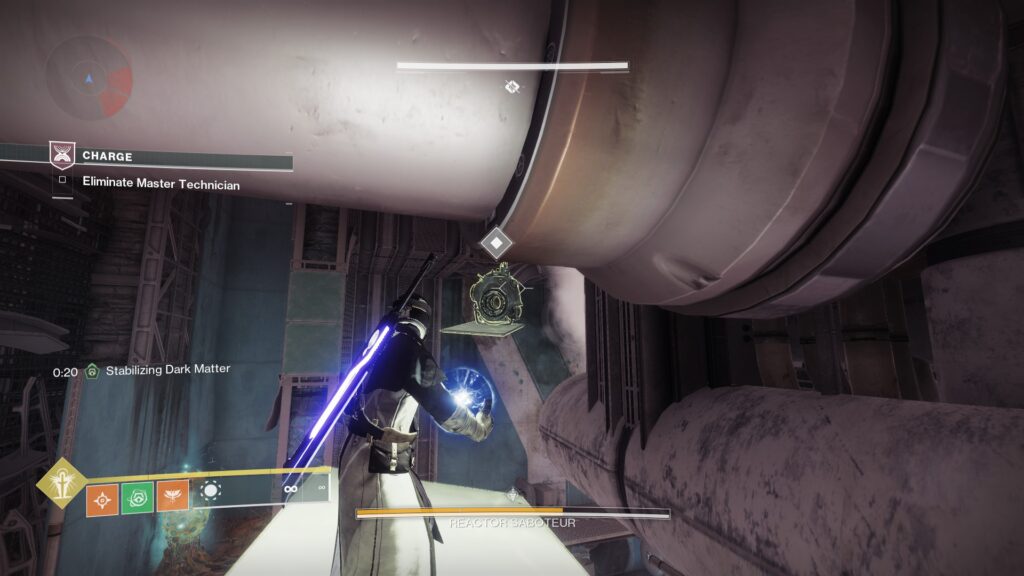
As you enter the Reactor room, a boss named 'Reactor Saboteur' will spawn. You'll have to damage this boss to continue onwards.
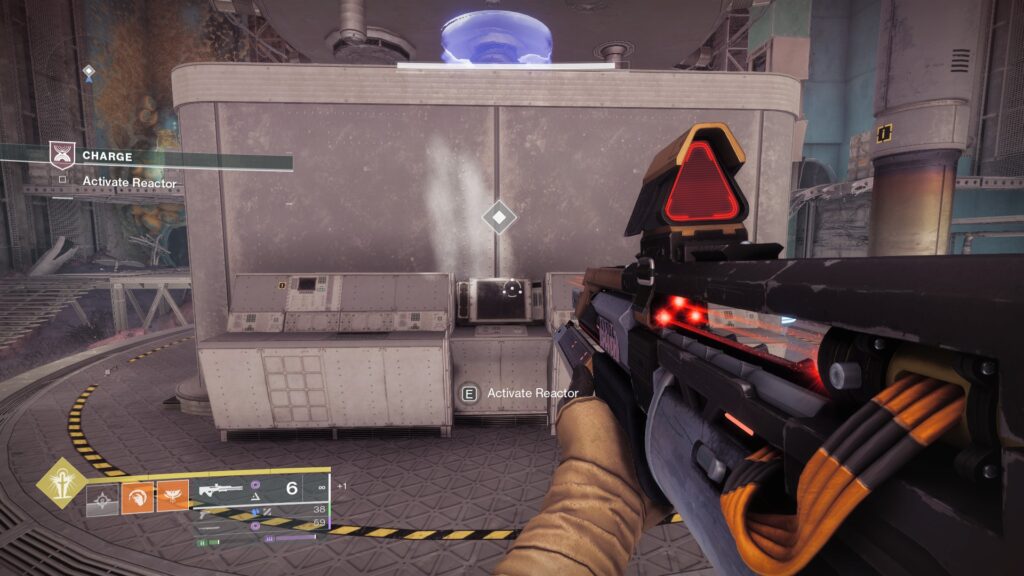
Once the boss has lost 1/3rd of it's health, you'll have to head to the middle to activate the Reactor once more.
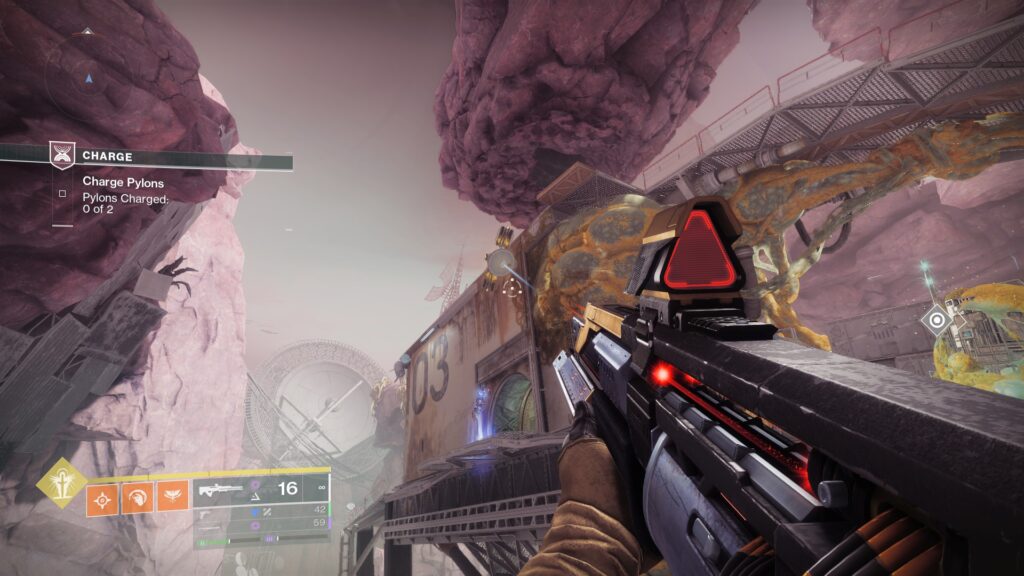
The boss will retreat and run away. Exit the reactor from the right side and continue forward, using Mattermorph and the Relocator Cannon to find your way to the next room.
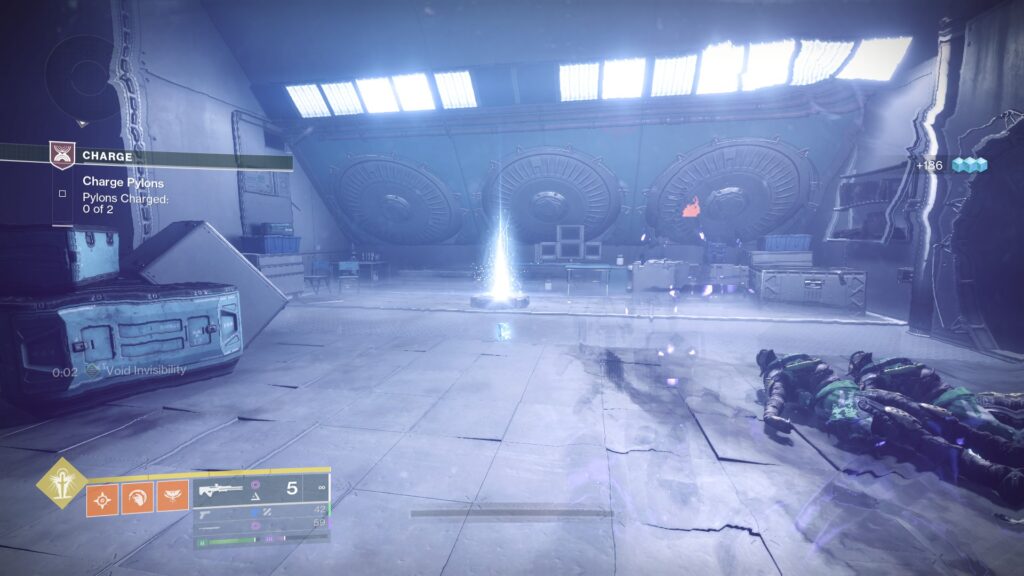
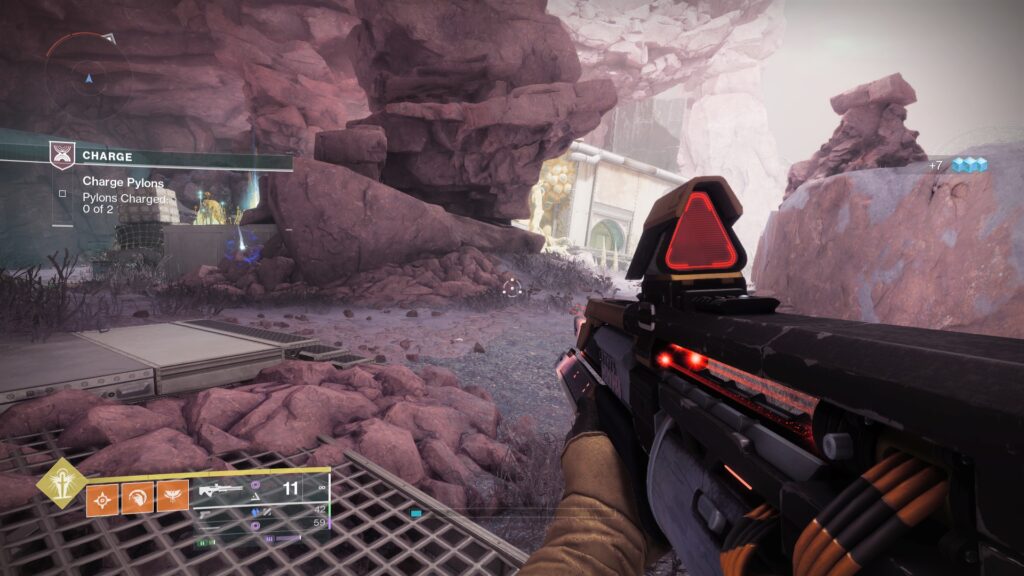
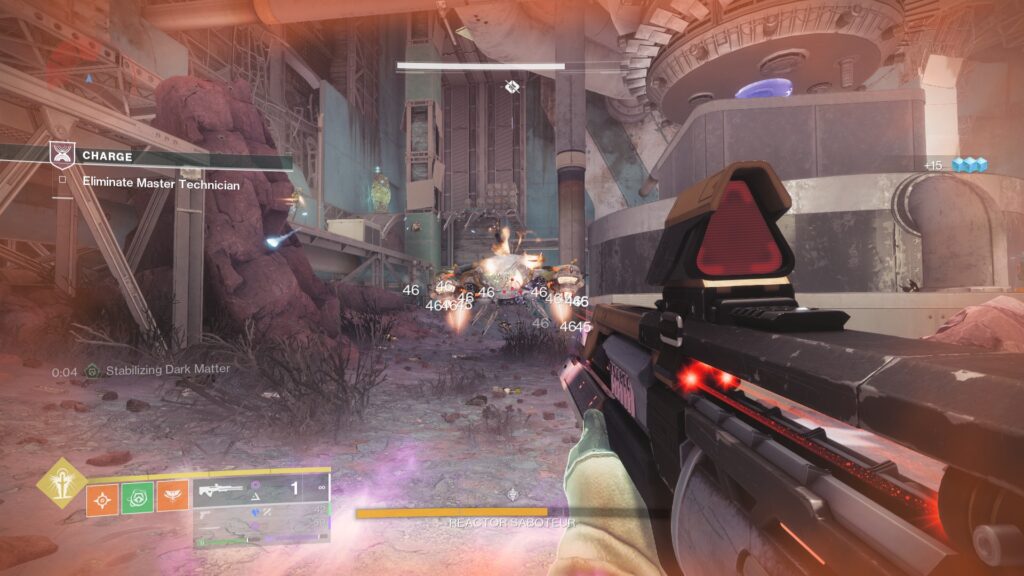
You'll enter another larger room filled with House of Exile. Clear the room, and you'll have to charge two more pylons: One at the back of the room, and one to the left towards the barrier.
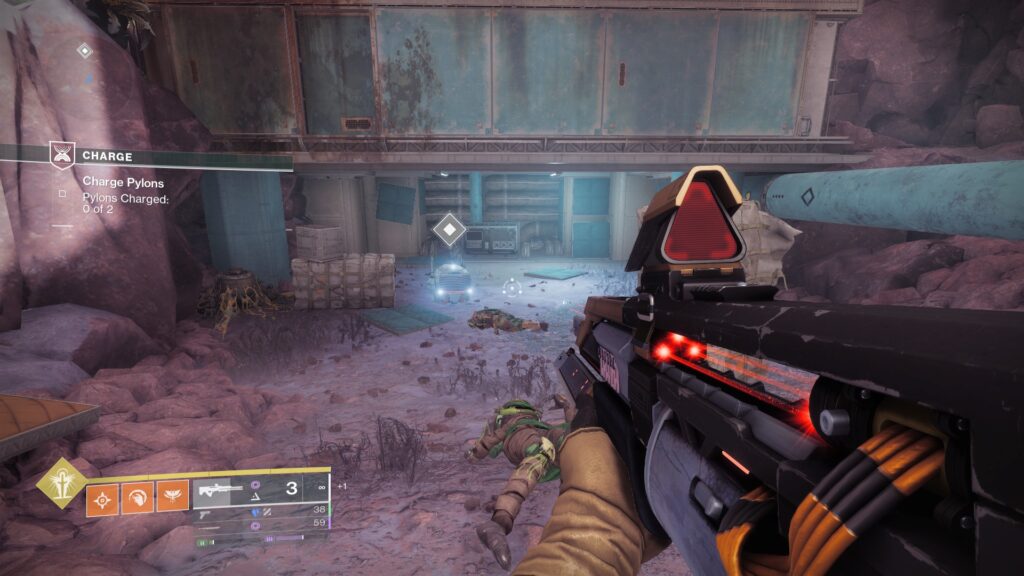
After your first pylon, more enemies will spawn. Slay out as you charge both pylons.
Head towards the terminal and activate the Generator to claim your first set of rewards.
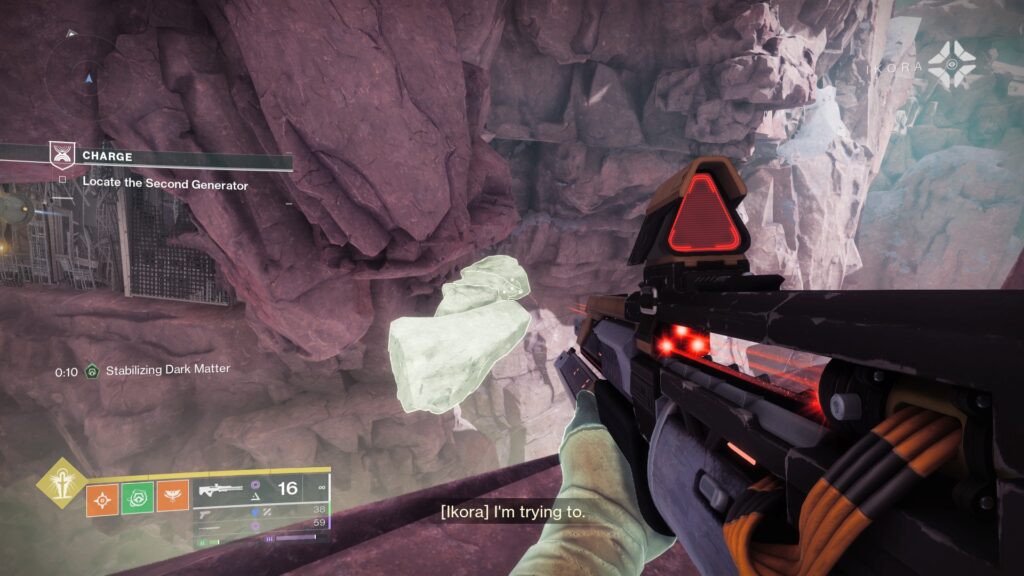
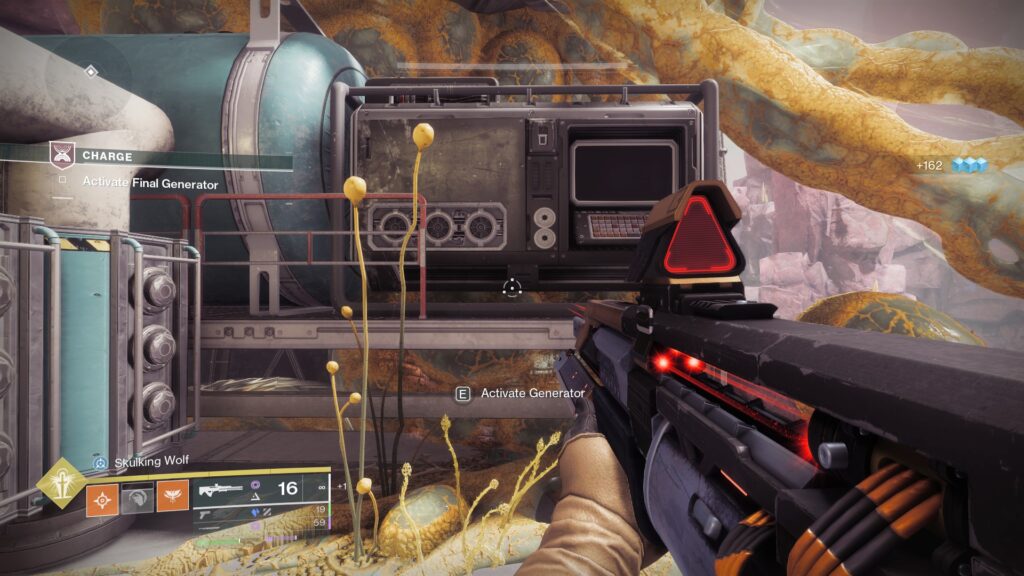
Head back towards the barrier within the room, which should now be open, and press onwards to locate the final generator.
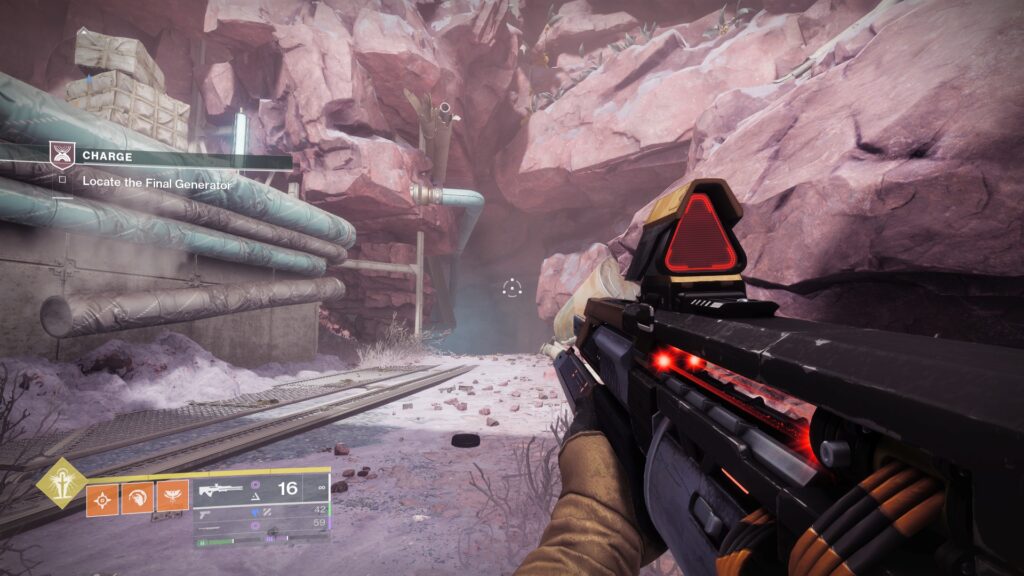
Within the next room, you'll have to charge two more pylons, however locating these is a little more difficult.
First, kill the Arc Keeper Shank in the center of the room to generate an Arc Charge.

Activate the Mattermorph buff, and interact with the rock pillar to the right of the bunker. This will morph three platforms, one with the arc deposit.
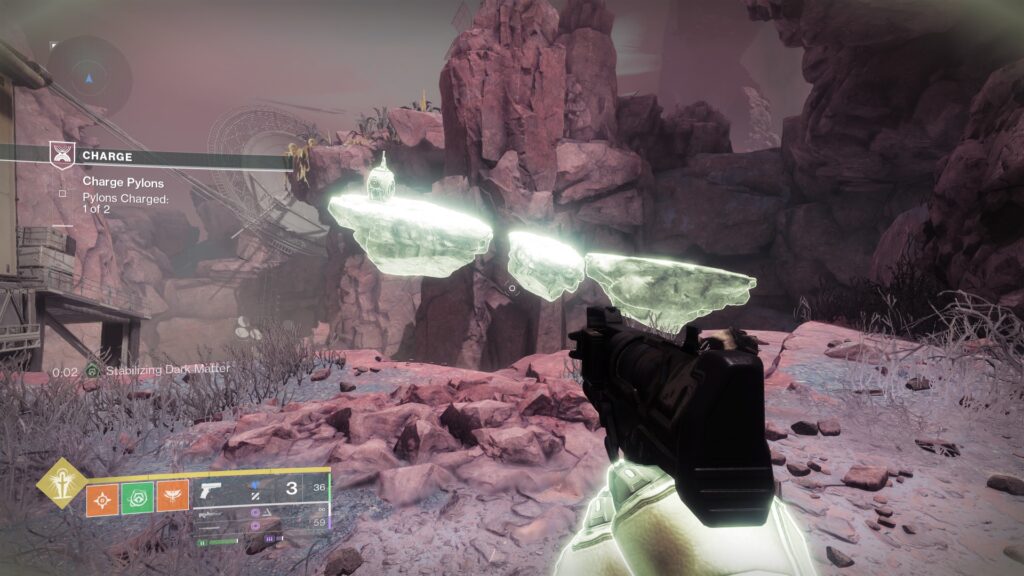
Take the Arc Relic across and deposit it.
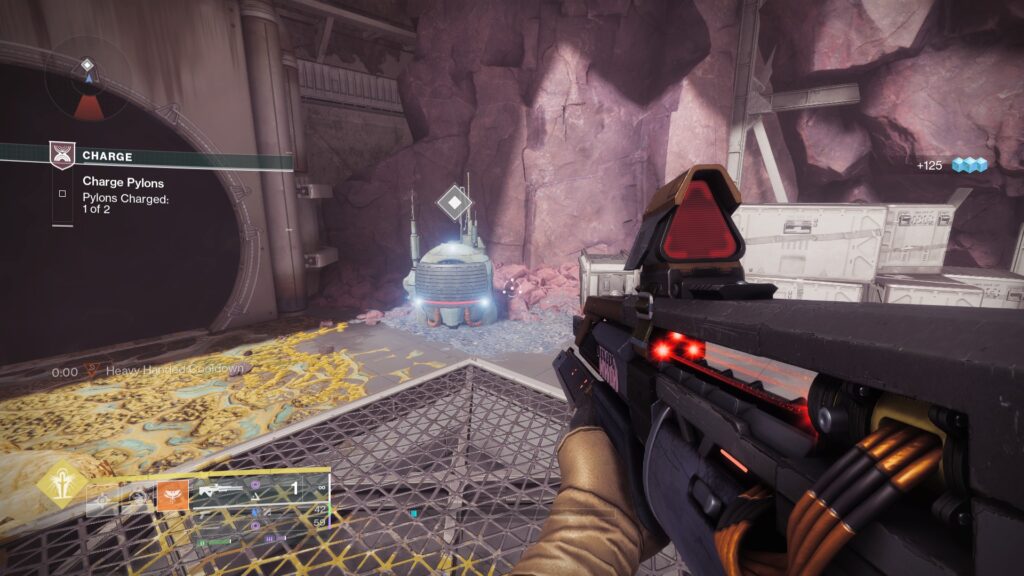
Once this is done, head to the outside of the bunker to find the pylon you need to charge. Enter Matterspark and charge the pylon.
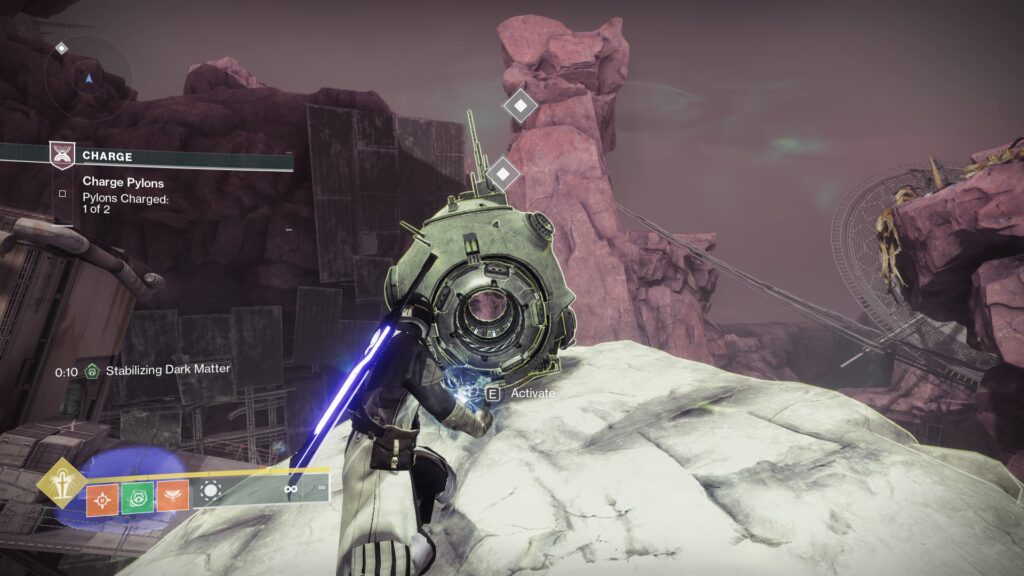
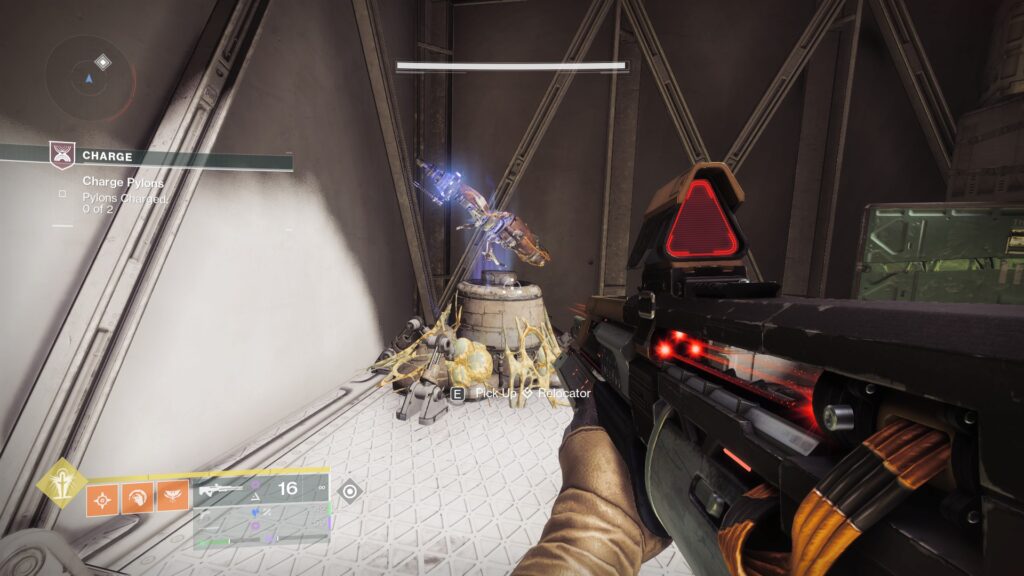
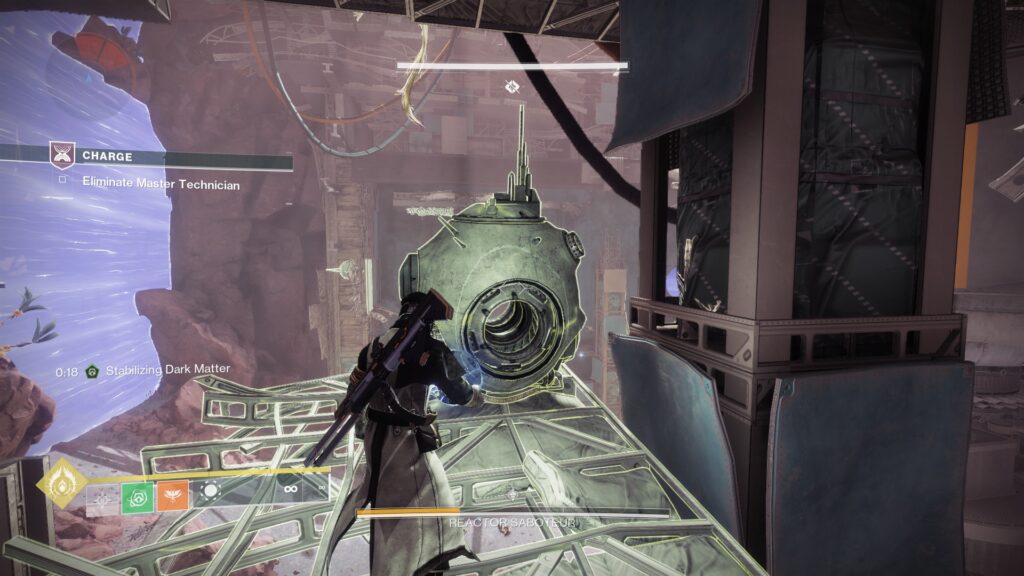
Next, head inside of the middle bunker. Inside you'll find a Relocator Cannon, with the starting node on the bottom floor.
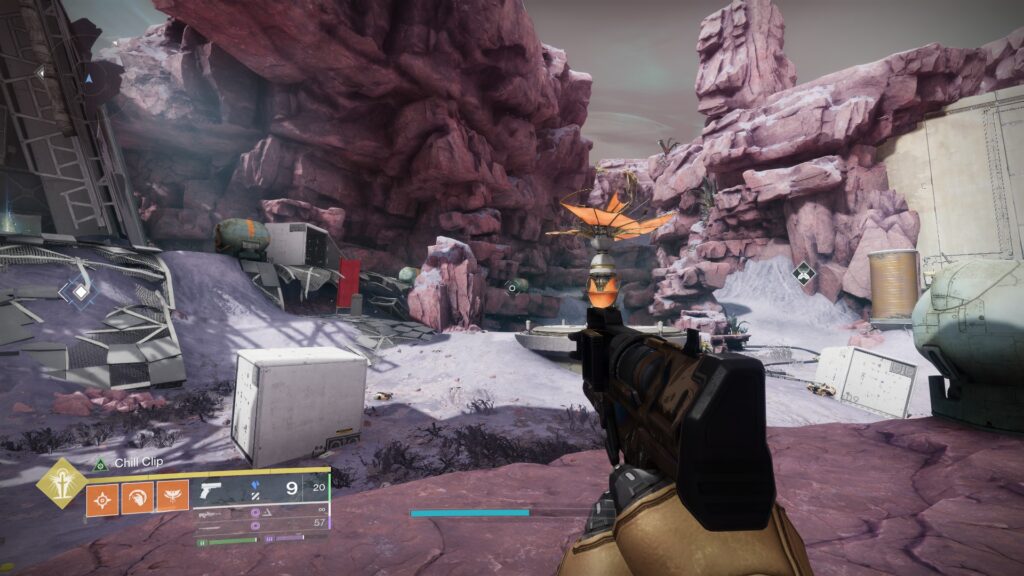
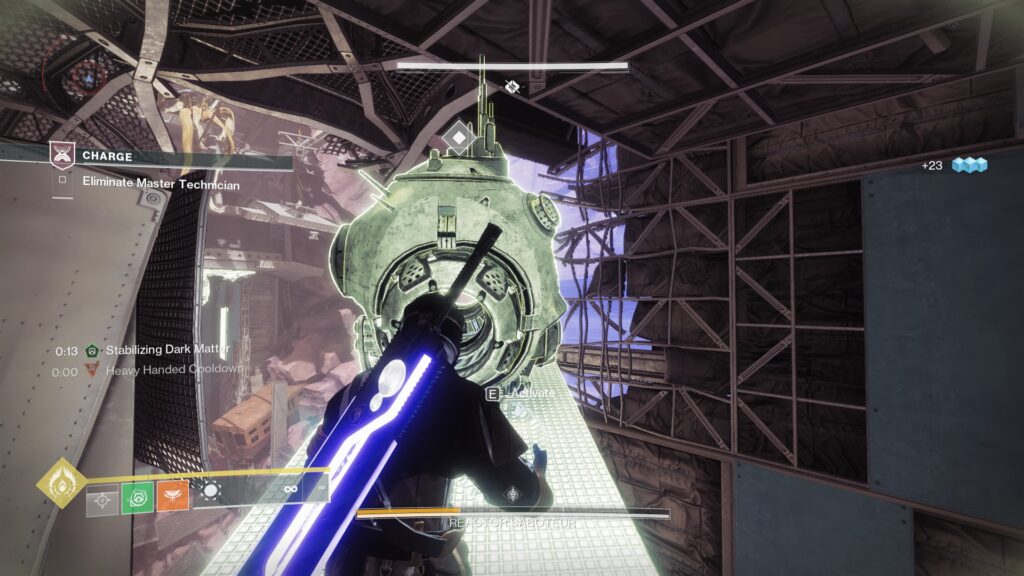
Outside on the wall, there will be a satellite. Shoot the satellite until it is facing downwards.
Shoot the starting node, and head towards the room with the lasers. The Matterspark Portal will be outside.
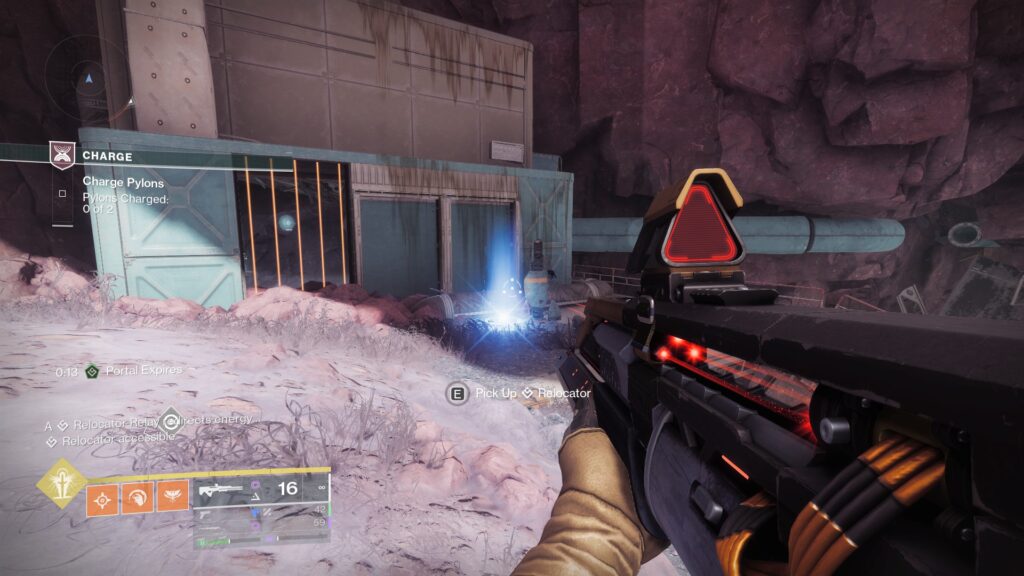
You'll be teleported inside, where you can disable the lasers.
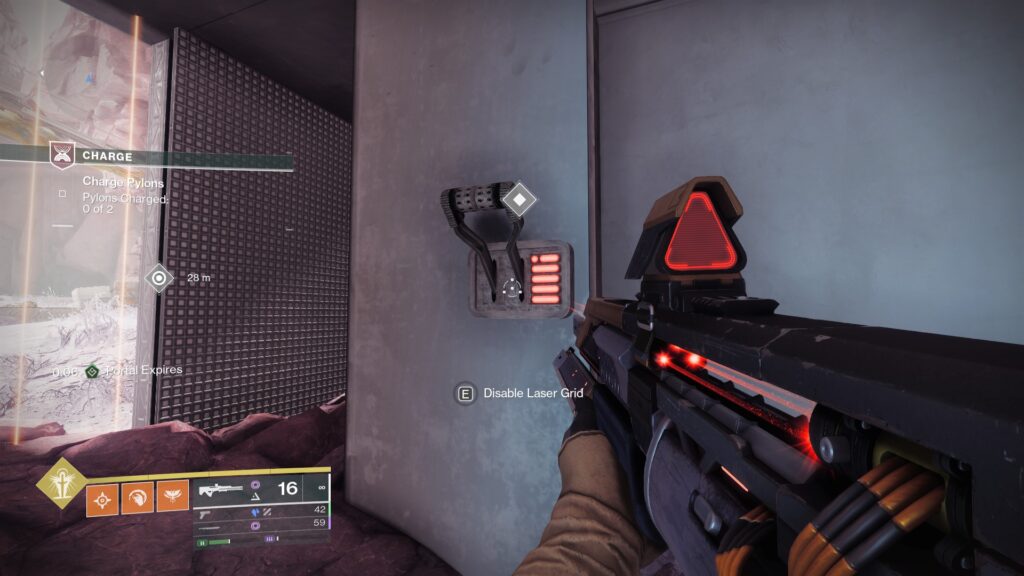
You'll be met with a Matterspark pad and Portal. Before entering the portal, head outside and grab Mattermorph, and fix the broken parts of the tunnel route hugging the wall.
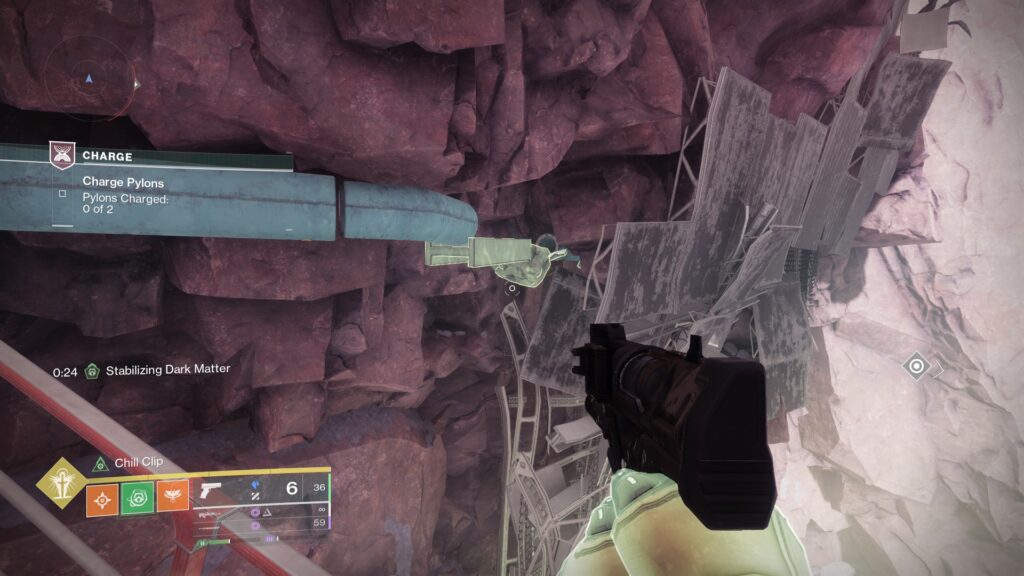
Head back inside and go through the Matterspark Tunnel to find the second pylon.
Once both are charged, activate the final generator to continue forward back to the reactor.
Before you enter the reactor, rally up, as this will be the final encounter.
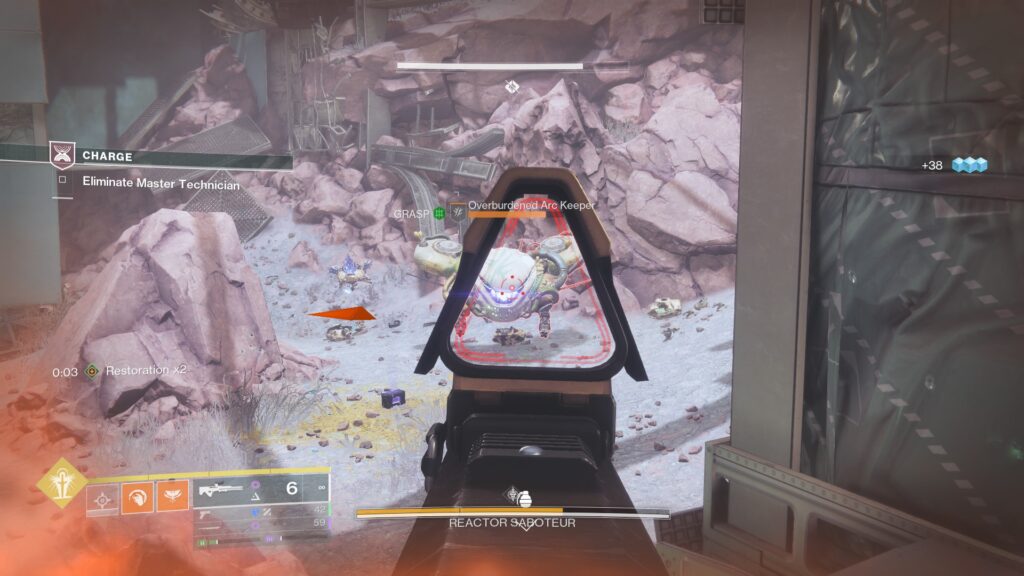
As you enter the Reactor once more, the Reactor Saboteur will reappear. To bring down his shield, you will need to deposit an Arc Charge.
To get an Arc Charge, defeat the Overburdened Arc Keeper Shank.
Within two corners of the room will be Mattermorph pillars. Activate Mattermorph.
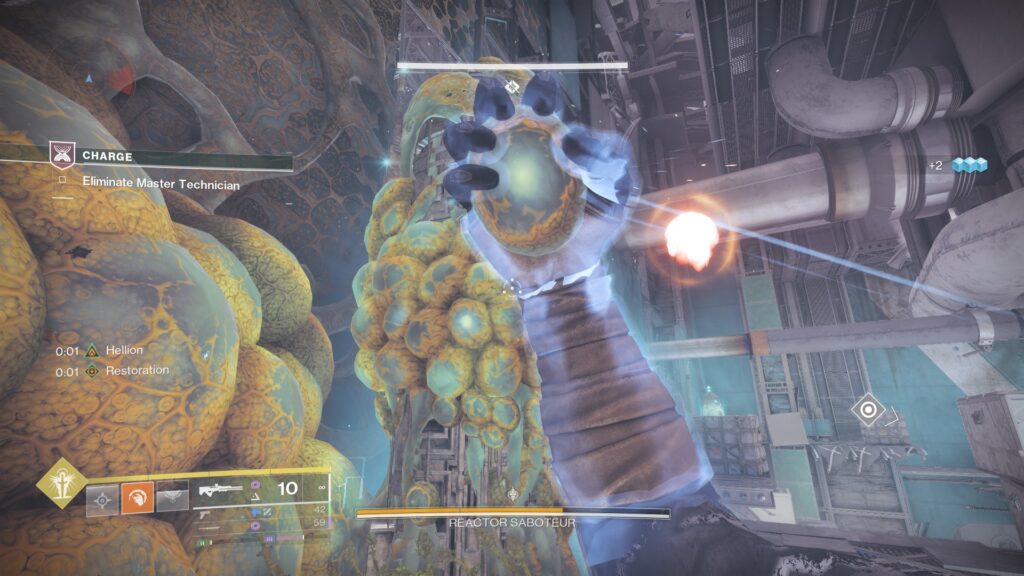
Around the room, there are three areas to dunk the Arc Charges into. One at the back, one on the left and one on the right. Shoot Mattermorph at the walls to bring out the terminal. Pick up the Arc Charge and parkour across to deposit the first charge.
This will lower the Saboteur's shield. Continue dealing damage to the boss.
For the final round, you will need to deposit two more Arc Charges. Head to the back of the room and activate Mattermorph.
Keep note of which deposit you used last round, and deposit your charges in the other two terminals.
This will lower the boss's shield. Defeat the boss to claim your victory.
To free the Strangelet, activate the Reactor, and then interact with the Strangelet to end the mission, signaling the end of The Outer Steppes Strangelet Quest.