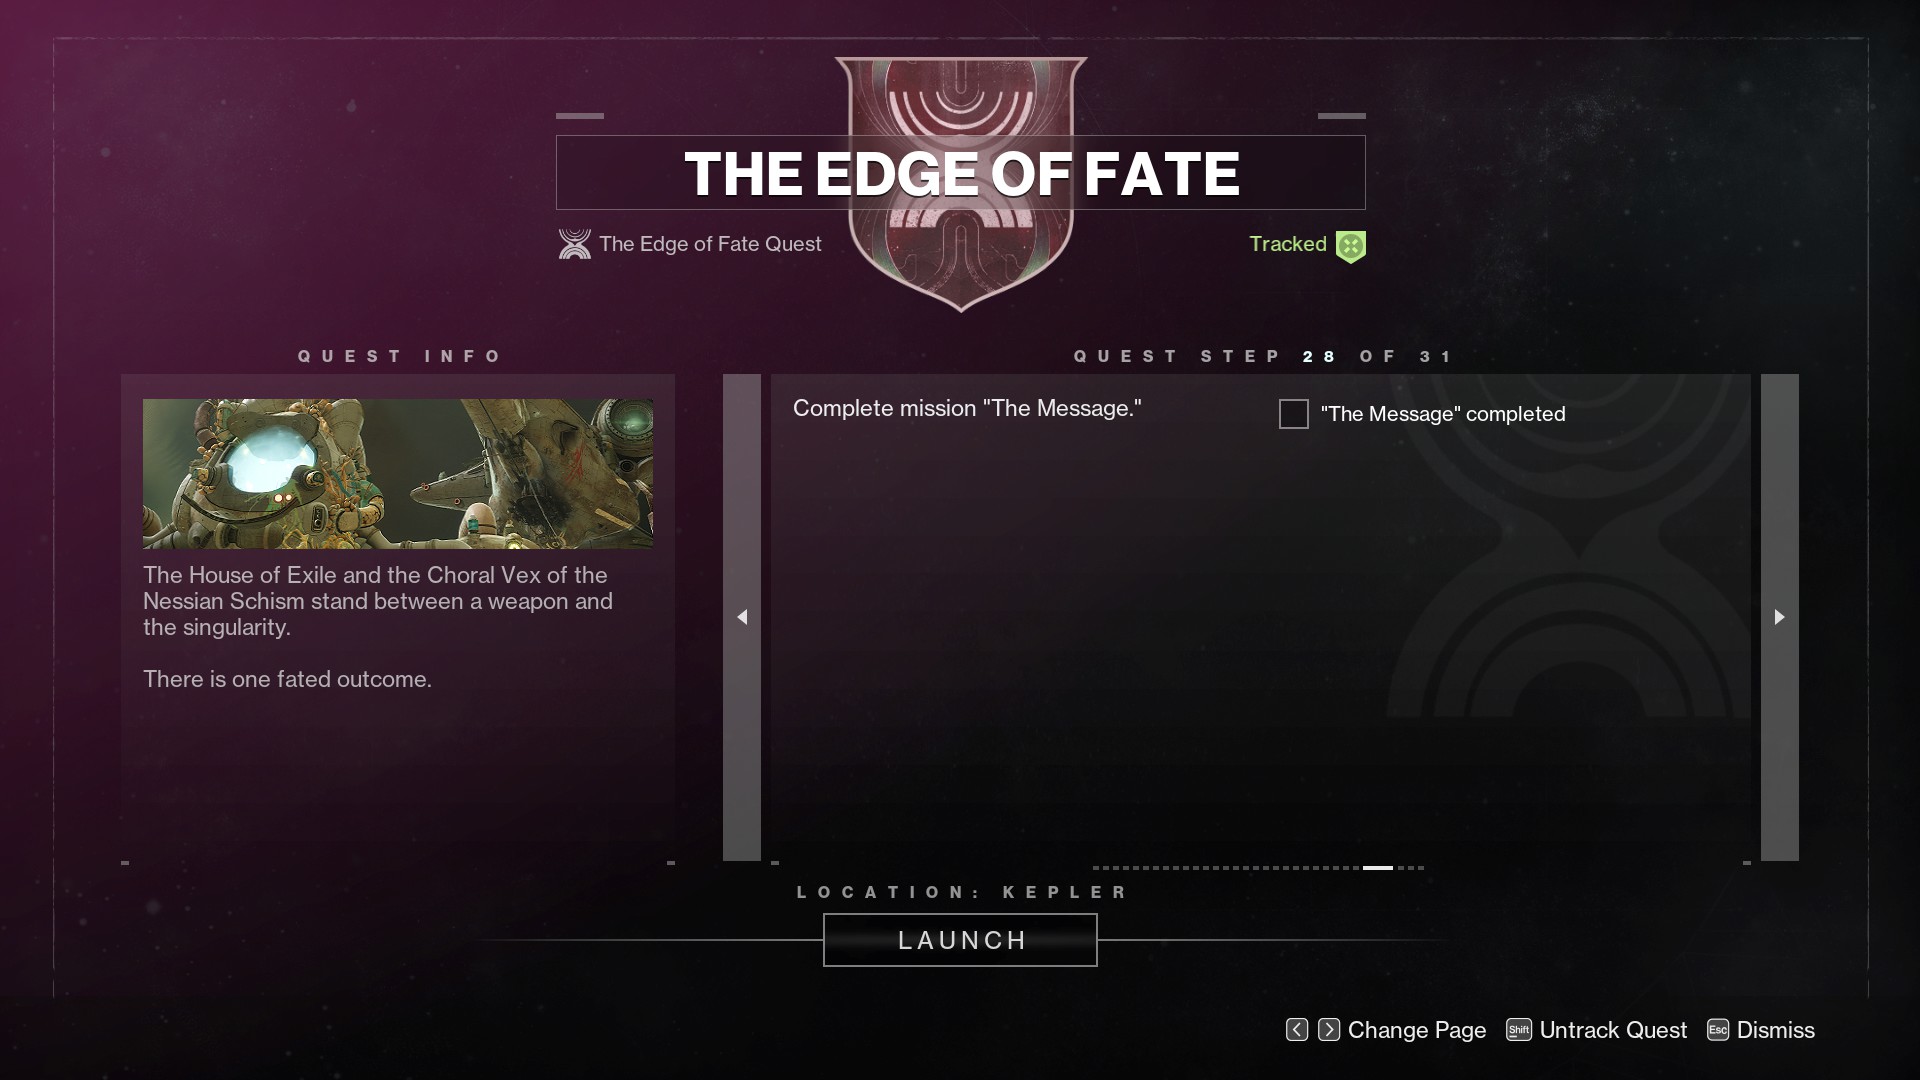
The Message is the final boss fight of The Edge of Fate, and has you taking on Archon Levask in a grand climactic battle. This mission is long, with multiple encounters and lots of jaw-dropping story moments, so make sure that you're locked in and ready to go through the whole journey.
Generally speaking, this is by far the longest mission in The Edge of Fate, and will take a while to complete especially if you're not the most confident in combat, or are playing the Legendary campaign. However, this guide will help make it much easier to make your way to the final moments of this story.
The Message Mission Guide
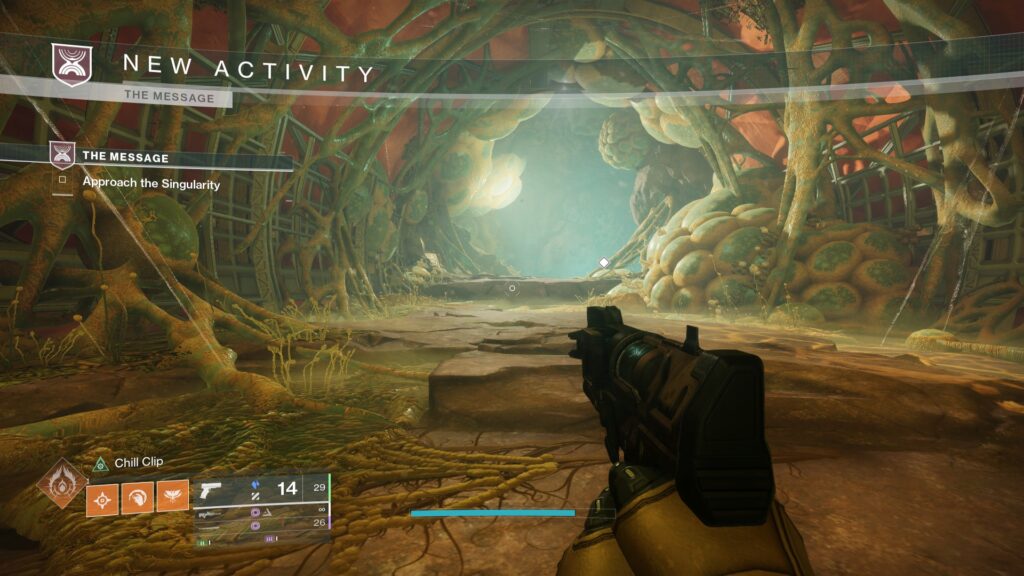
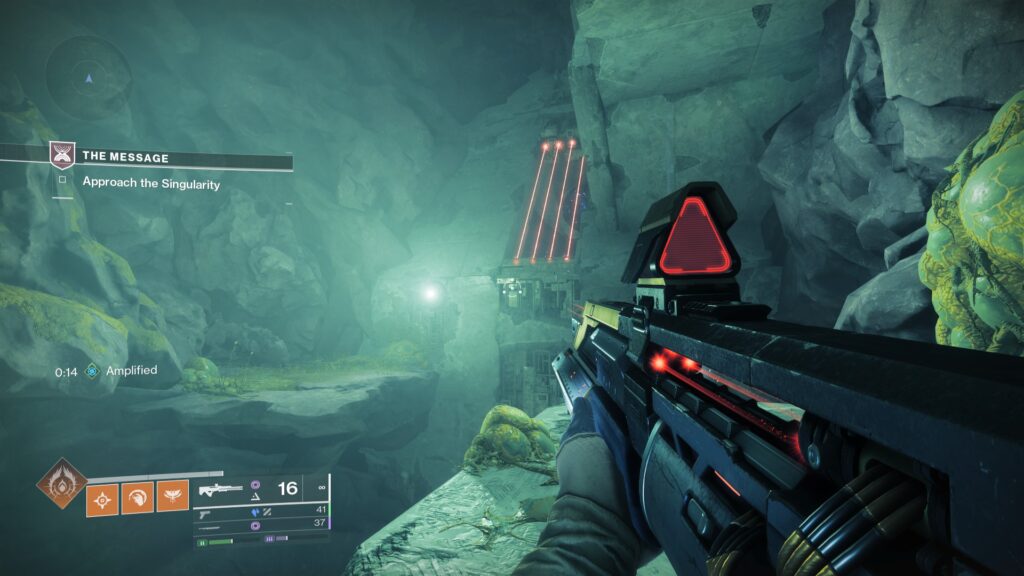
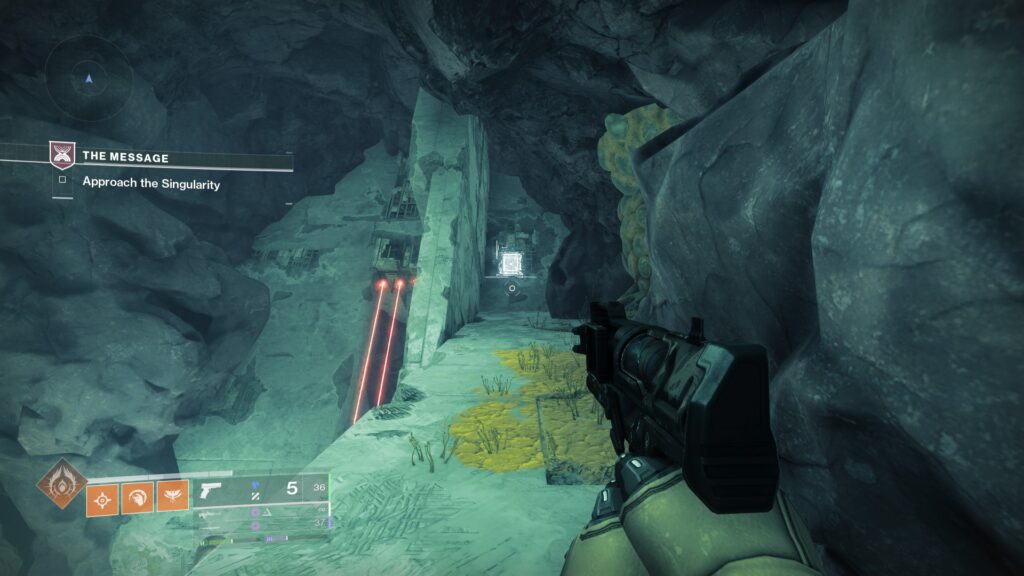
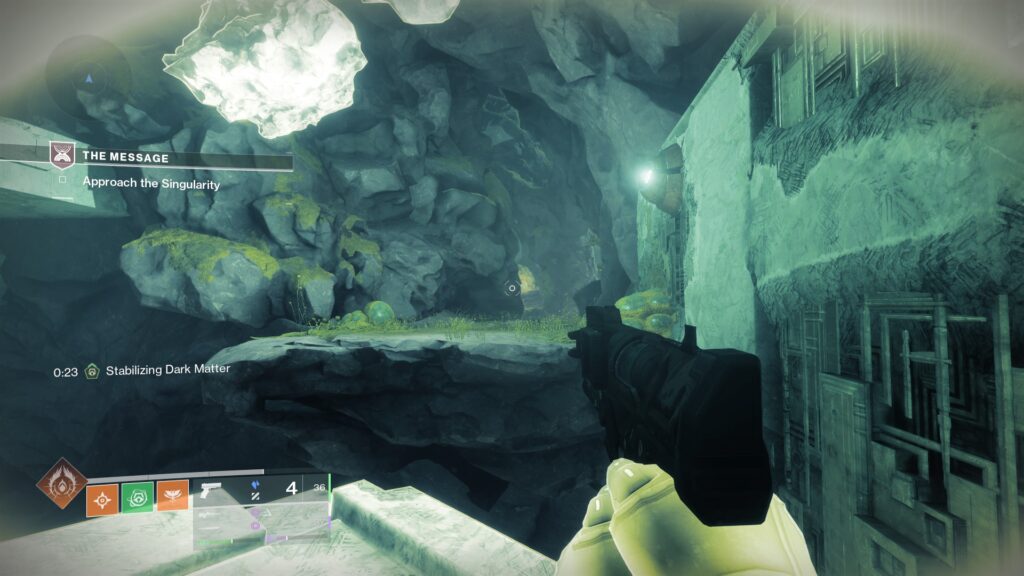
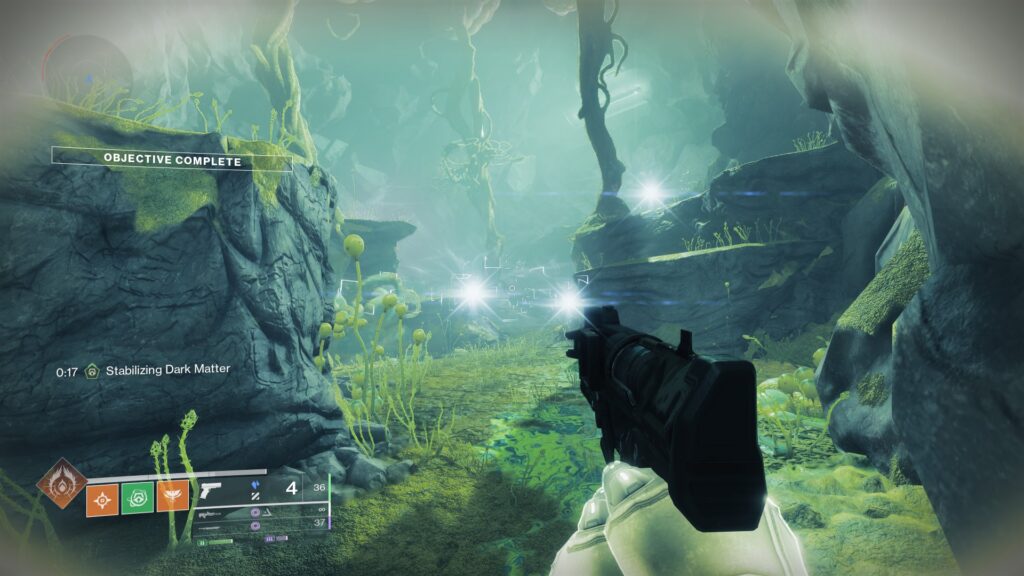
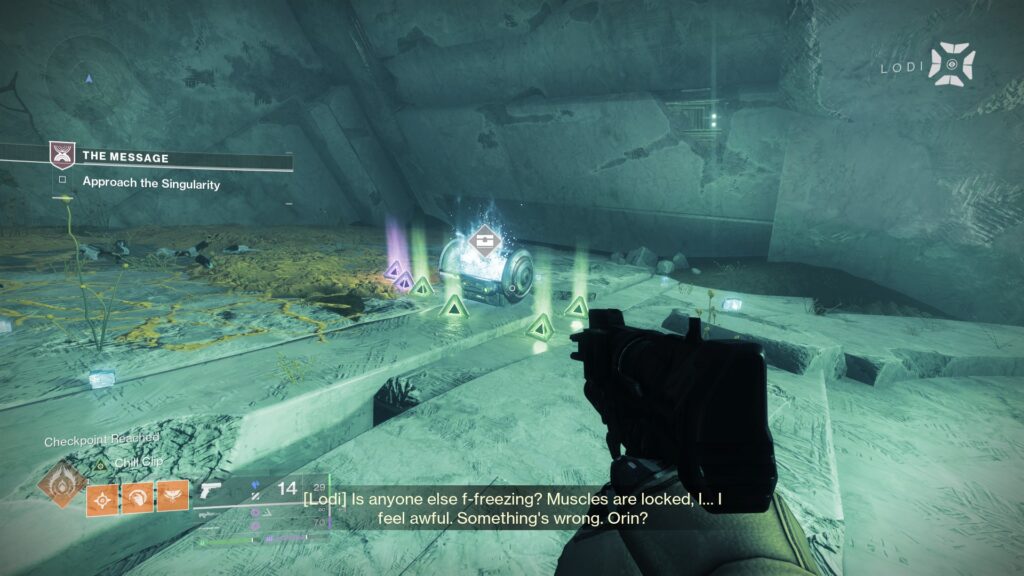
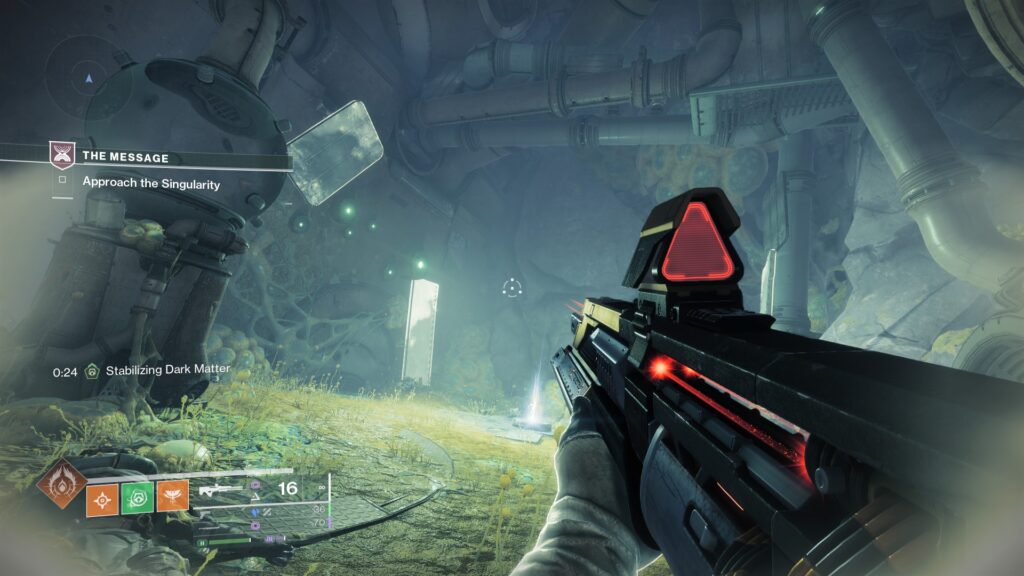
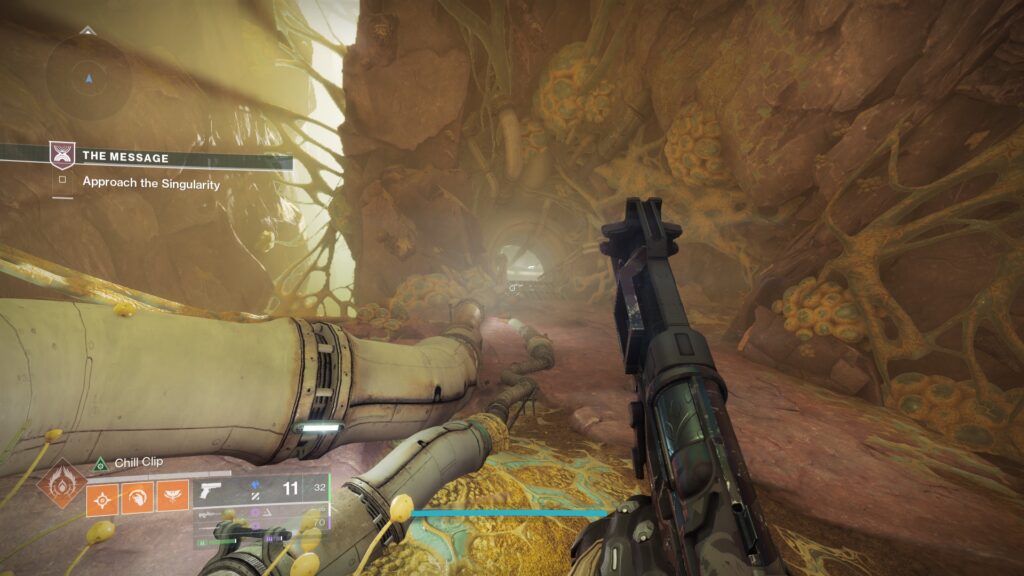
When you enter the mission, traverse forward through the green terrain.

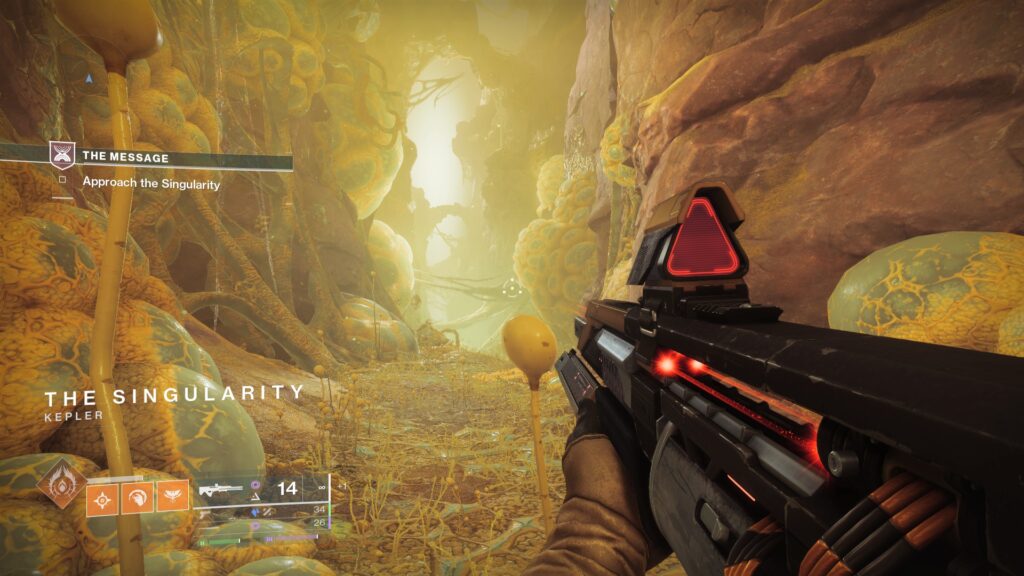
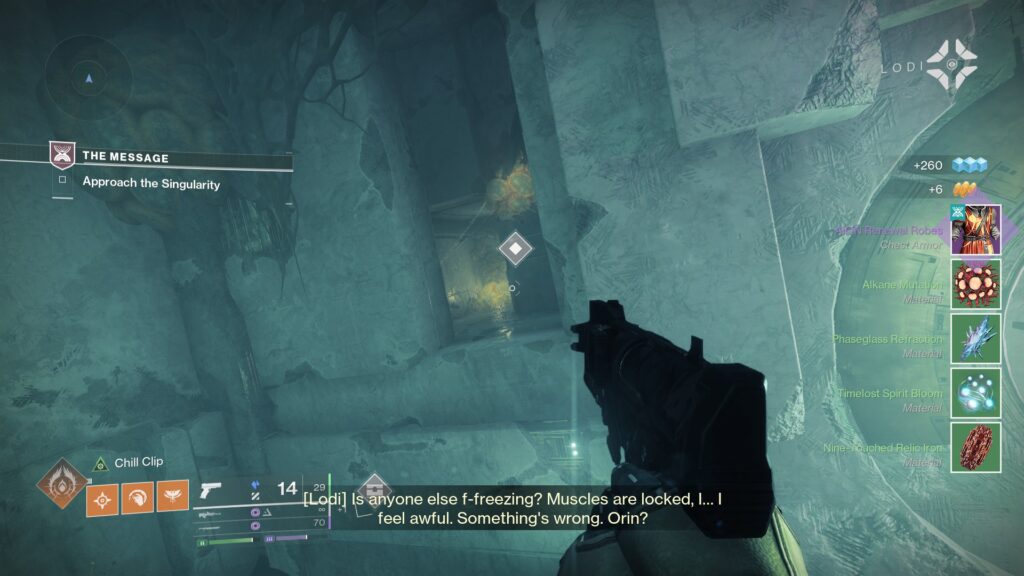
Continue forward through the Assimilated Easement.

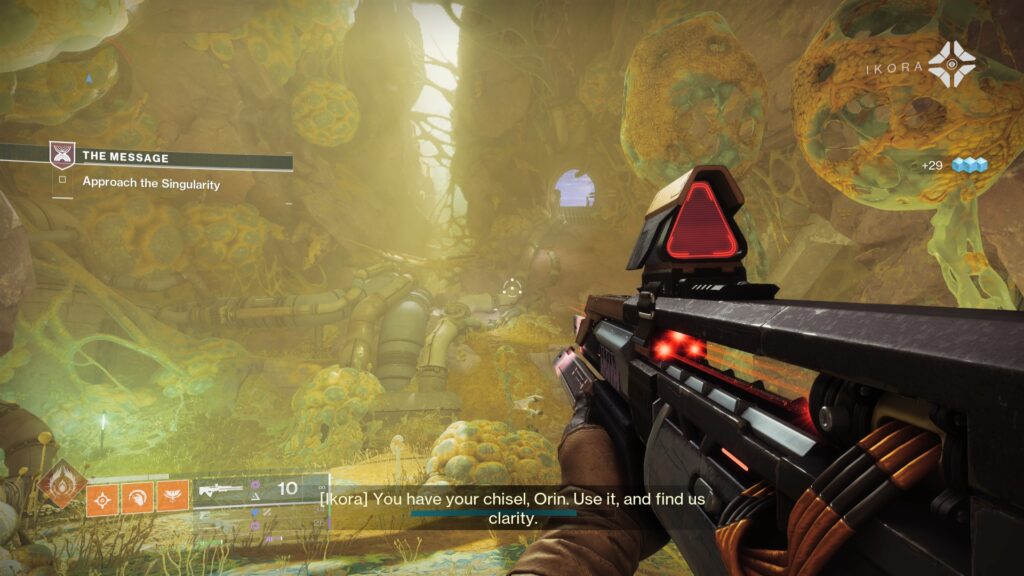
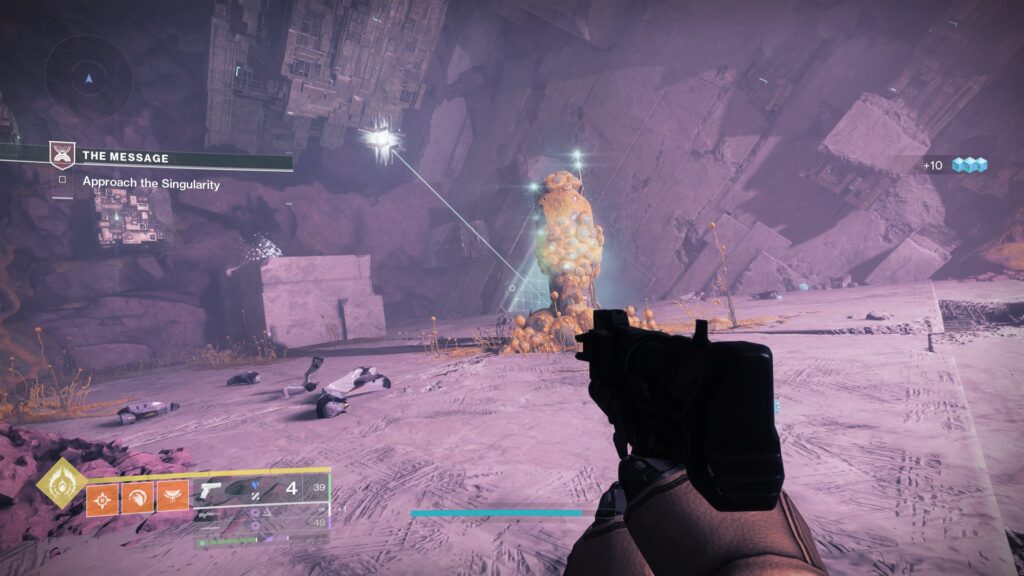
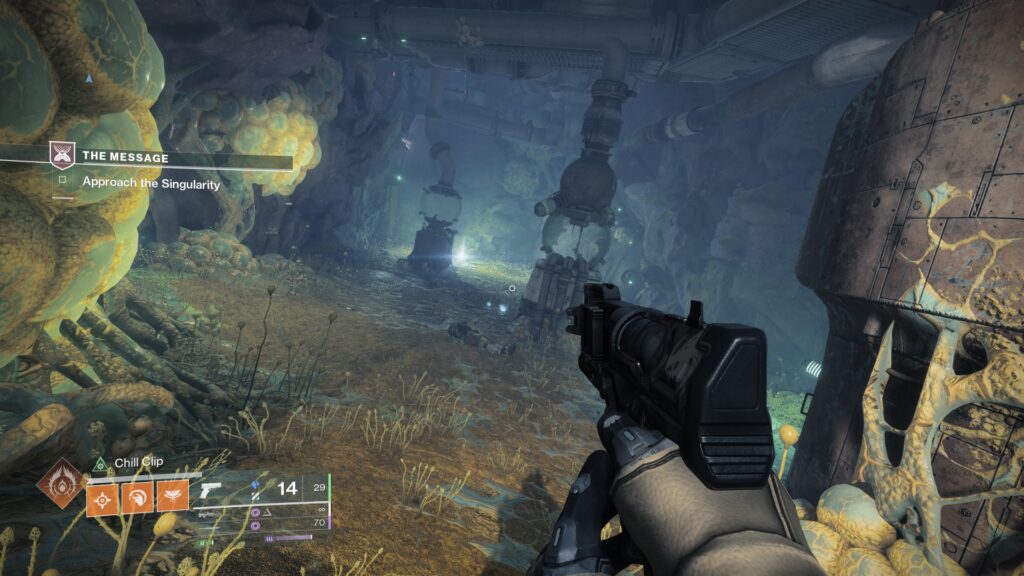
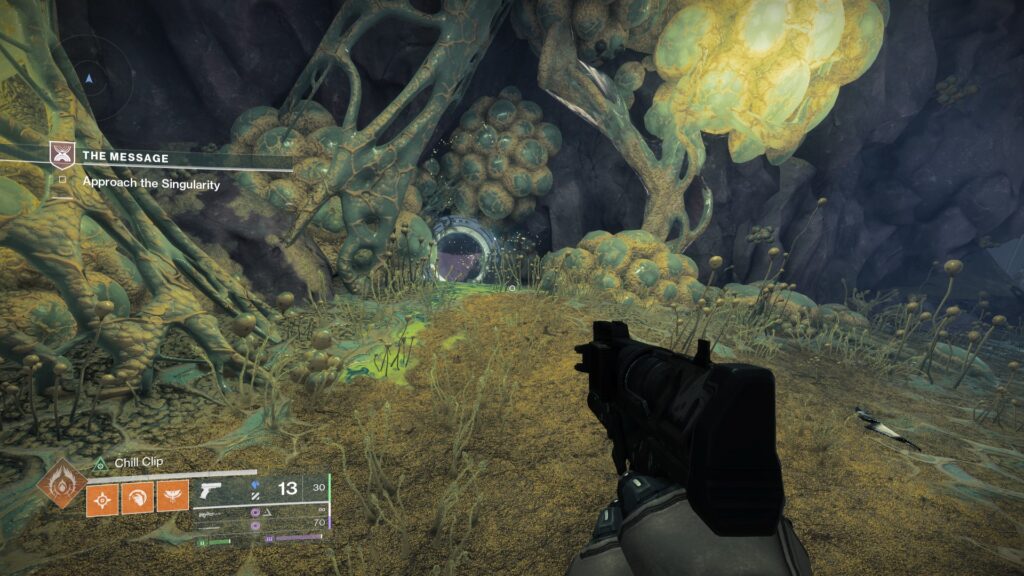
Slay out the House of Exile enemies as you progress onward towards the Singularity.
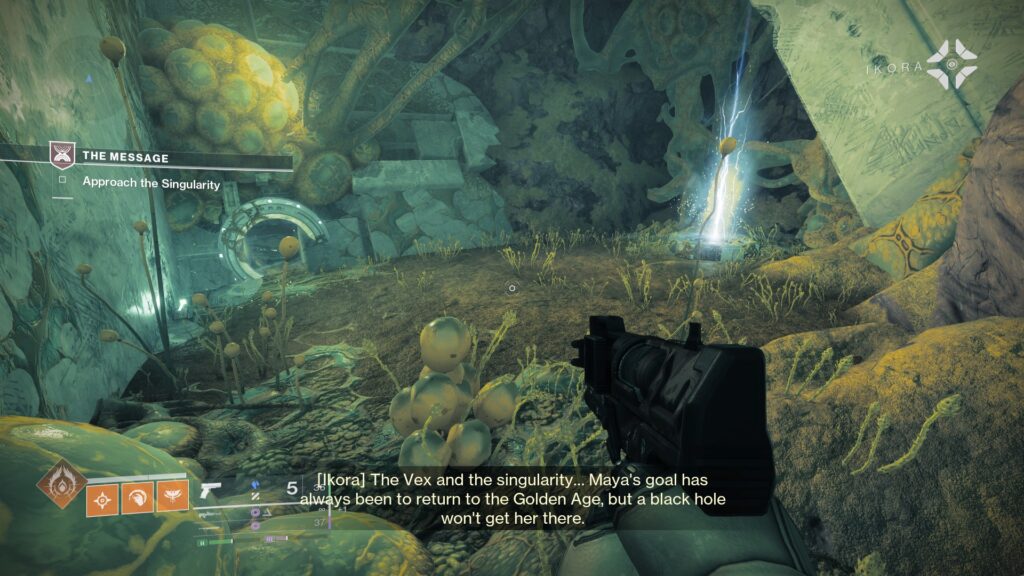
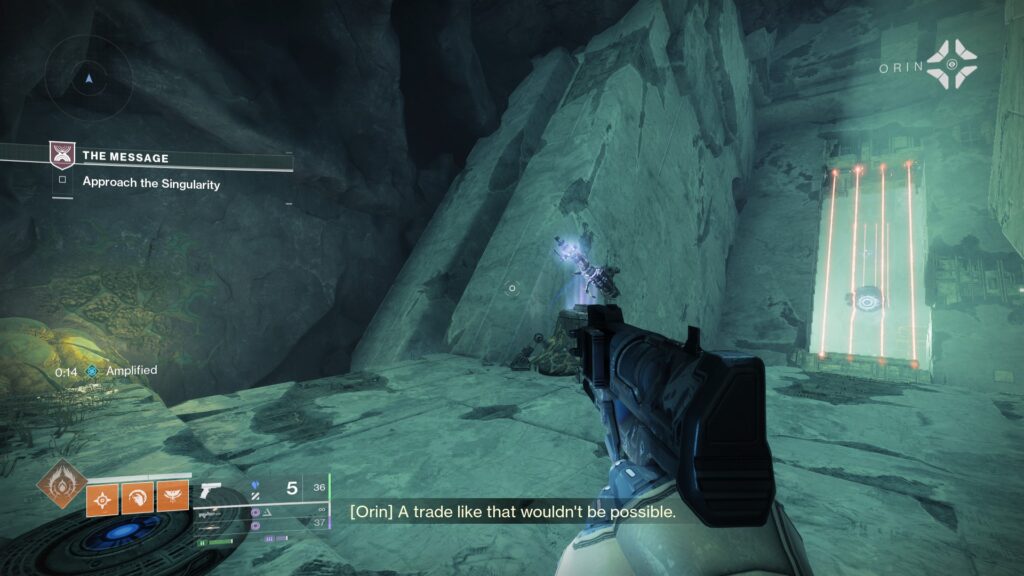
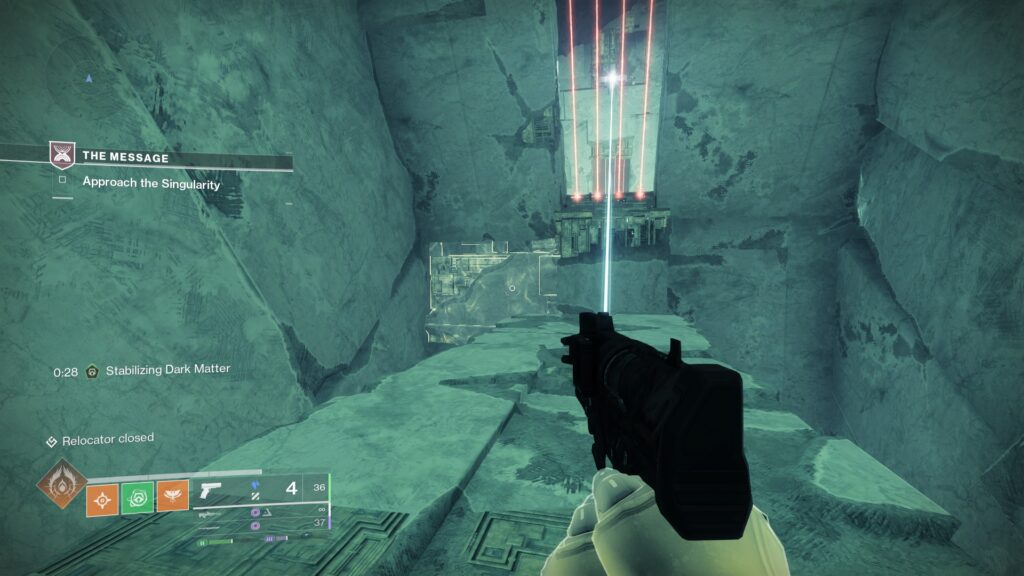
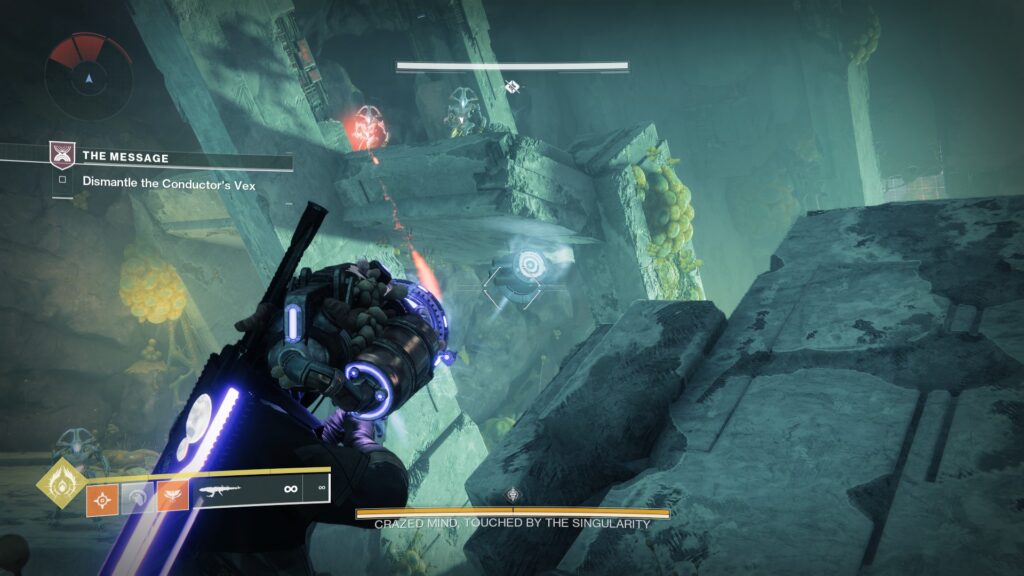
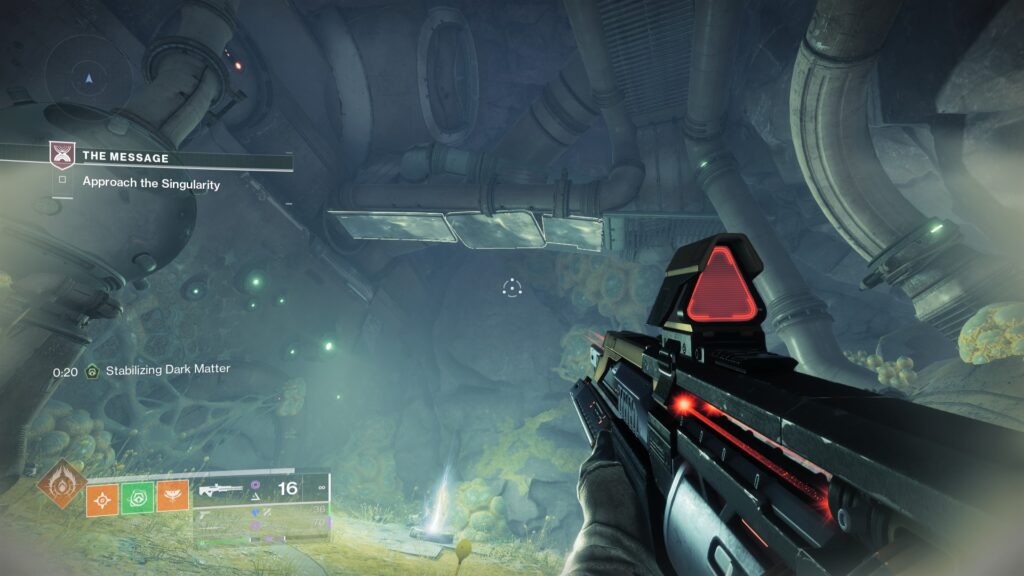
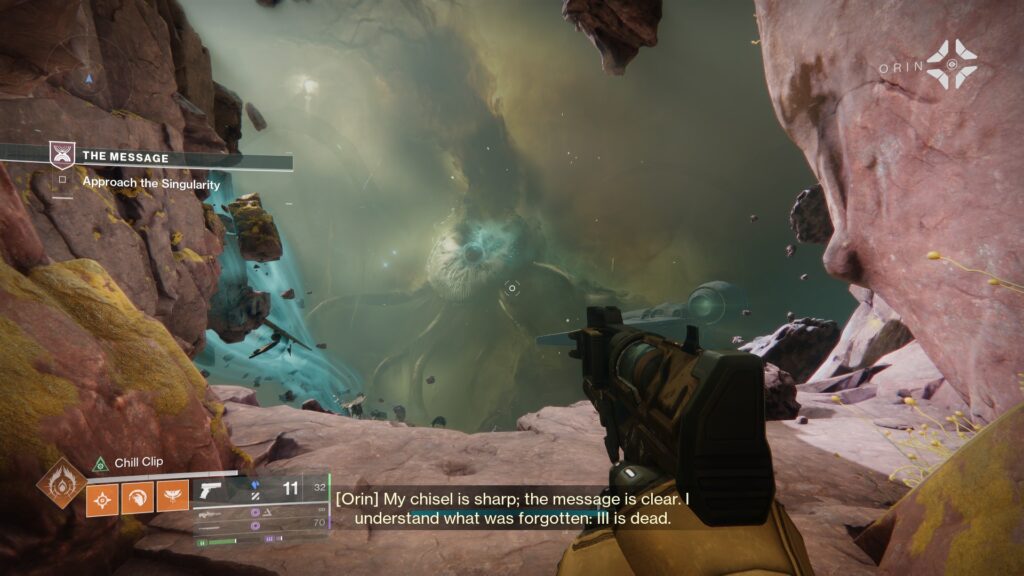
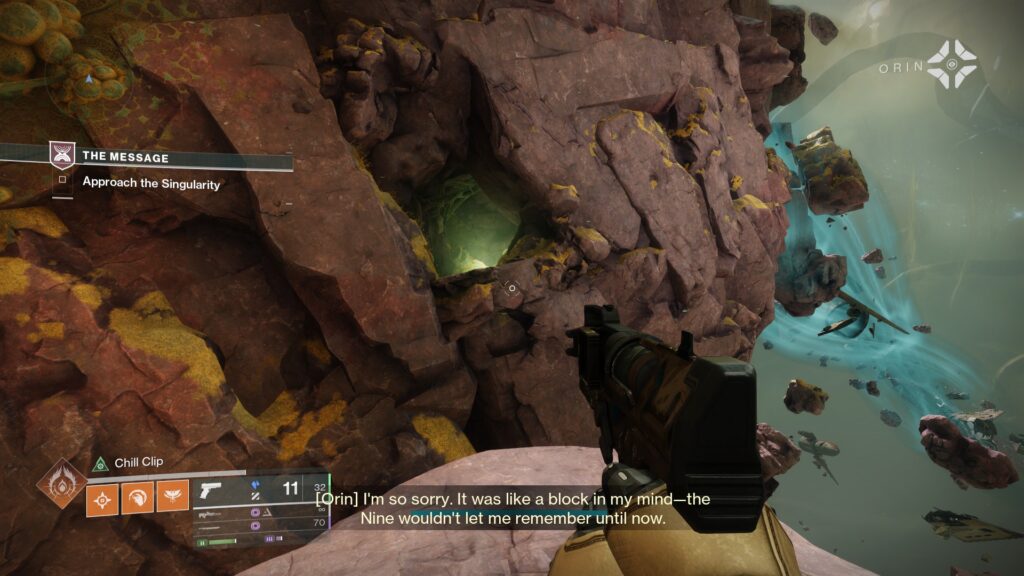
Once you enter the Singularity, continue forward until you come to a forked pathway, with some Choral Vex enemies awaiting.
Eliminate them and head through the Right corridor.
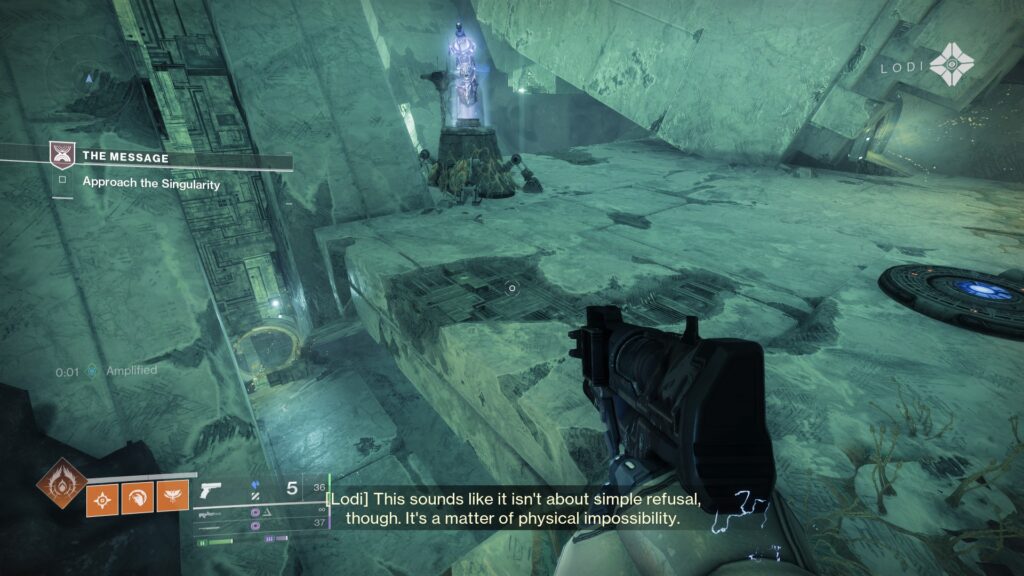
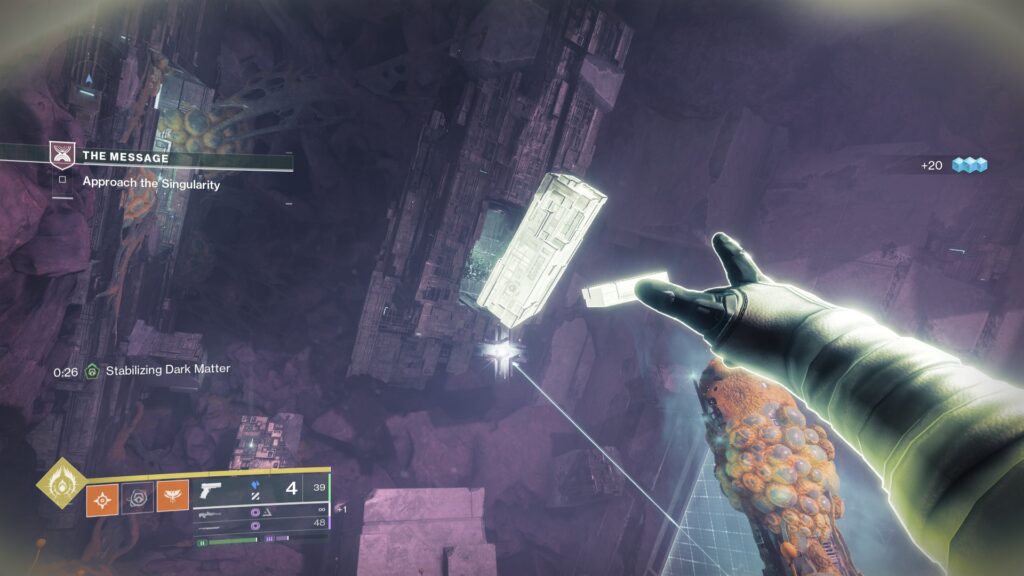
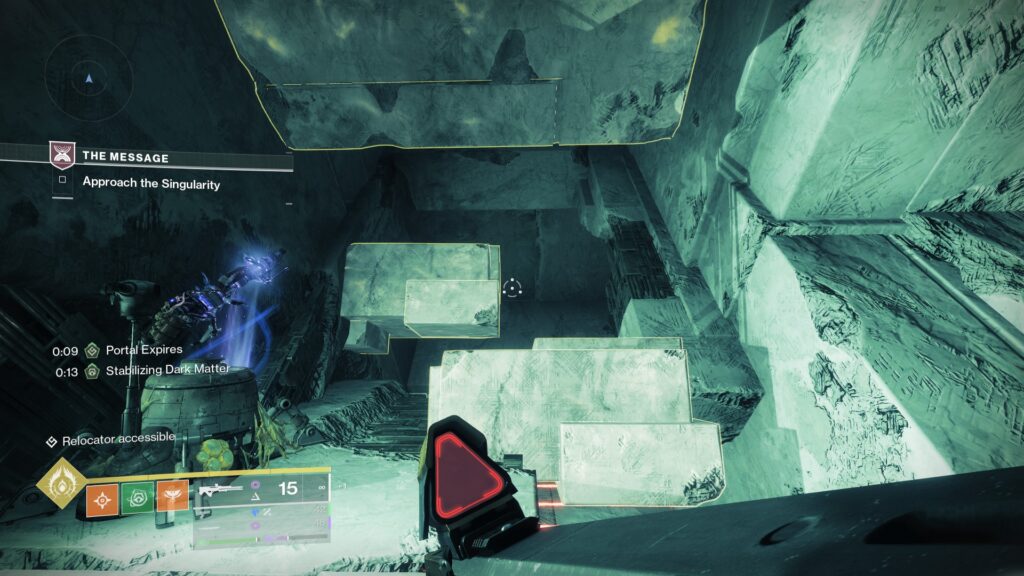
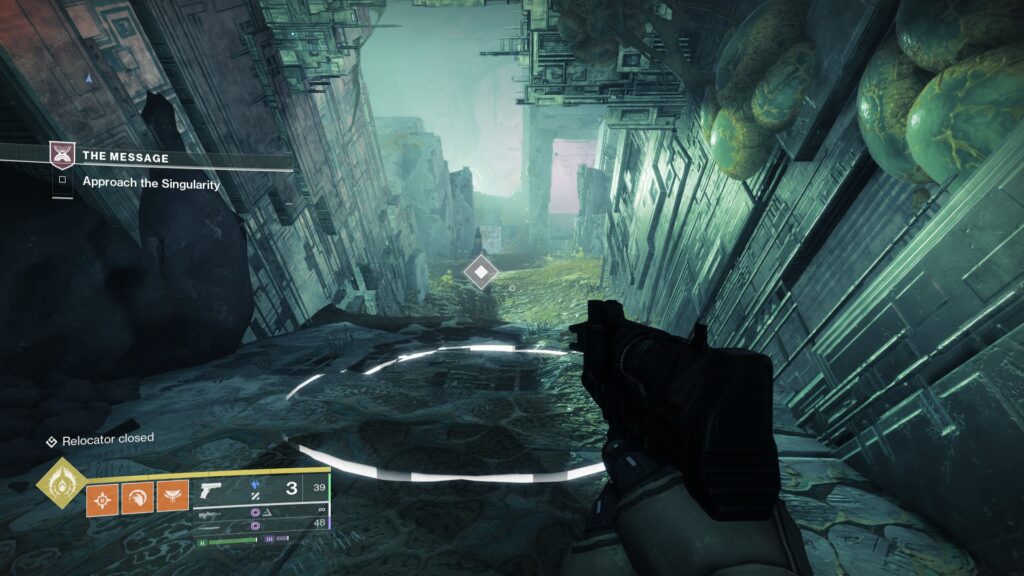
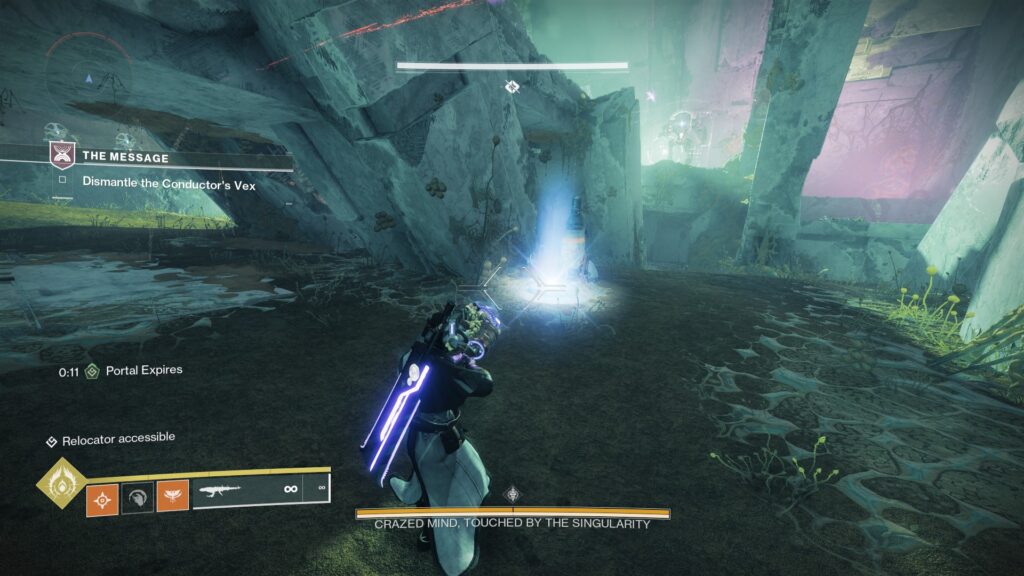
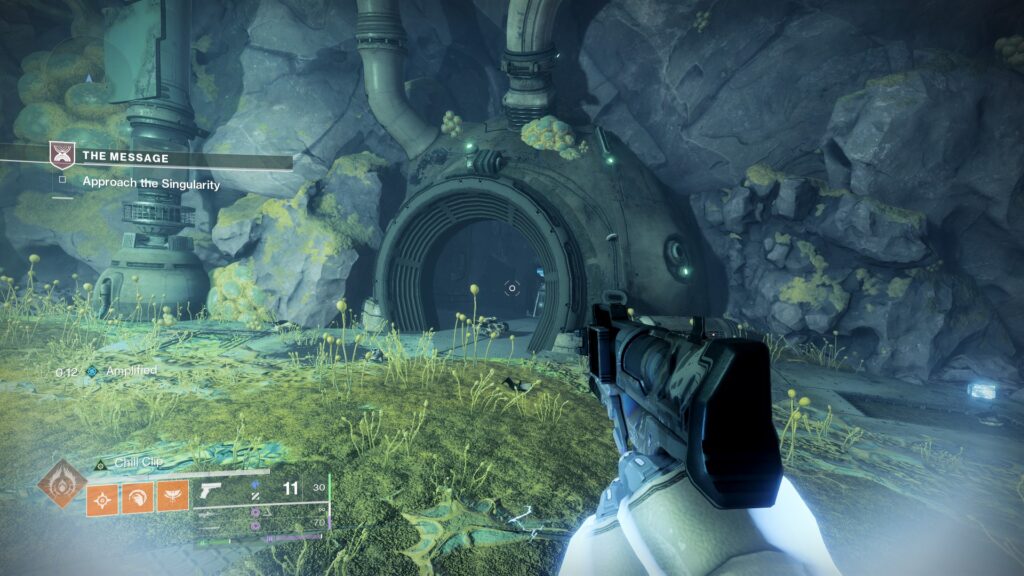
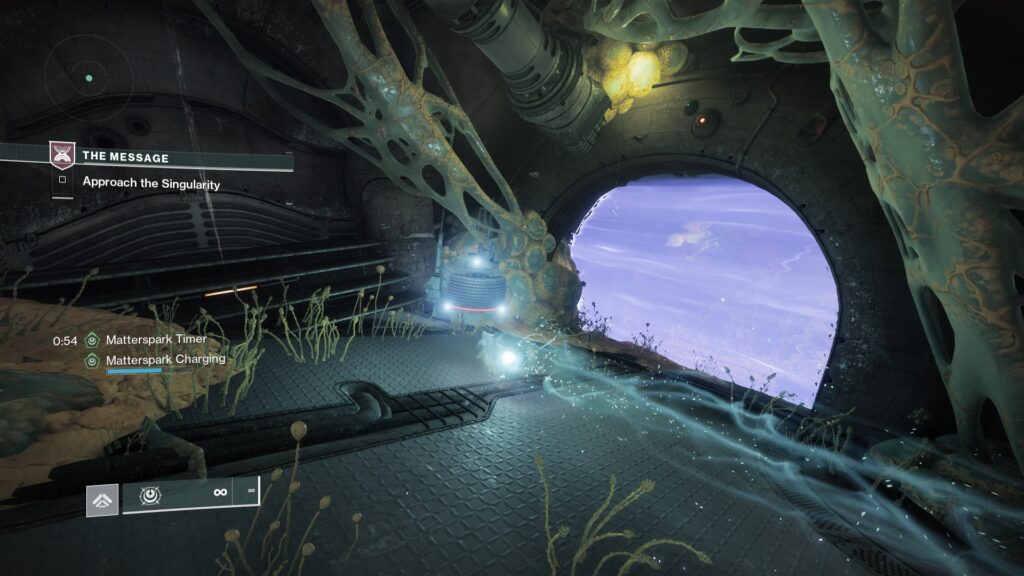
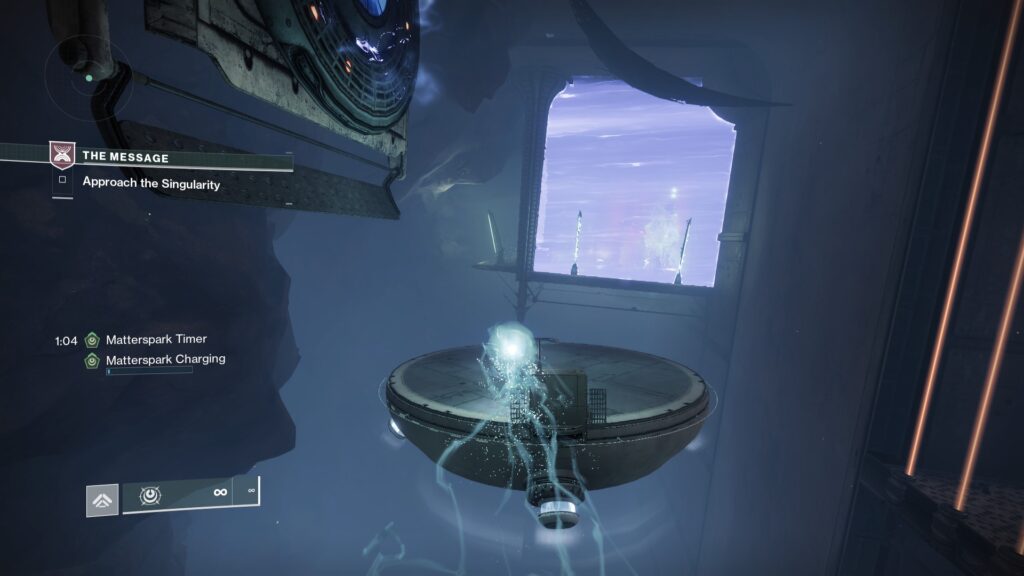
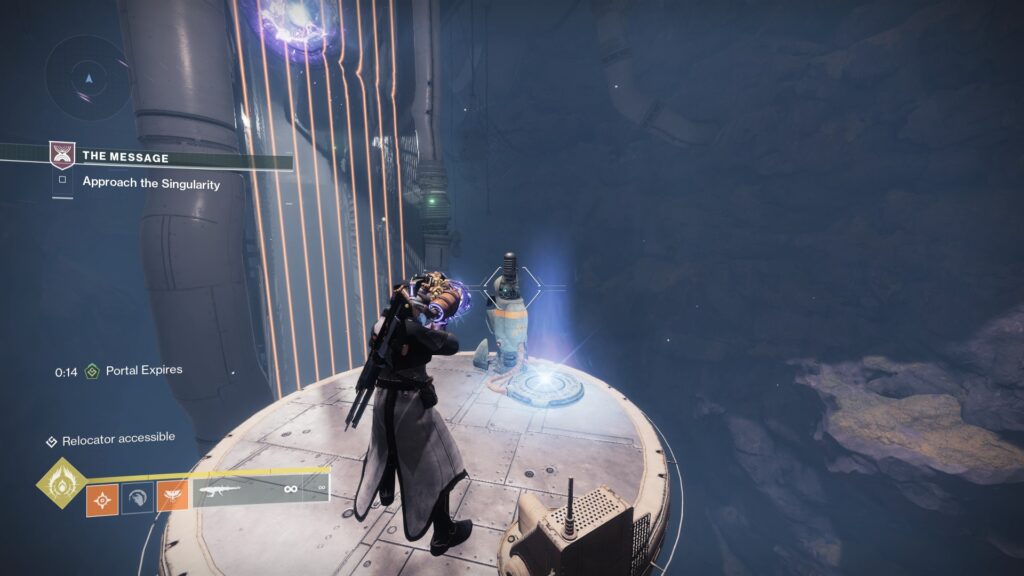
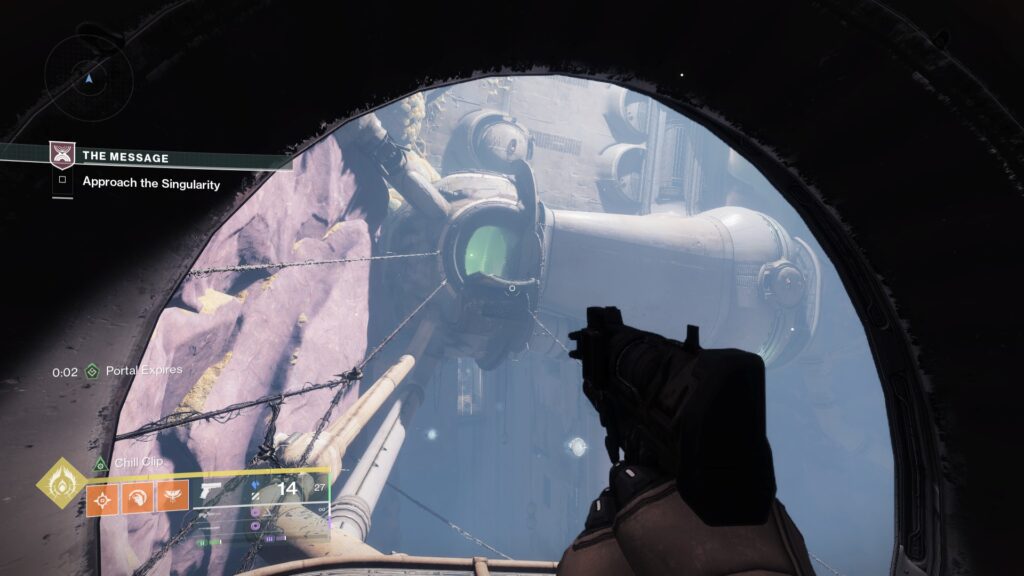
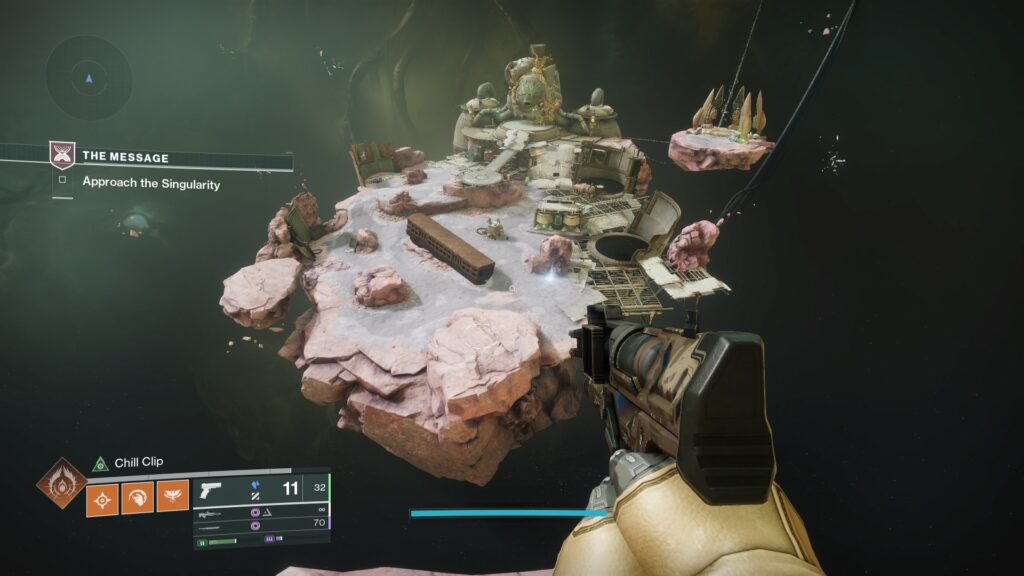
As you jump down, you'll find a Matterspark Pad and a Portal. Enter Matterspark and head through to the first puzzle.
In this puzzle, you'll need to use Matterspark, Mattermorph, and the Relocator Cannon to progress through the three areas of the puzzle.
In the first area, walk to the left, where you'll see a Matterspark Portal. Hop into the gap to find a Matterspark pad on a platform underneath. Enter Matterspark and go through the Portal.
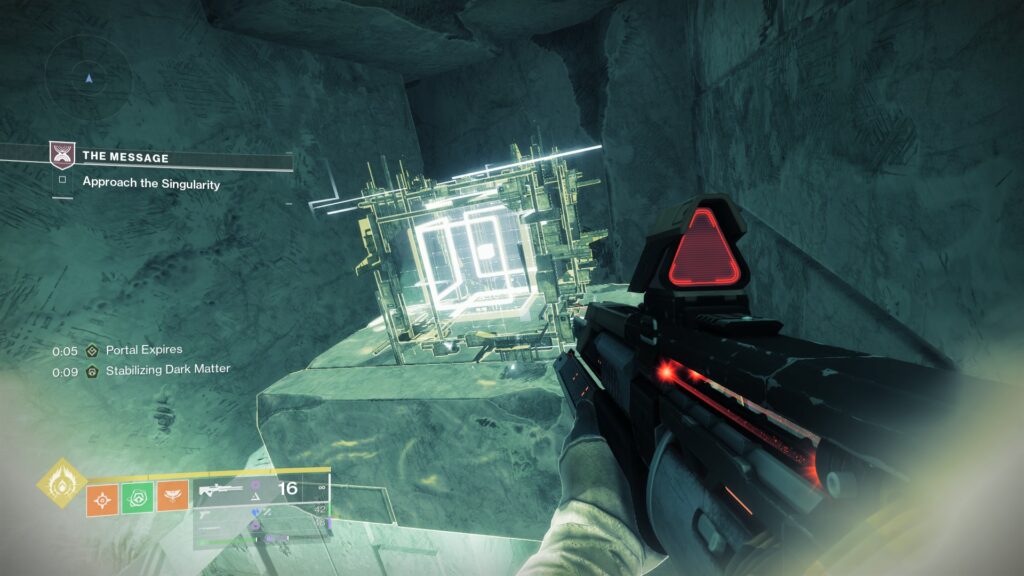
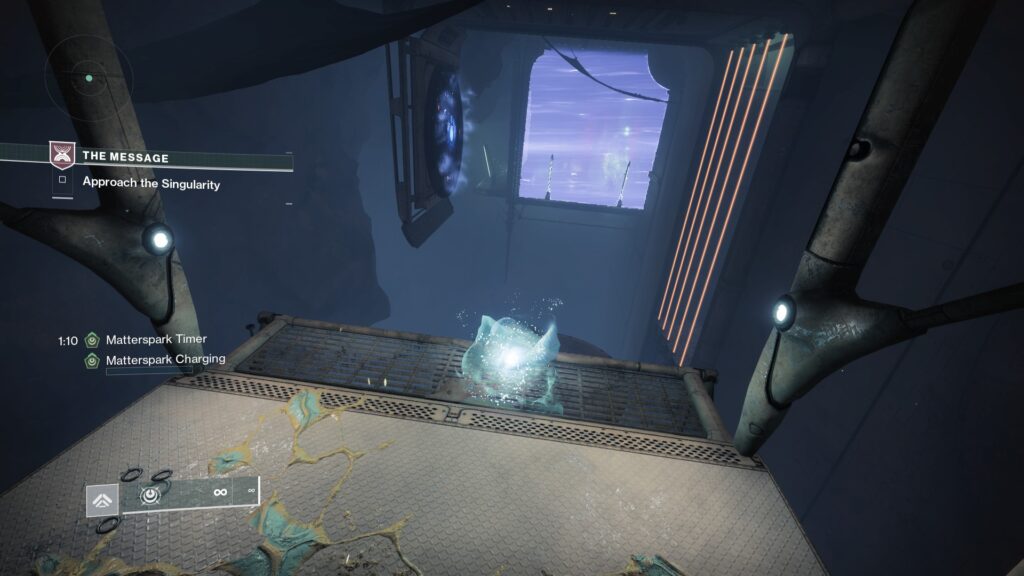
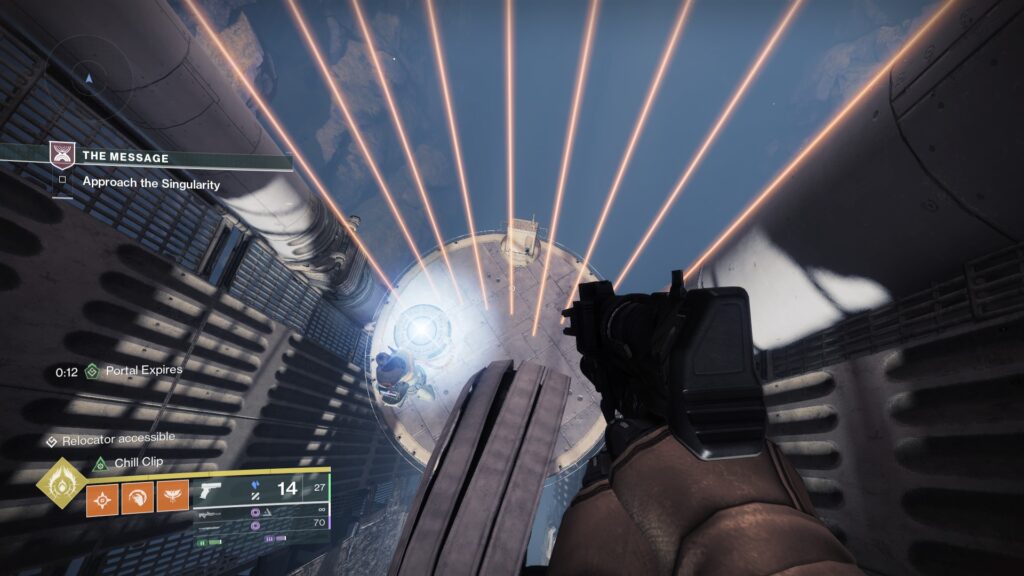
Once you're out into the second area, you'll need to jump up to the very top to find a signal cube.
Break it to spawn platforms inside the third room. Now, enter Matterspark again, and go back through the portal to the first area.

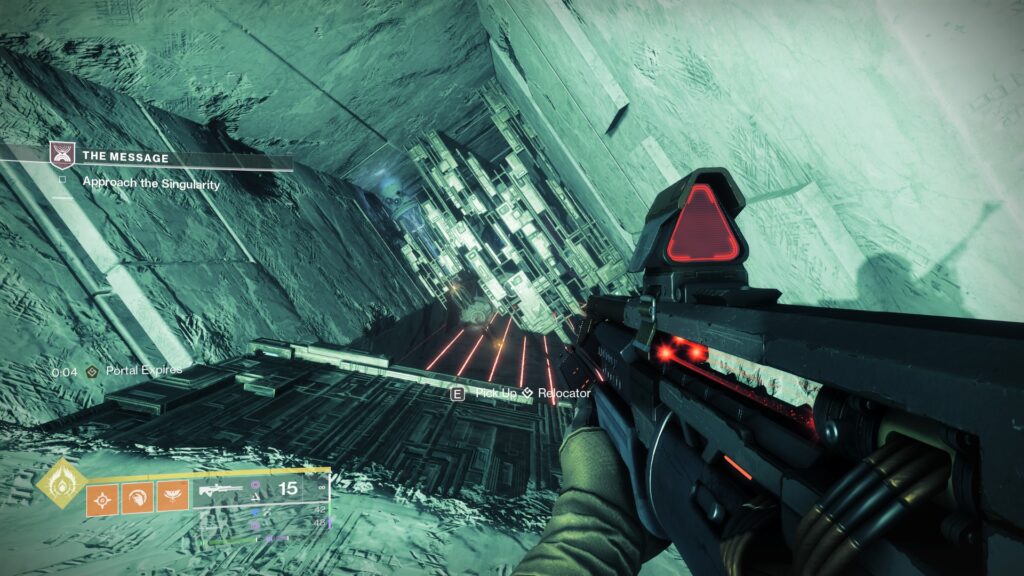
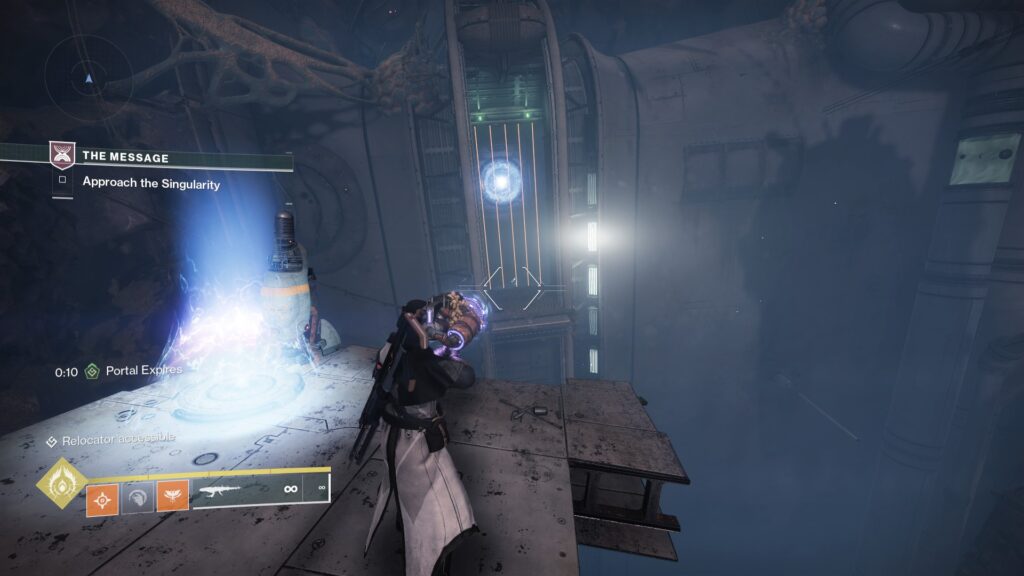
Now, pick up the Relocator Cannon, and shoot the start node to activate the Portal.
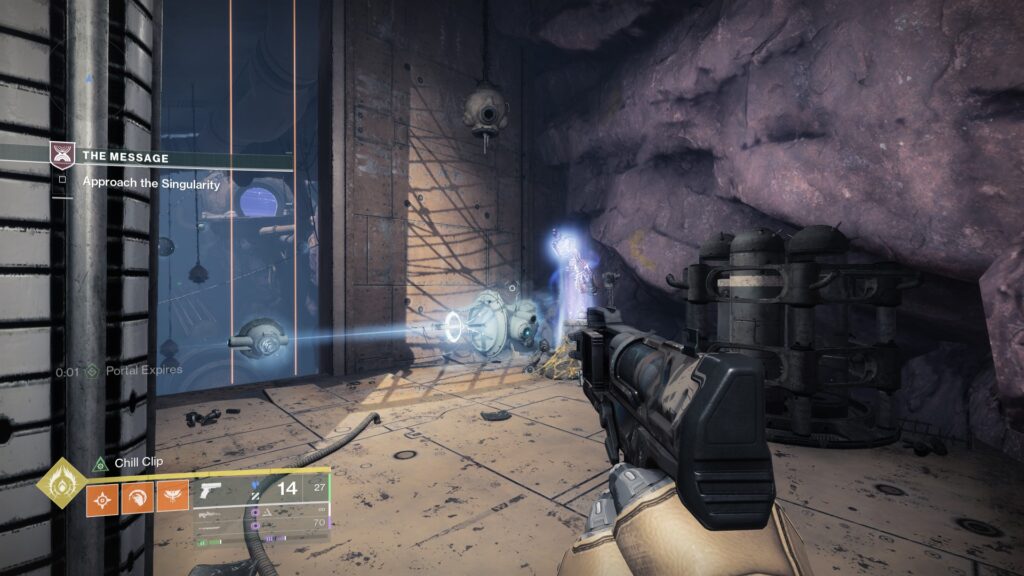
Step through the portal to enter the third area. Turn around to find a Mattermorph pillar. Activate Mattermorph and use it on the laser wall.
With this, you'll be able to enter back into the second area, and an exit will appear to the right. Go through to complete the puzzle.
Continue forward, slaying Choral Vex as you go.
In this next area, you'll need to eliminate all of the Vex to gain access to the Mattermorph pillar, and begin the next puzzle.
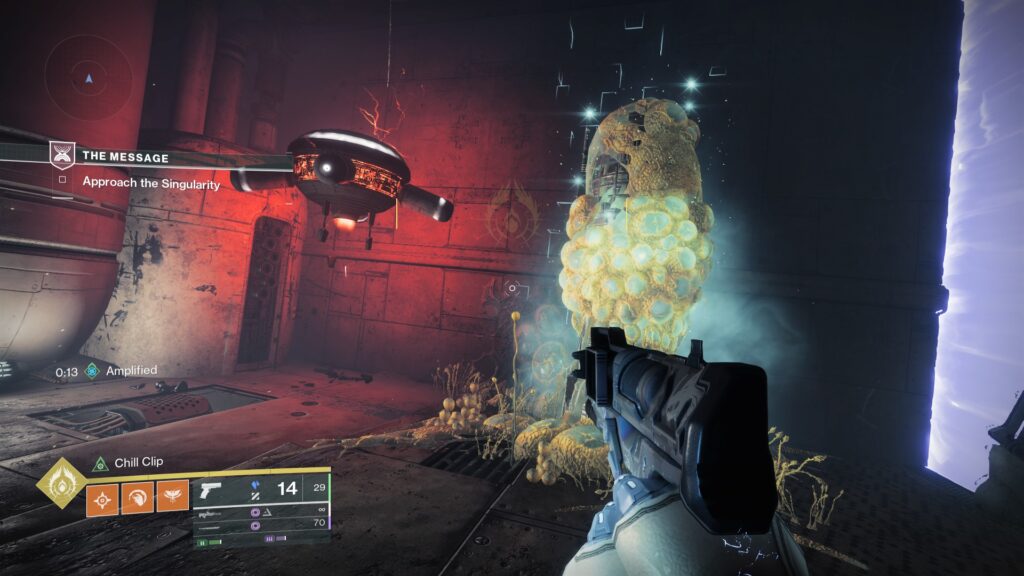
Once all the Vex are eliminated, activate Mattermorph, and aim it at the pillar in the ceiling to create a path inside.
Shoot the signal cube inside to open the right doorway and enter the next puzzle room.
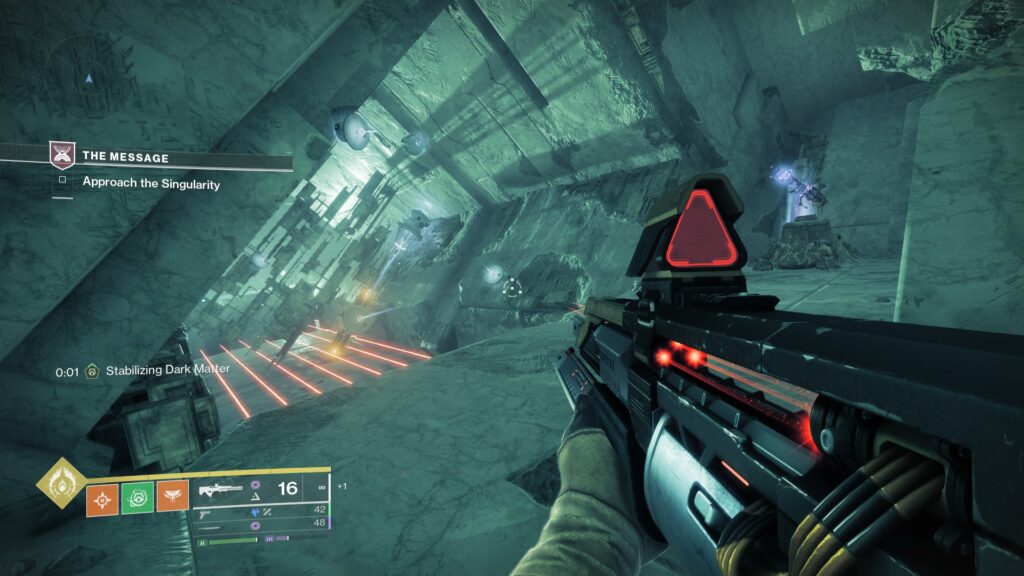
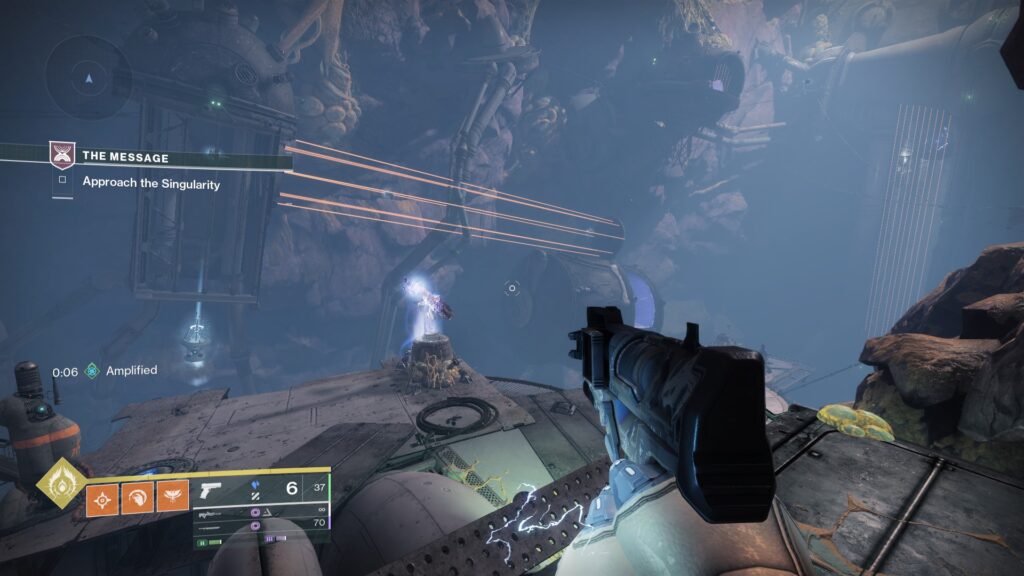
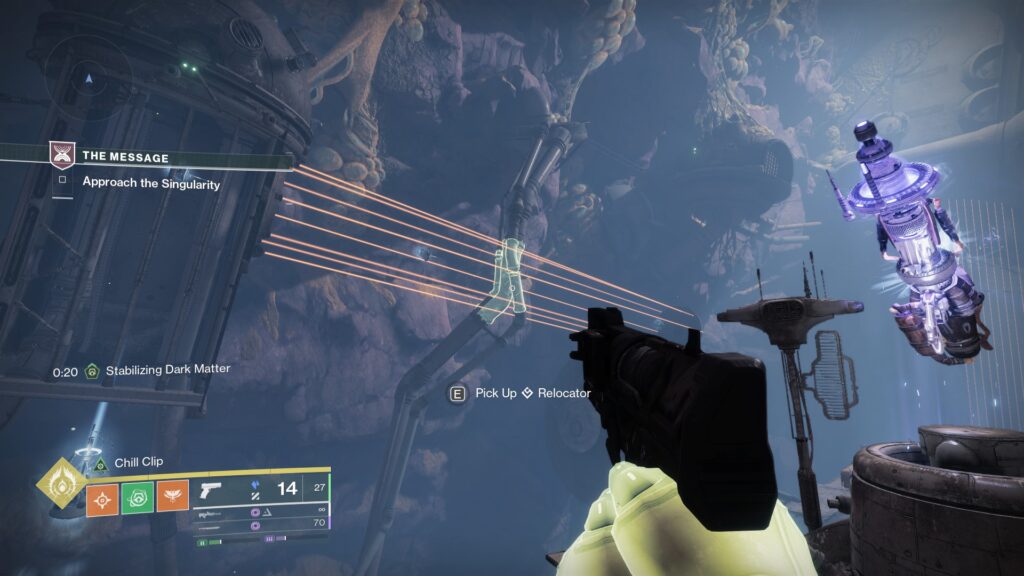
You'll need to use Relocator to make your way through the lasers. This puzzle requires you to have Mattermorph enabled as you enter the other side, as there is no second pillar, so keep a close eye on your timer as you proceed forward.
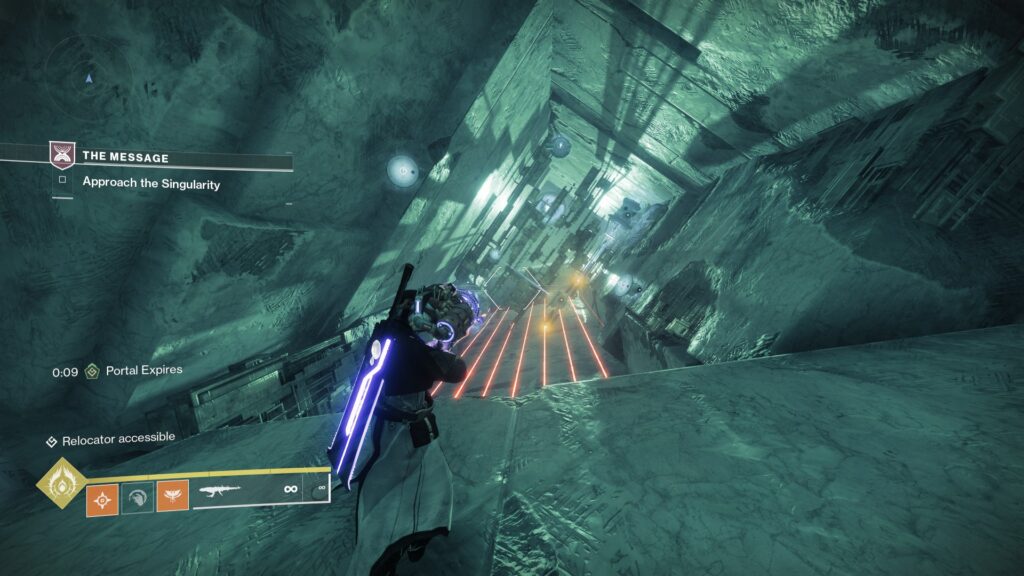
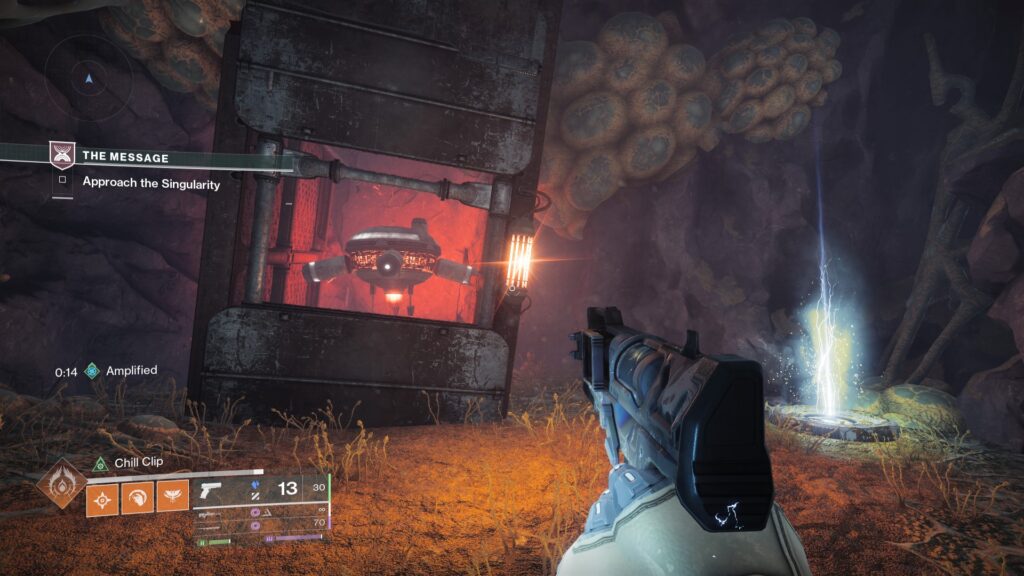
To get to the other side, shoot the Satellite until it is facing the top-left. Then, shoot the starting node to activate the Portal and step through.
Once you're on the other side, use Mattermorph to interact with the wall to the left.
Jump up to find a signal cube. Break it to activate the way forward in the main room.
To get back to the first side, rotate the satellite until it faces Backwards and fire the Relocator cannon.
The doorway to the right will now be accessible, leading you into the first boss encounter.
Rally up to begin the encounter.
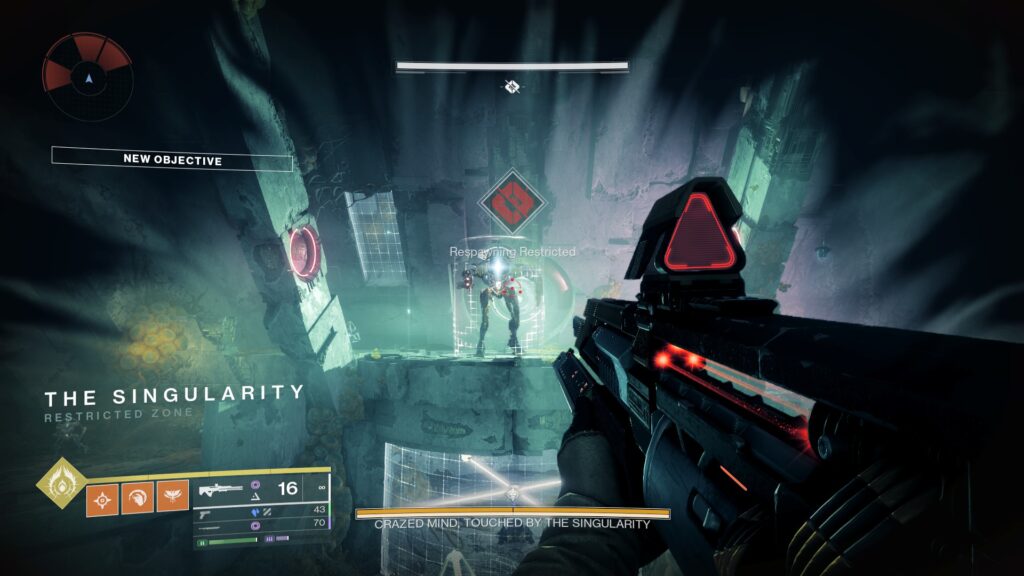
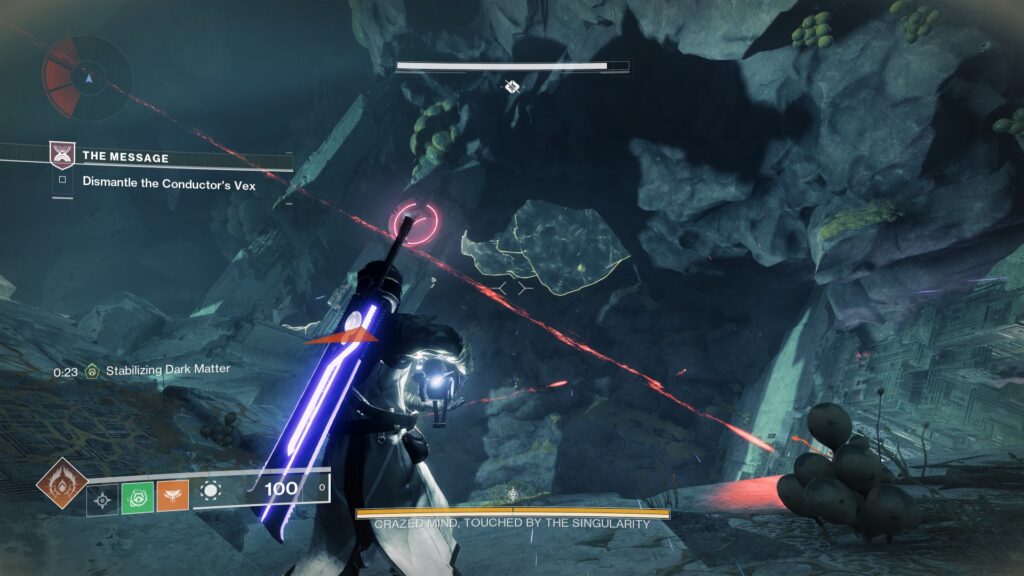
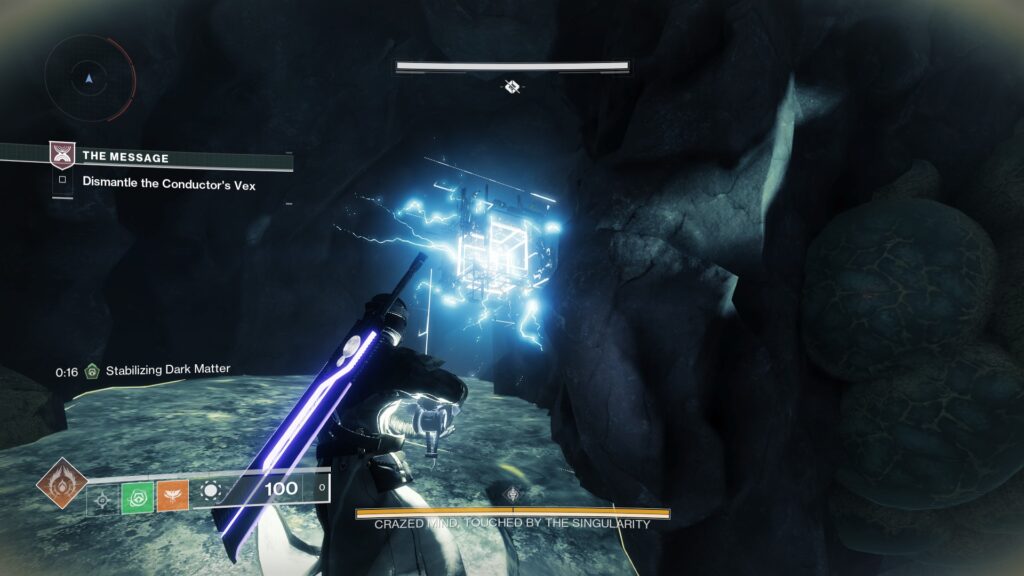
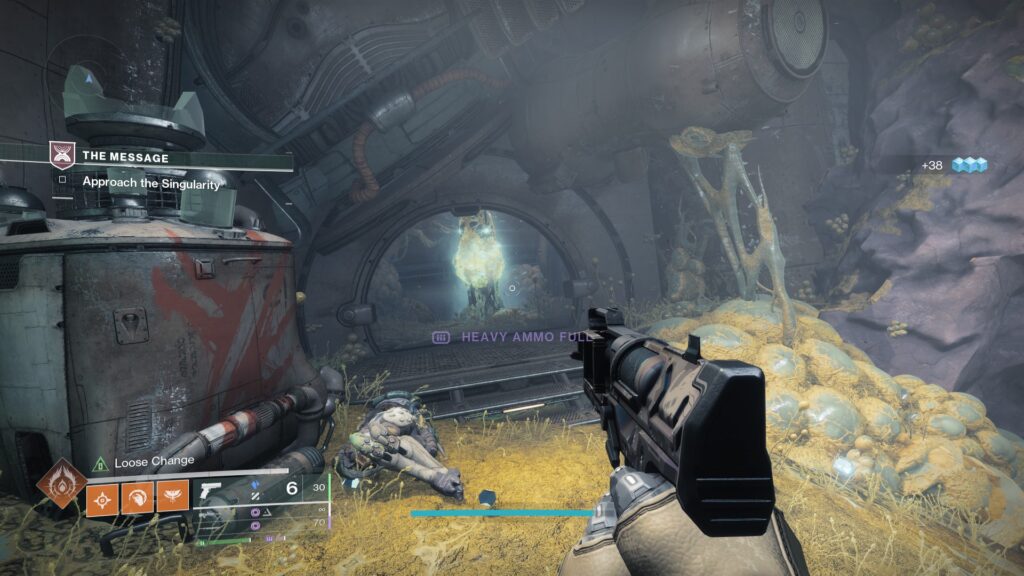
In this encounter, you'll be fighting the Choral Vex, and taking down the Conductor's 'Crazed Mind, Touched by the Singularity'.
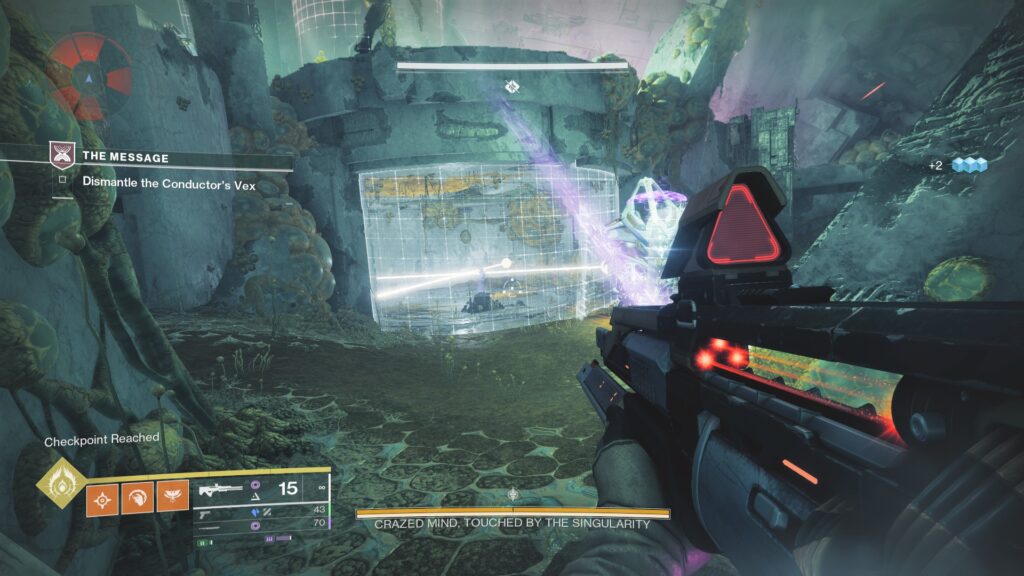
You'll need to lower the boss's shield to deal damage. Clear the room of enemies, and eliminate the Uplifted Choral Hydra to gain access to the pillar underneath the boss.
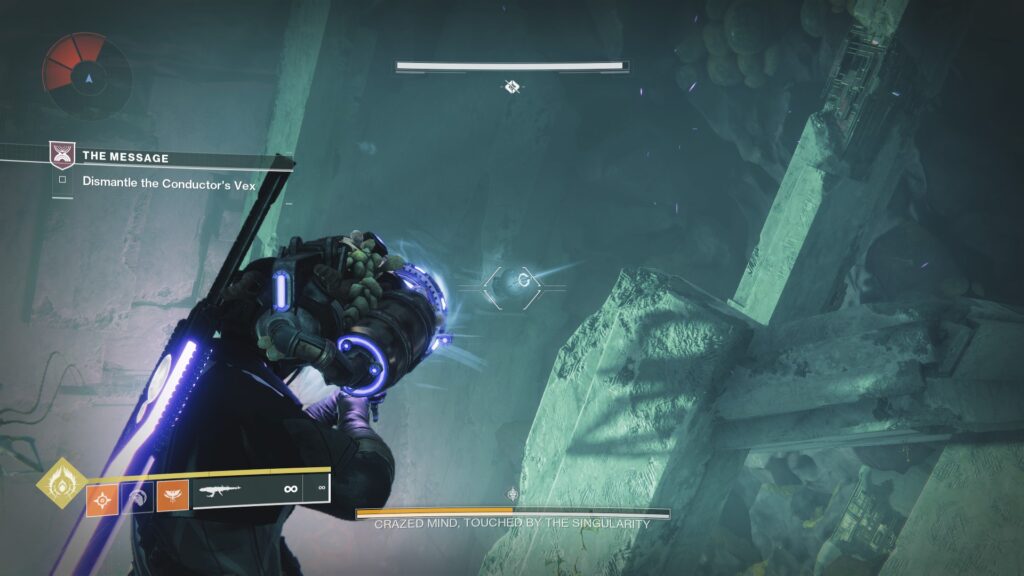
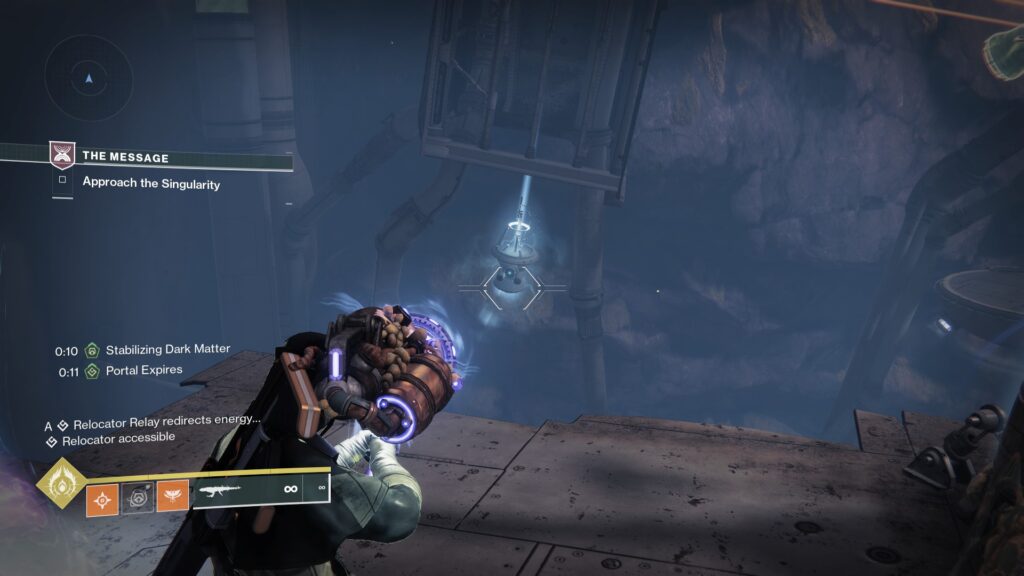
Inside, you'll find a Relocator cannon. Grab it and run back to the middle platform.
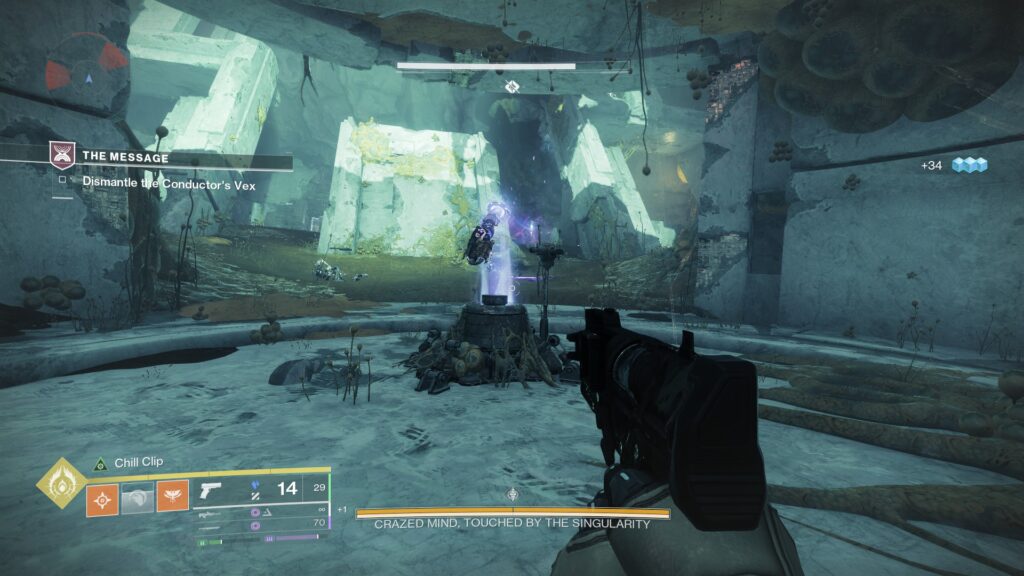
From the midde platform, look to your left to find the starting node of the Relocator relay.
Shoot the node and head to the right side of the platform to find the Relocator Portal. Step inside.
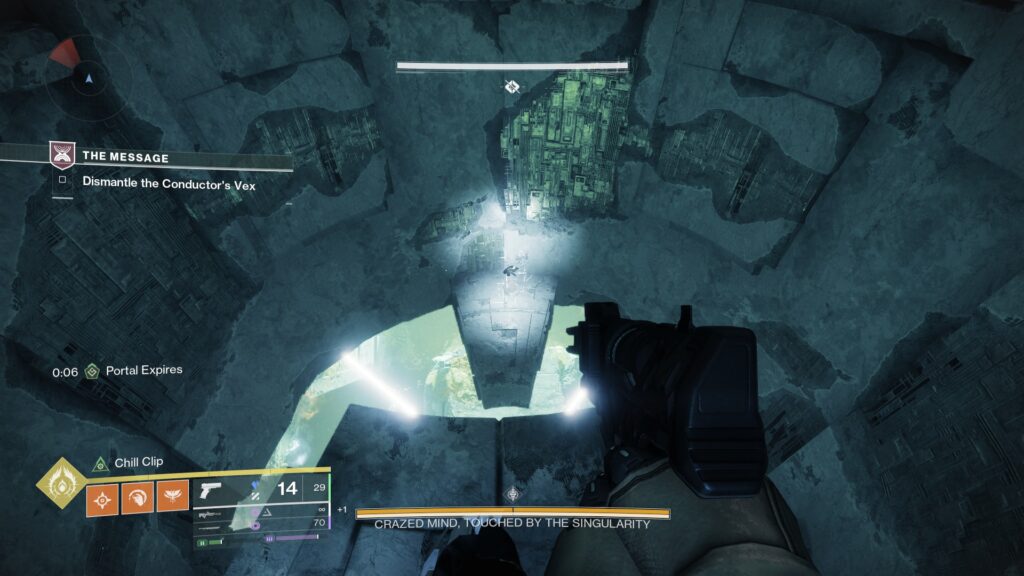
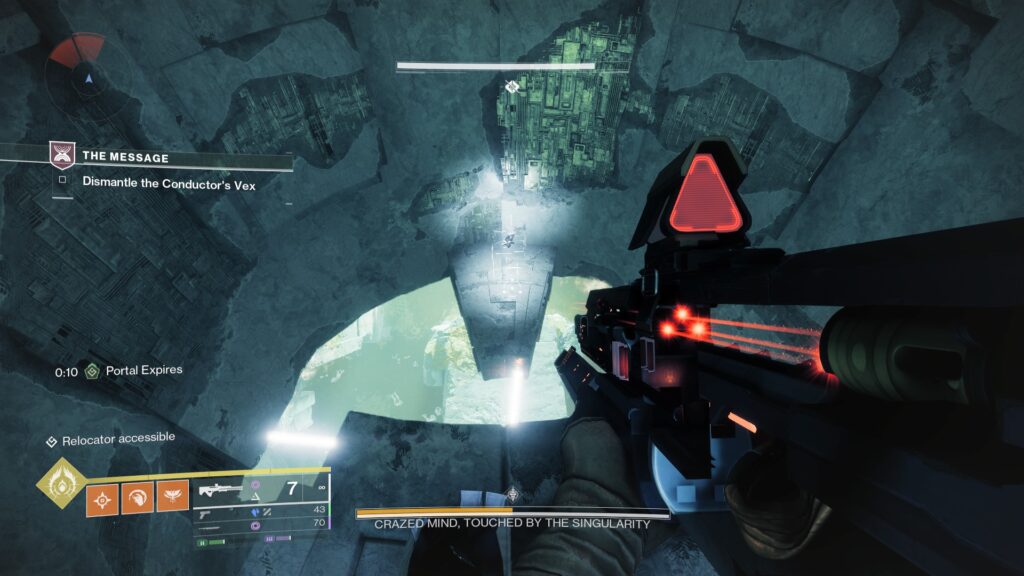
You'll be teleported into a room in the ceiling, with dangerous spinning fans underneath you. Jump carefully onto the platform below and pick up the Arc Cranium to disable the fans. Jump down onto the middle platform again.
From here, you'll need to grab Mattermorph, which is on the back of the middle platform. Once done, shoot the two corners of the room closest to you. You'll reveal two platforms you'll need to walk up with the Arc Cranium.
Inside both, you'll find signal cubes that can only be broken with the Arc Cranium. Shatter them both, and boss damage will start.

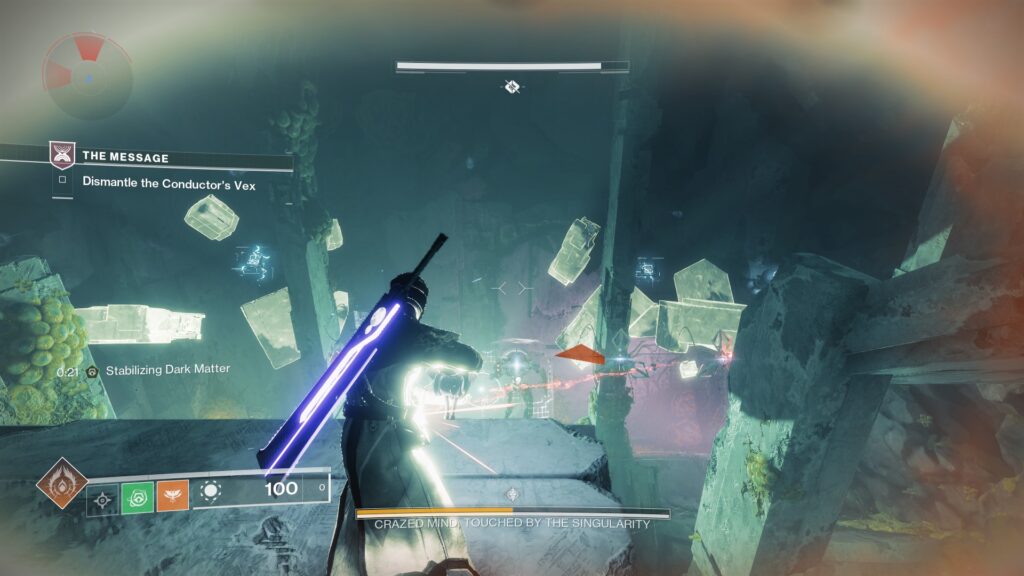
Once you've reduced the Crazed Mind to half of its health, its shields will return and you'll have to repeat the process. This time, you'll have two Choral Hydras to take care of before the shield lowers.
Grab the Relocator cannon, and shoot the starting node, which will now be on the back-right of the arena.
Enter the Portal to grab the Arc Cranium, and return to the middle plate to grab Mattermorph.
From there, you'll need to use Mattermorph on the two corners on the opposite side of the room. No need to jump over; you can see both signal cubes from the center plate. Shoot both with the Arc Cranium to resume damage.
Defeat the Crazed Mind to claim your rewards.
Go through the gap above the door to continue onward.
You'll re-enter the forked pathway you came through at the start of the mission. Defeat the House of Exile enemies, and head into the next door.
In here will be another mini-puzzle. You'll have to find Mattermorph to rebuild the Matterspark tunnel to progress forward.
Enter Matterspark and go inside the tunnel on the left.
Inside you'll find a Signal Jammer. Break it, and head back out into the main room.
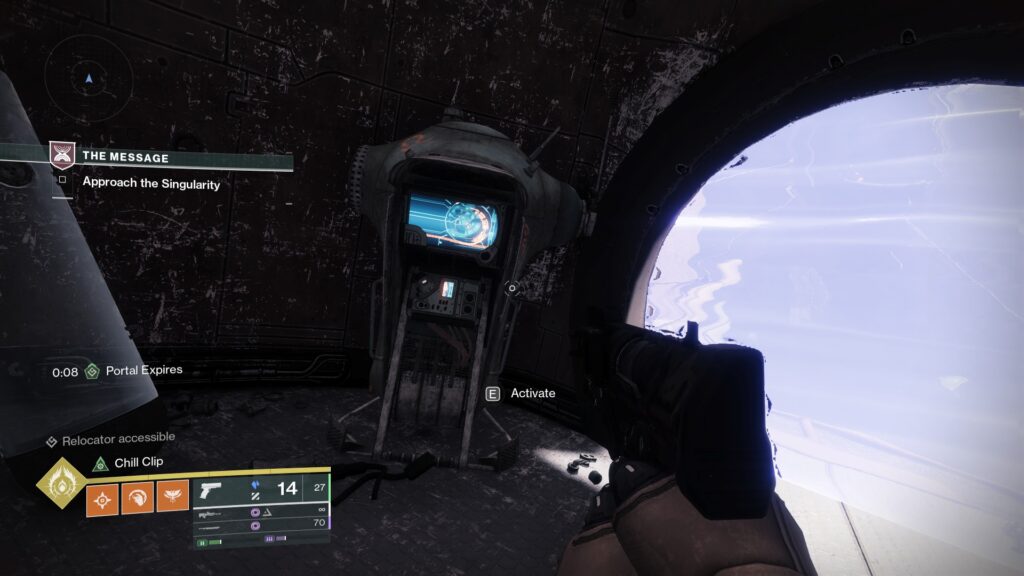
At the end of the room, a door will have opened. Head inside and interact with the terminal to open a second door.
The second door will open by the entrance. Inside will be the Mattermorph pillar.
For this bit, you'll need to keep Mattermorph active as you traverse the Matterspark tunnel, so you'll need to be quick. Activate Mattermorph and head to the back of the room where you'll see Mattermorph tiles.
Use Mattermorph to repair the broken tunnel, then enter Matterspark and head back to the start of the room.
Head up and inside of the Matterspark Tunnel, keeping an eye on your Mattermorph timer to enter the next area.
Continue to traverse forward, slaying out House of Exile as you go.
Use Matterspark to destroy the Matterspark Pylon and deactivate the barrier, giving you access to the next puzzle room.
Within this room, you'll need to use the Relocator cannon with Matterspark and Mattermorph to teleport your way upwards.
First, pick up the Relocator Cannon and shoot it towards the left Pad. A small platform will be floating past the Pad as you shoot; try and make sure the platform is underneath the Pad before stepping in.
Once you're inside, head to the right to enter Matterspark.
Wait for the platform to return to you, and then ride it to the other side of the room.
On the other side, head inside the Matterspark tunnel to find a Signal Jammer and a Mattermorph pillar. Break the Jammer to lower the shields, allowing you to pass back through.
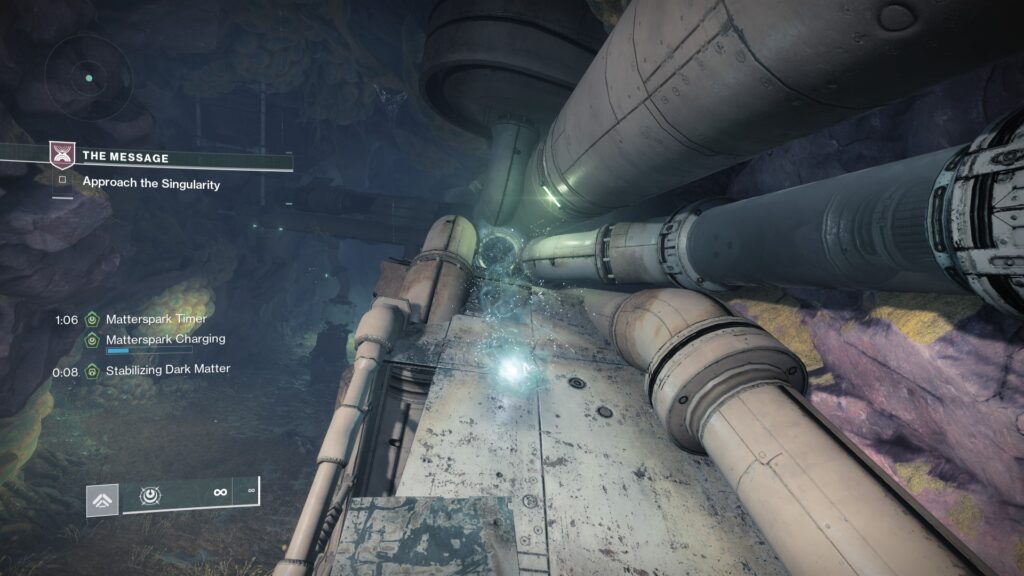
Head back outside with Mattermorph active, and use it on the pipes in the middle to scatter them around.
Shoot the Relocator Cannon at the starting node underneath, and enter the Portal.

Inside, you'll find a terminal. Interact with it to lower the barriers, and start the next mechanic of the puzzle.
Two floating plates will begin rotating throughout the area. You'll need to grab the Relocator and wait for the plate with the Portal to appear.
To pass through the lasers, shoot the Relocator pad early to activate the Portal, but do not step in. Wait until the platform is closer to the edge, and then walk through to teleport to the opposite side.
Now, you'll need to grab Relocator once more and shoot the Starting node to the right. This will open a Portal behind you.
Interact with the terminal to lower the barrier.
You'll be able to hop over to the final door, marking the end of the puzzle.

Rally up to enter the second boss encounter.
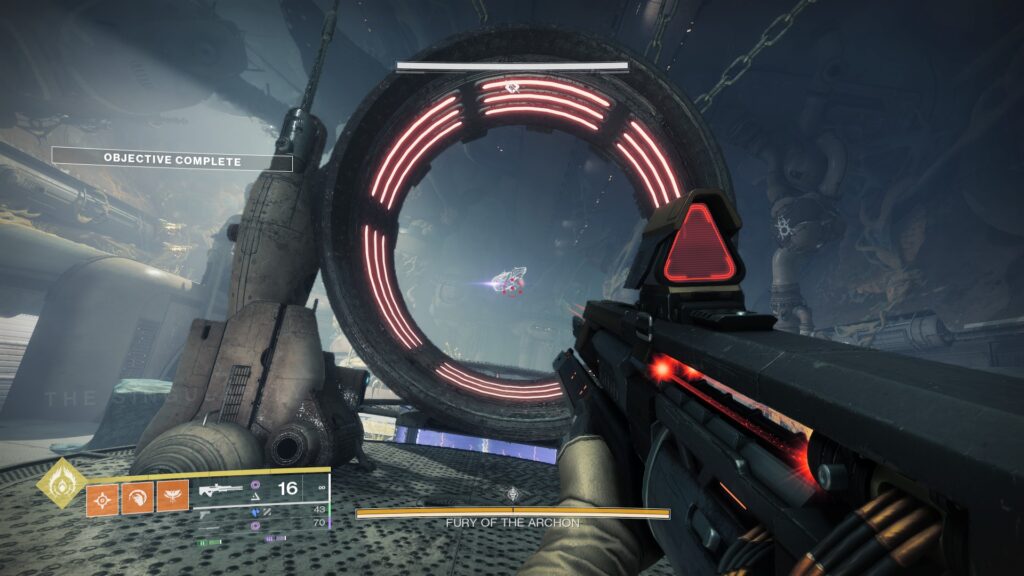
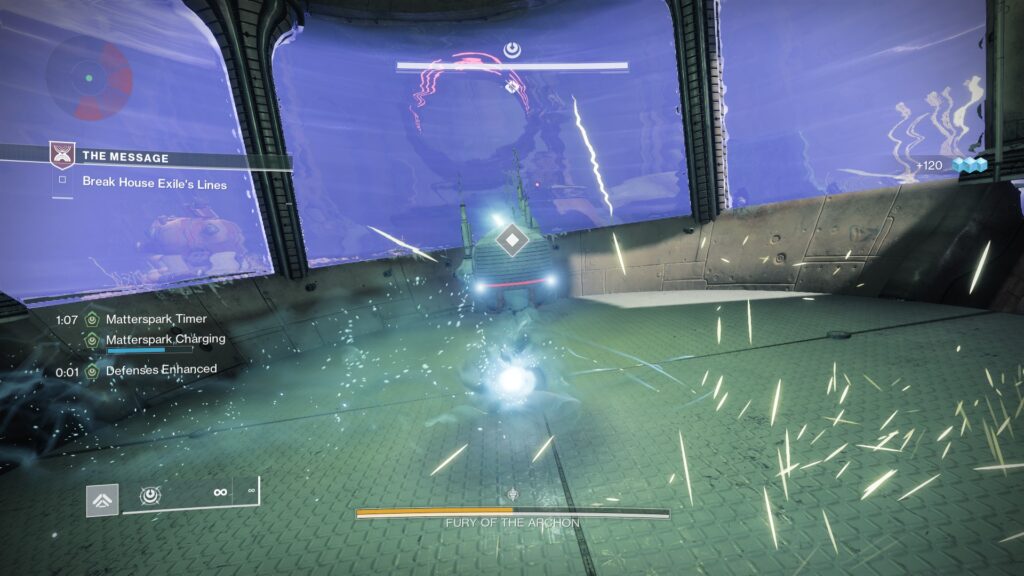
In this encounter, you'll be fighting the House of Exile, and defeating the 'Fury of the Archon'. Begin clearing the room of enemies before proceeding.
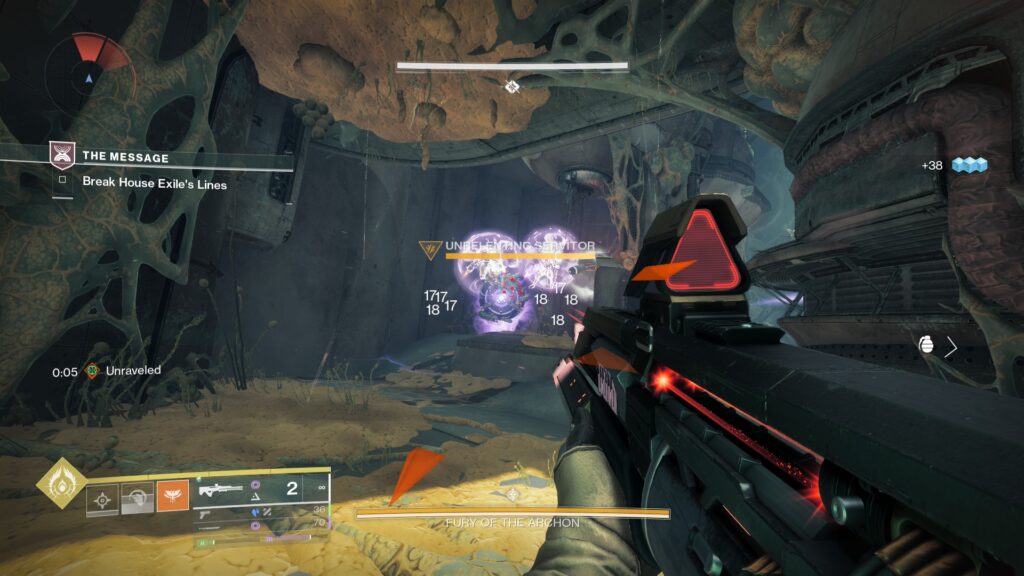
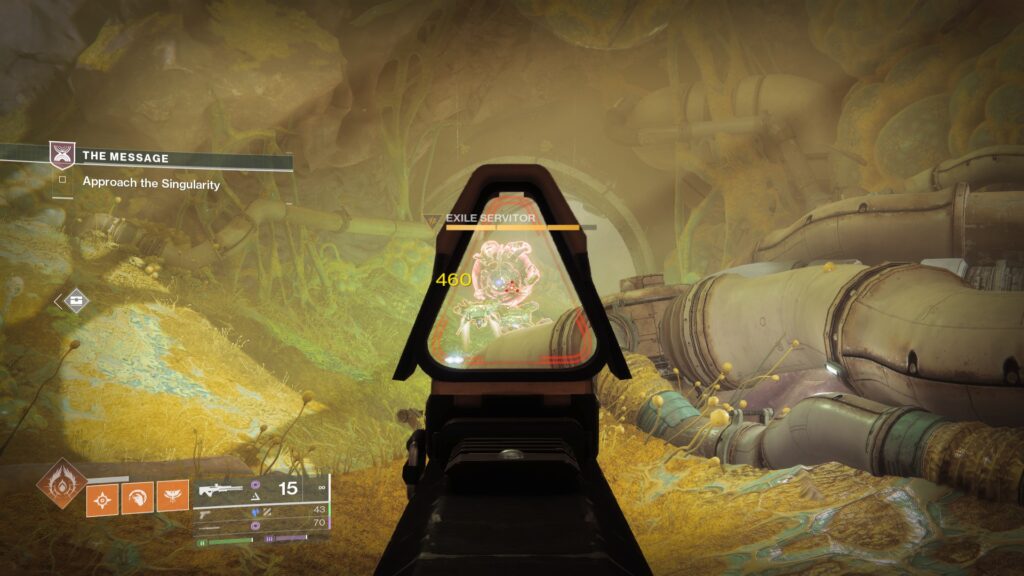
At the back of the room, you'll find two Unrelenting Servitors and two protected Signal Jammers. Eliminate both Servitors to expose the Signal Jammers.
Break the Signal Jammers to continue.
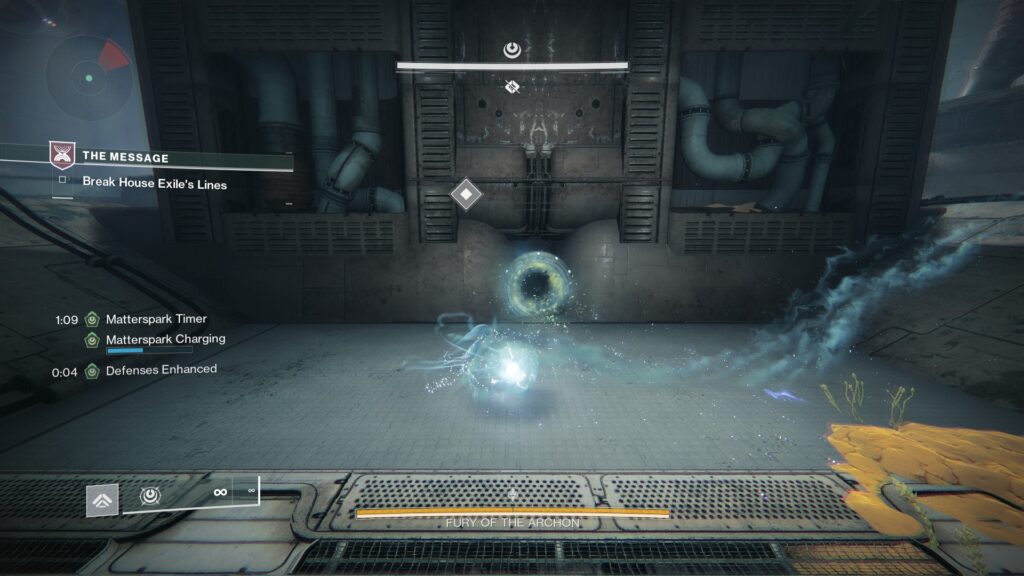
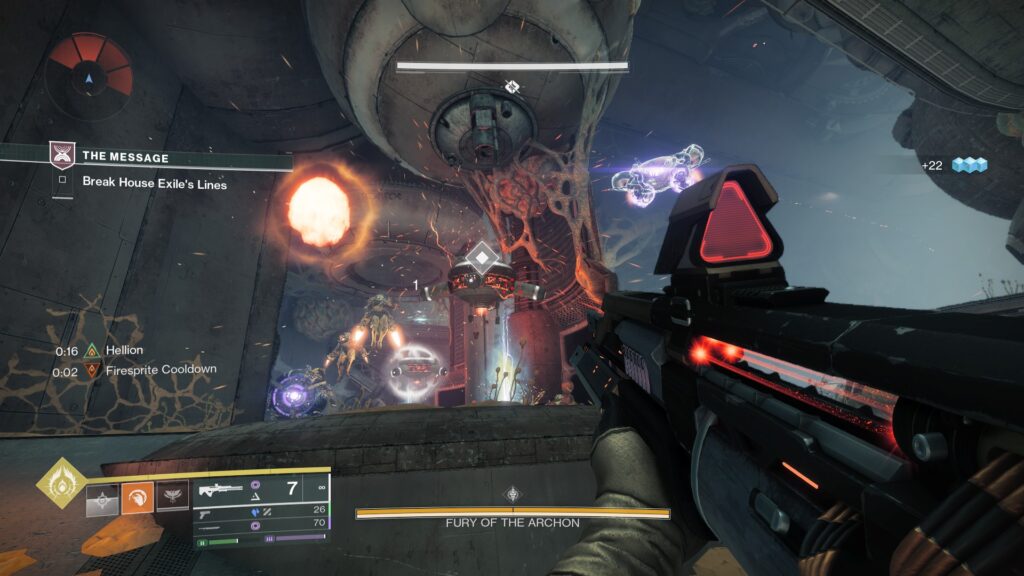
After this, you'll find two Matterspark Pads hidden underneath the Signal Jammers. Enter Matterspark and head to either side of the room to find a Matterspark Tunnel.
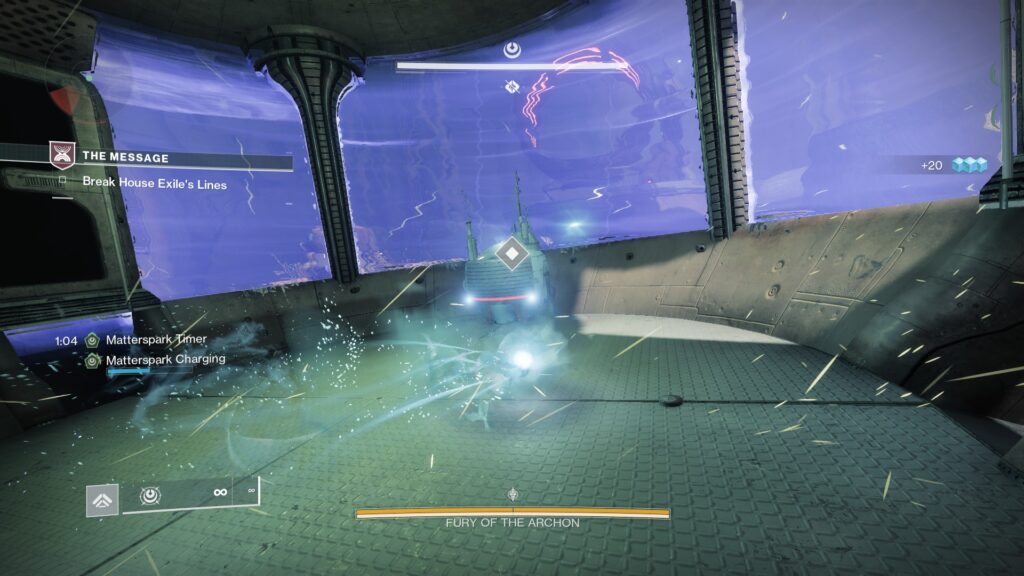
Head inside to find a Matterspark terminal. Charge this up to lower the barriers, and activate the launcher.
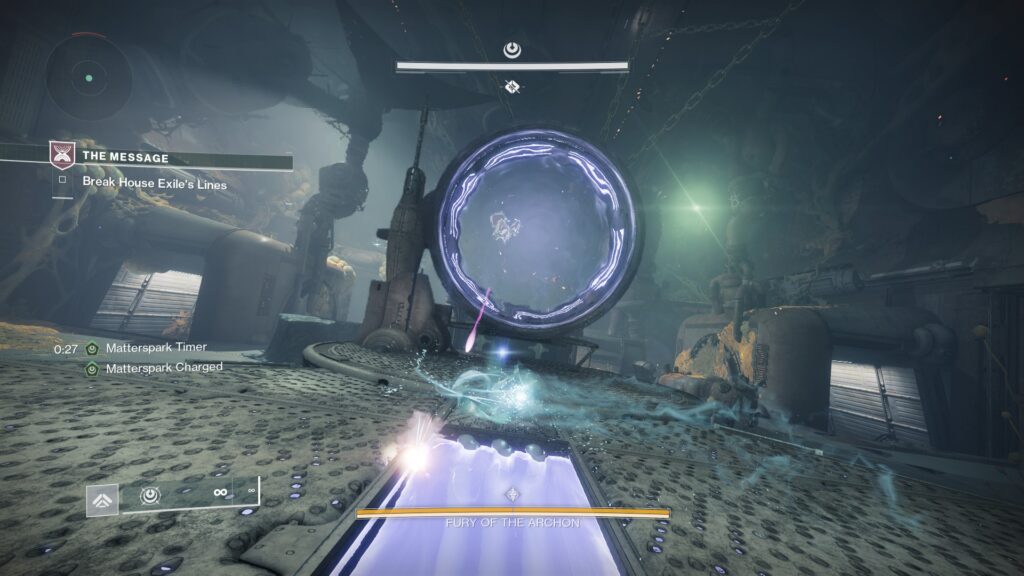
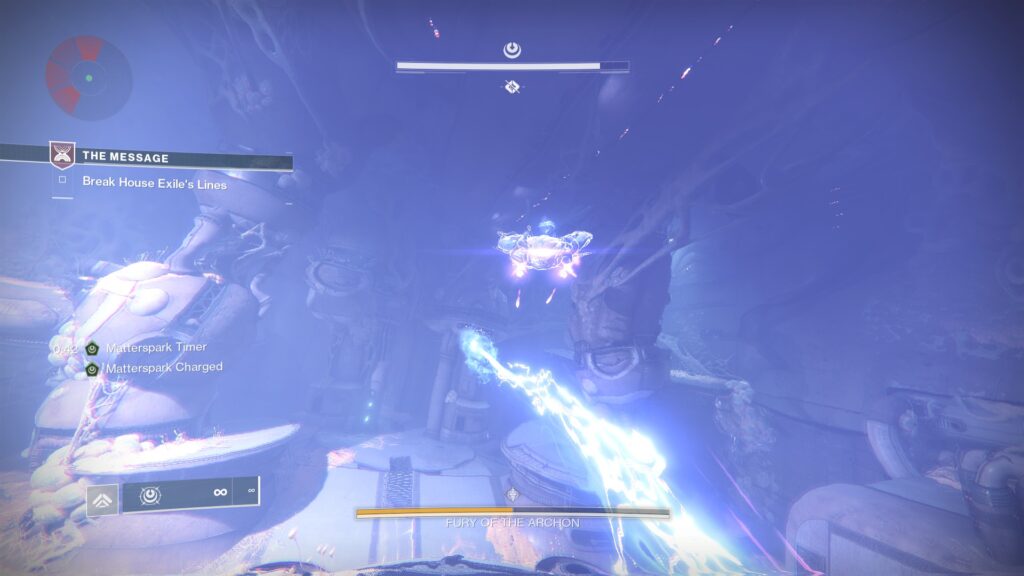
Supercharge your Matterspark, and head to the front of the room where the Launcher is. Jump inside of the launcher, which will send you forward past the boss.
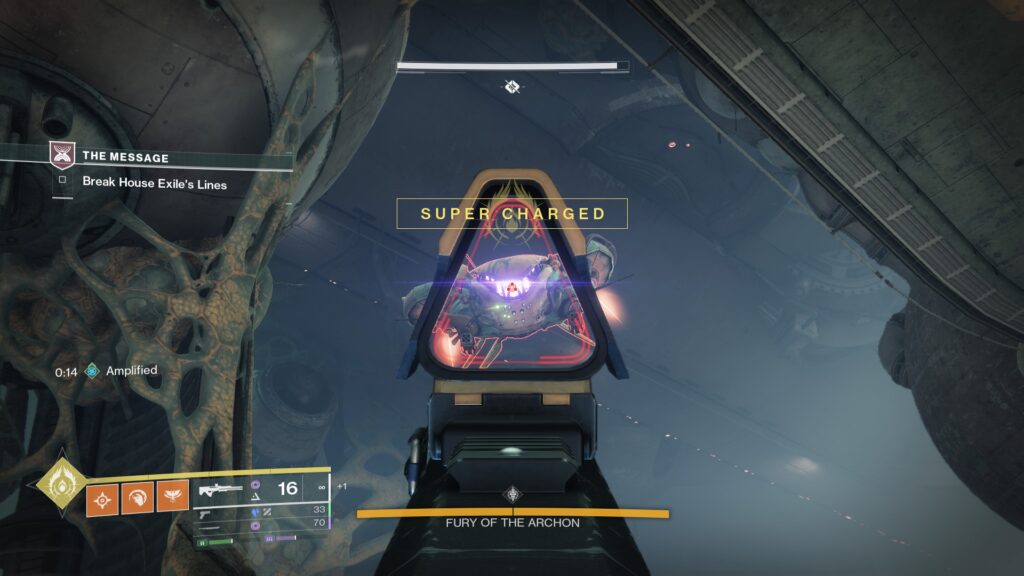
You'll need to use your Supercharge ability mid-air whilst next to the boss to deactivate it's shield and start damage.

Repeat the same steps again to deactivate the Fury's shield once more. Eliminate both Servitors at the back of the room to gain access to the Signal Jammers.
Enter Matterspark and head inside the Matterspark tunnels to access the Matterspark terminal. Charge up the terminal to lower the barrier and activate the launcher.
Supercharge your ability, and then launch past the boss to resume damage.
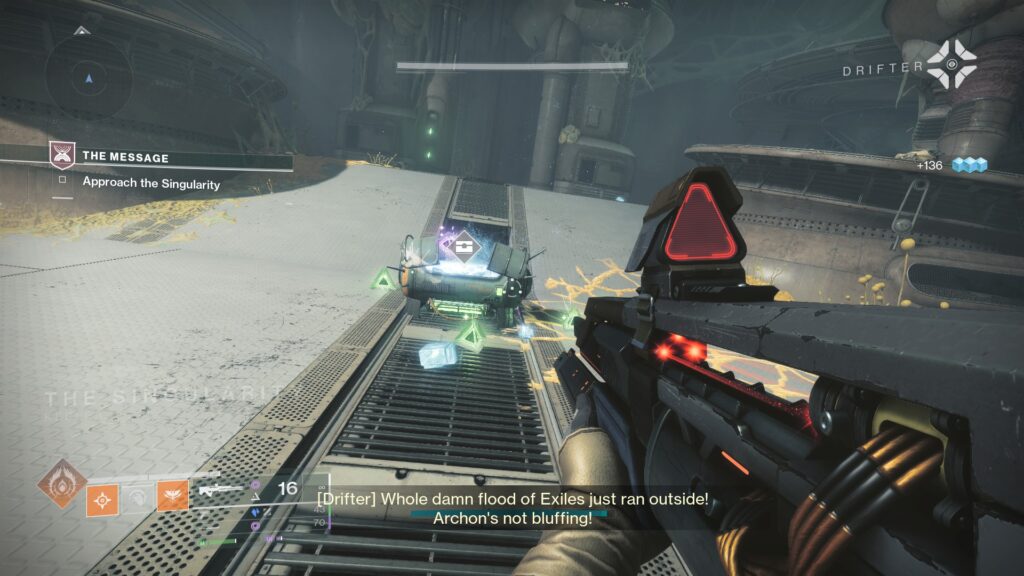
Once you've eliminated the Fury, your rewards will be in the center.
Head down the hole behind the chest to continue forward.
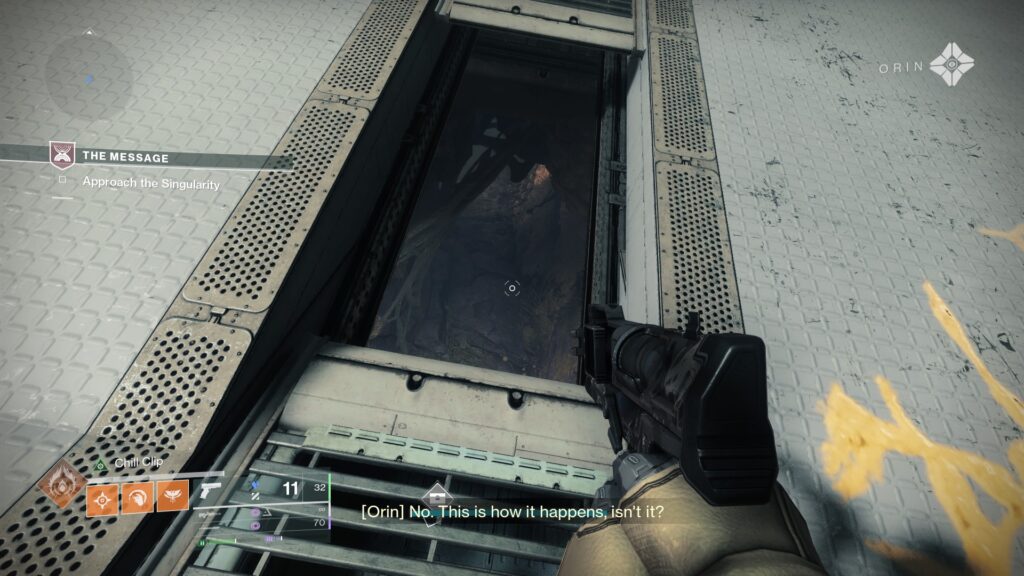
You'll enter the crossroads area again. This time, take the middle door, which was previously blocked off.
You'll be met with an eerie scene of the dead body of III, one of the Nine.
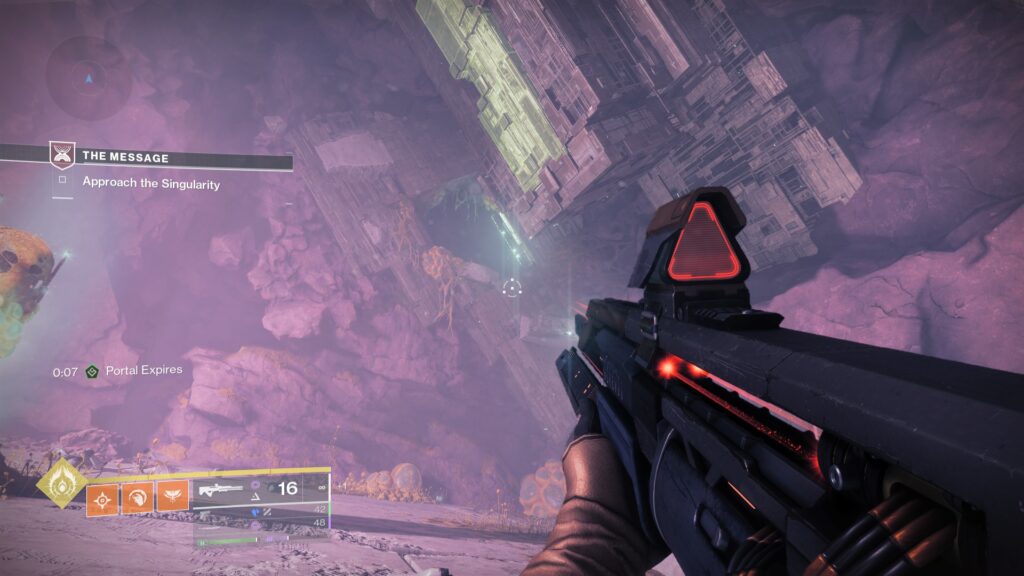
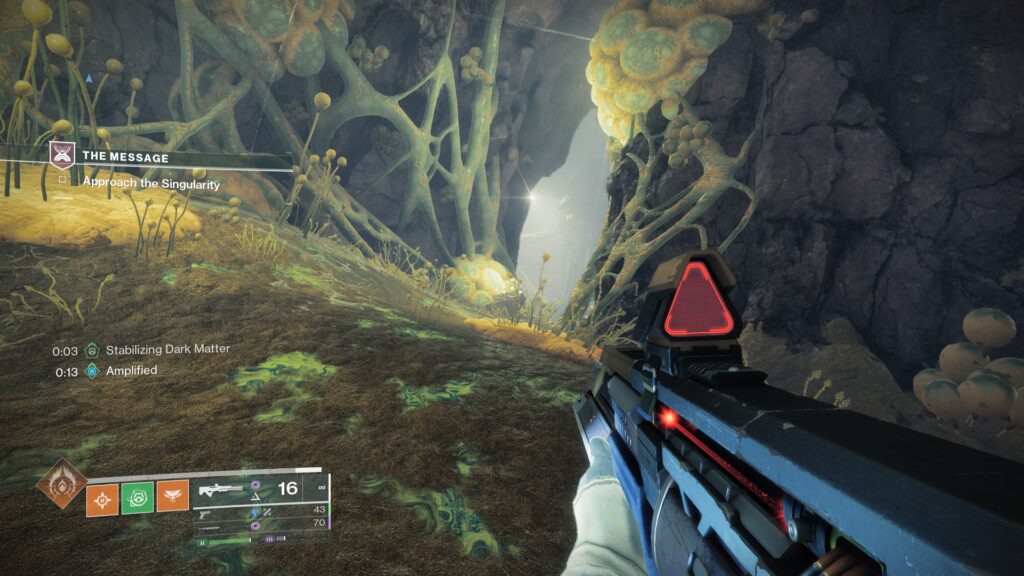
Turn Left and head towards the green entrance to start traversing your way downwards to the final boss arena.

Continue downward across the debris, being careful not to fall.
This will be the final boss arena, where you'll fight The Archon and put an end to his schemes. Head downwards onto the arena and rally up to begin.
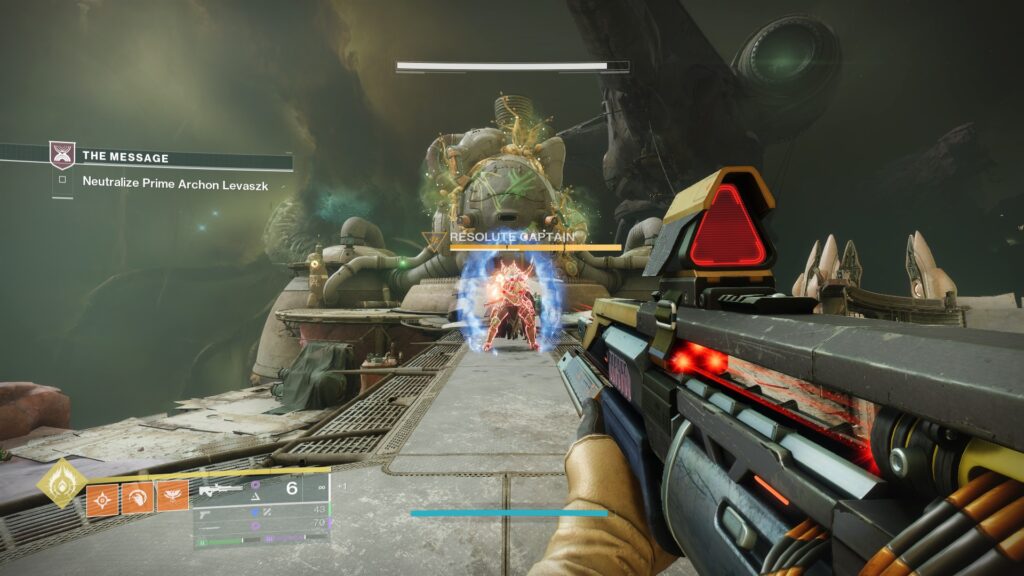
Clear out the enemies in the arena, focusing on taking down the Resolute Captains.

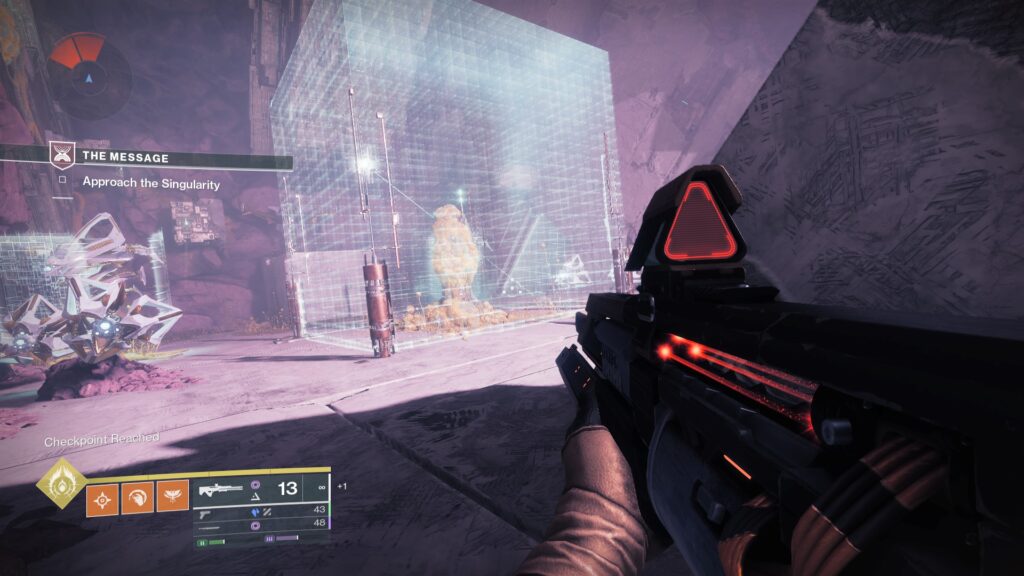
Once they're down, you'll need to teleport your way into the Ketch ship to draw out the Archon. Enter Matterspark and jump over to the platform.
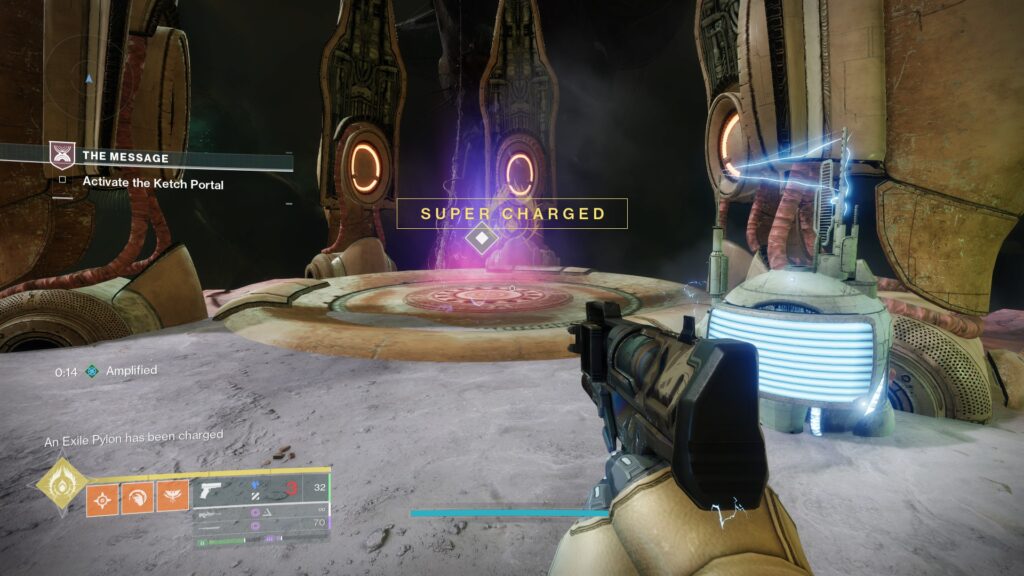
Charge up the Matterspark terminal to activate the Eliksni Portal. Step through to enter the Ketch.
Once you're inside, clear out the enemies to continue onwards.
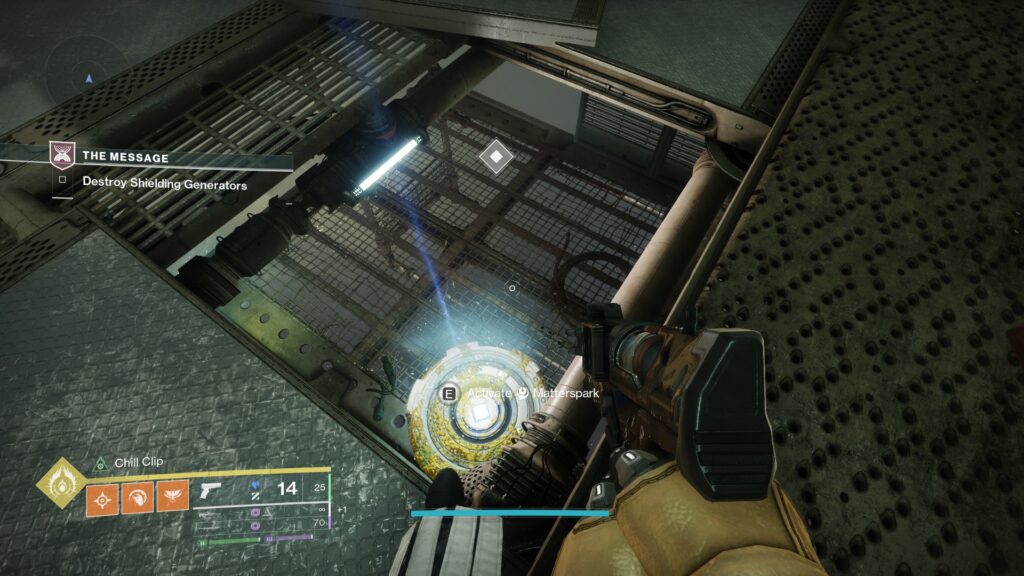
To the left of the ship, there will be a gap in the floor with a Matterspark Pad. Enter Matterspark to continue into a maze.

Inside the maze, head to the platform on the right, then continue zig-zagging your way forward.

At the end of the next platform, head to the left platform underneath, and go forward.

You'll come across what looks like a dead end. Hug the left wall to roll onto the platform underneath.

Here, you'll need to jump across a large gap, through one of the Ship's propellers to make it to the other side. Make sure to time your jump right, as if you miss or get hit, you'll end up back at the beginning.

Once out the other side, continue up the ramp to exit the maze.

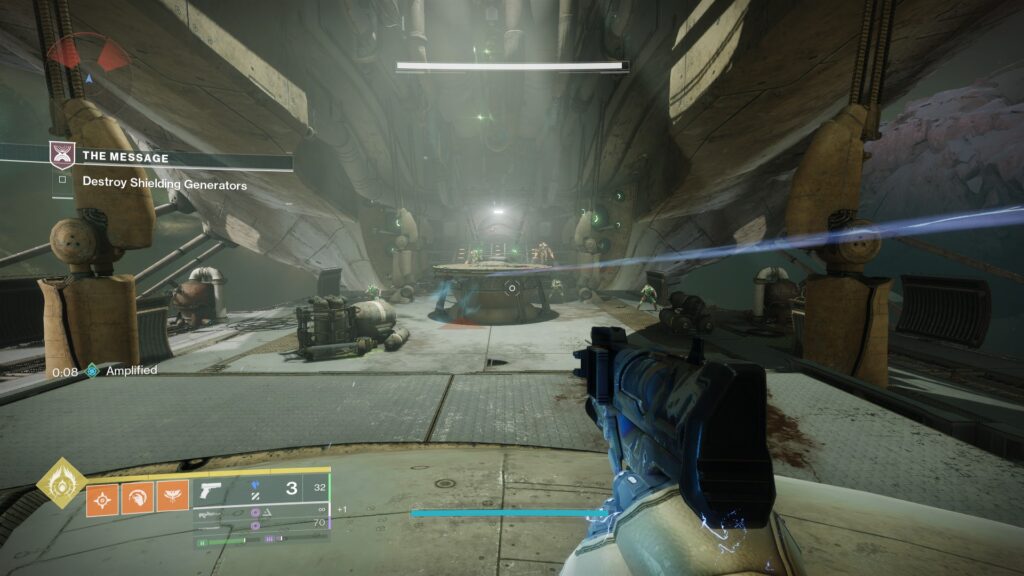
In this room, you’ll need to deactivate the generators to draw out The Archon from his throne. Clear out the room of House of Exile to continue.

There will be 2 Signal Jammers to the back of the room. Next to each will be a Matterspark Tunnel.

Enter Matterspark and go into one of the tunnels. You’ll enter one of two pillars, and inside find a Matterspark Terminal. Charge it up to lower the barriers, and reveal one Signal Jammer.

Head into the opposite tunnel to reveal the second Signal Jammer.

Go back to the middle and break both Signal Jammers to reveal the purple Generator. Shoot it to destroy it.

Leave the room and head back onto the outside of the Ketch.

In the middle, you’ll find a small Matterspark Pad and a Matterspark tunnel.

Enter Matterspark and fall down to be shot off of the Ketch and back down to the boss arena.

Archon Levask, Prophet of the Giver Boss Fight
From here, you’ll enter a Darkness Zone and ‘Archon Levask, Prophet of the Giver’ will appear from his throne. Begin dealing him damage.

Once a third of his health is gone, his shields will appear. These are being held by two Servitors above him, both shielded. Clear out enemies in the room before continuing.

On the left and right side of the room, there will be two Eliksni Cannons. You’ll need to launch yourself through each with Matterspark to bring down the Servitors’ shields.

Enter Matterspark and begin Supercharging your ability.

Choose a side, then begin jumping across the platforms to access the Cannon.

Fire yourself through the cannon, and use your Supercharged ability while next to the Servitor.

Repeat this again on the opposite side.

Eliminate both Servitors to bring down The Archon’s shield and resume damage.

Once another third of his health is gone, The Archon’s shields will return again. You’ll have to repeat the steps from earlier to lower the Servitor’s shields and resume damage.

This time, the Eliksni Cannons will be in the opposite two corners of the Arena. Clear out enemies, charge up Matterspark, and fire through the cannons to lower the Servitor’s shields.

After eliminating both Servitors, turn back to The Archon to defeat him for good.

Once The Archon is down, you’ll find your rewards in the center of the arena.