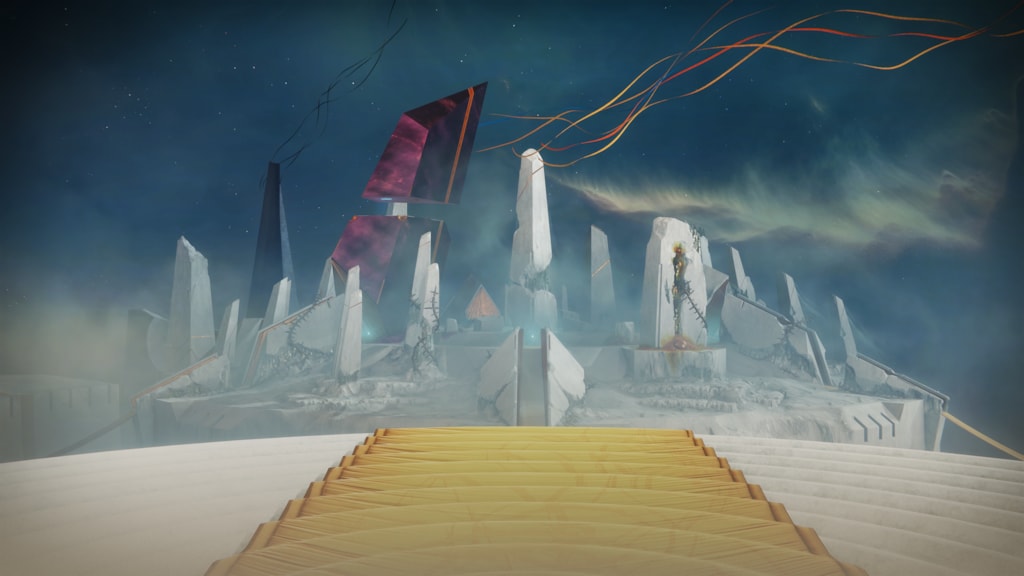
The Edge of Fate is here, and with it is a new, exciting Raid. This raid, The Desert Perpetual, takes place in the realm of the IX on the outskirts of Kepler, and has you taking on the Vex in a battle of four encounters. Interestingly, the first three encounters are able to be completed in a non-linear fashion, meaning that you can complete the encounters you want in any order.
The worlds first contest has now concluded, with "Team Nuts" being the victors. With this, the normal version of the raid is now out for all players, and so it's a great time to jump in if you're up to the challenge. The raid consists of four tight boss encounters, all of which require your team to work together well.
In this guide, we're going to go over all four of the encounters in The Desert Perpetual, so you can find out everything you need to know about the Raid. With this, you'll be able to jump in with your friends and take on the challenge that The Conductor has laid ahead of us.
The Desert Perpetual Loot Table and Weapons
Weapons
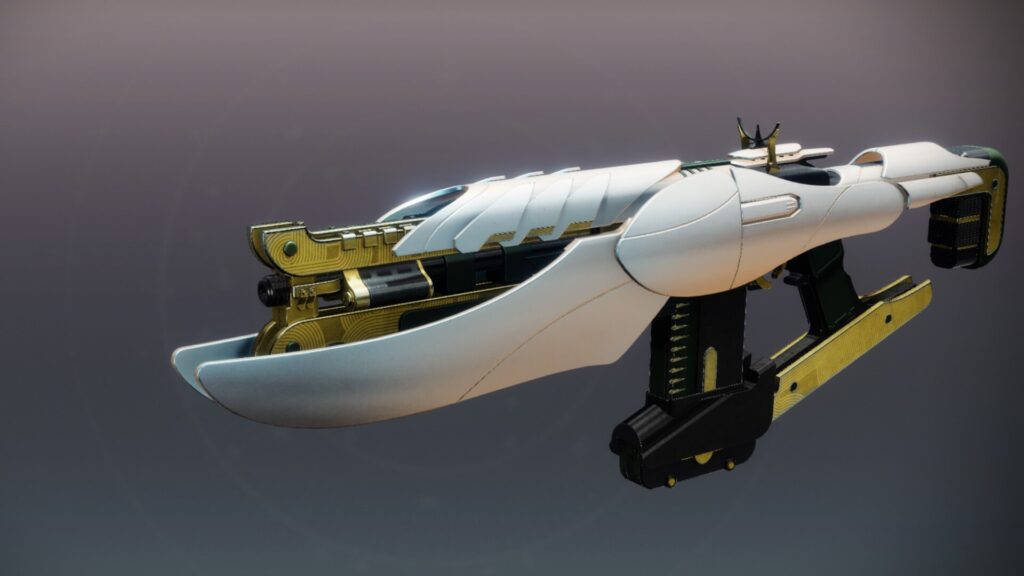
Exotic Weapon: Whirling Ovation
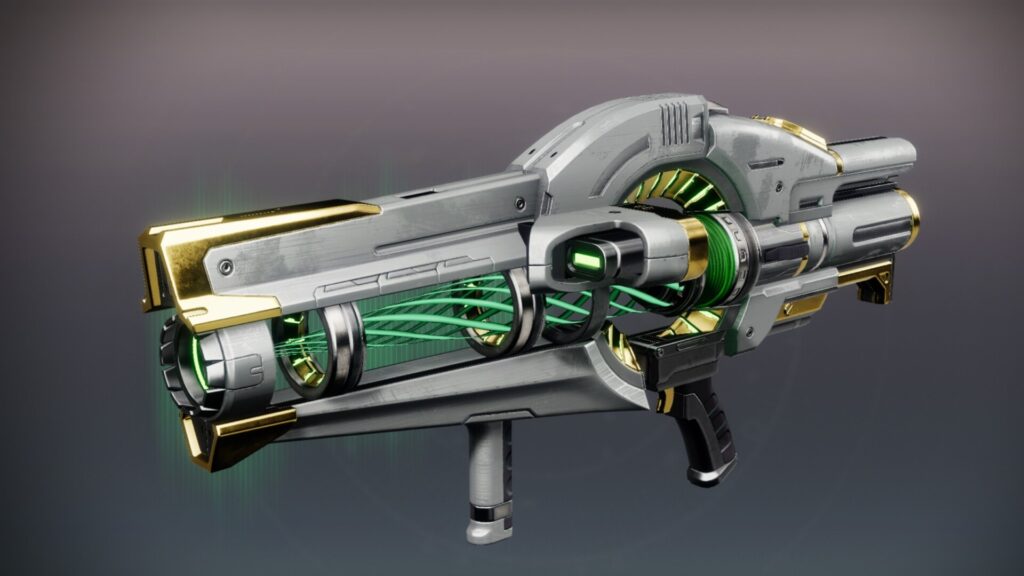
Ammo Type: Heavy
Weapon Type: Rocket Launcher
Element: Strand
Iatros, Inward-Turned
Antedate
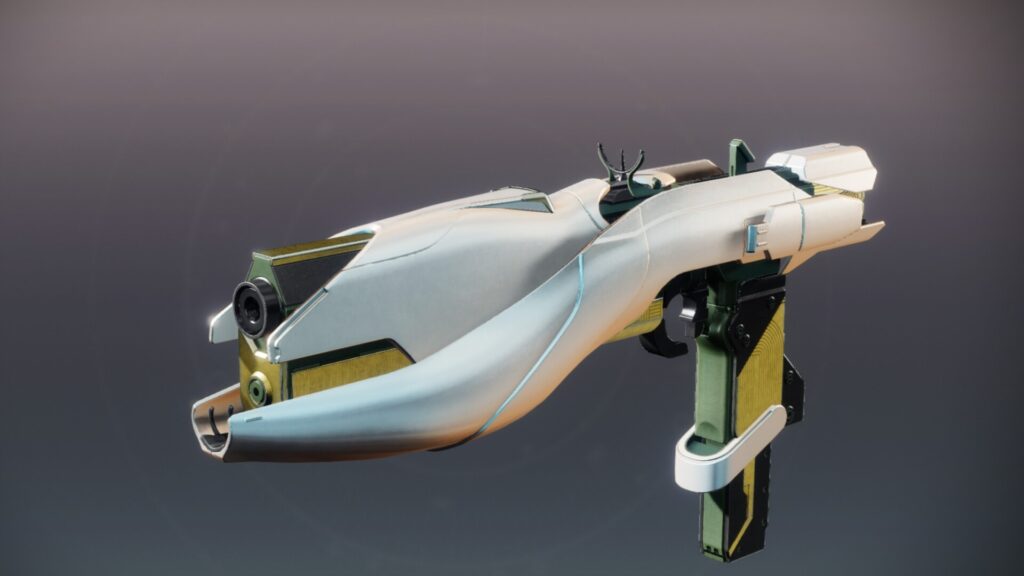
Ammo Type: Primary
Weapon Type: Submachine Gun
Element: Arc
Lance Ephemeral

Ammo Type: Special
Weapon Type: Sniper
Element: Strand
Intercalary
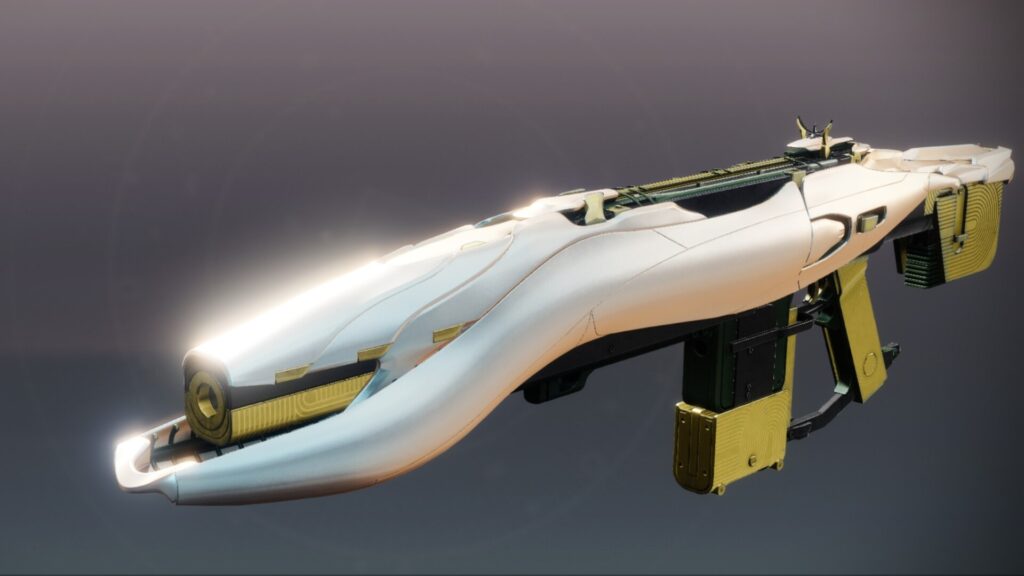
Ammo Type: Primary
Weapon Type: Auto Rifle
Element: Stasis
Agraios, Inherent
Finite Maybe
Ammo Type: Special
Weapon Type: Fusion Rifle
Element: Solar
The When and Where
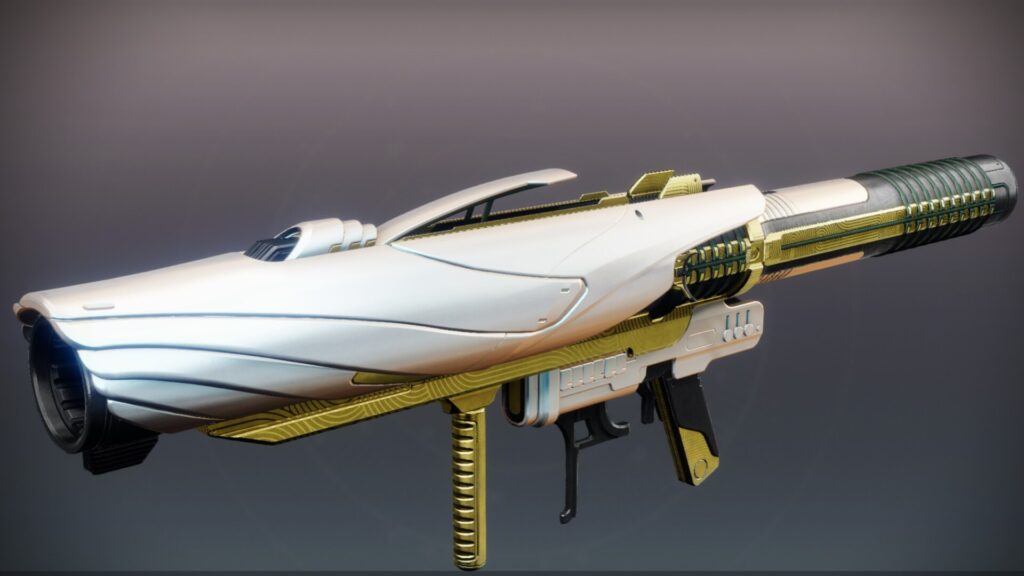
Ammo Type: Heavy
Weapon Type: Rocket Launcher
Element: Stasis
Epoptes, Lord of Quanta
Opaque Hourglass
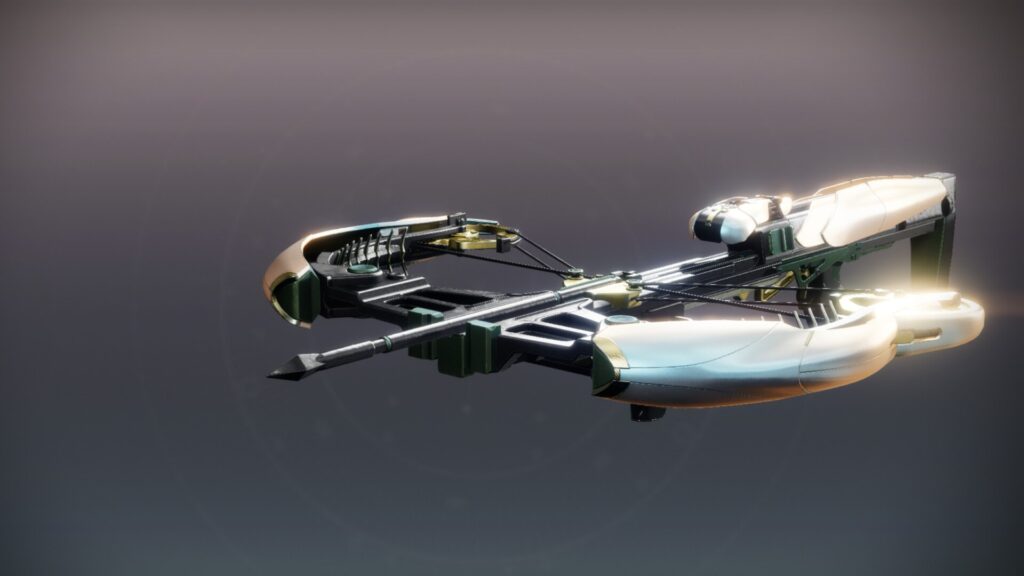
Ammo Type: Heavy
Weapon Type: Combat Bow
Element: Arc
Koregos, the Worldline
Koregos, the Worldline can drop loot from all encounters. It can also drop the raid exotic upon completion.
Armor
Iatros, Inward-Tuned

Agraios, Inherent
Agraios, Inherent doesn't drop any armor.
Epoptes, Lord of Quanta
Koregos, the Worldline
Koregos, the Worldline can drop armor from all encounters.
The Desert Perpetual Encounter Guide
I: Iatros, Inward-Tuned
In the Iatros encounter, your main objective is to take down Iatros, Inward-Turned. The room has three large pillars, and on each one are three Vex boxes stacked vertically. There's an Hourglass in the center of the arena; this will serve both as your time extension mechanic and will also track your encounter progression.
You'll want to split your fireteam into three teams for this fight. Team A should have two players who focus on finding and killing the Minotaurs when they spawn, then picking up their Chronal Energy and bringing them to the Hourglass in the center. This is an ongoing job and keeps the timer from running out.
Team B should have three players, each standing by one of the pillars. Their job is to shoot the Vex boxes in the right order to build platforms during the climbing phase. Start with the bottom box, then the middle, then the top.
Team C is a single player who will be watching for their Diastole stacks, stepping on the glowing plate to get the debuff, and climbing the platforms to grab the white Vex cubes.
At the start of the encounter, six Vex Minotaurs will spawn in around the room. Kill them quickly, as each one drops a colored buff called Chronal Energy. These can be red, blue, or white. Picking them up and depositing them into the Hourglass in the middle by running through the hoop will extend your run timer and push the encounter forward.
If the timer runs out, the team wipes, so make sure Team A is constantly gathering and depositing Chronal Energy to keep things moving. Once you've gathered enough energy, shoot the Vex diamond under the hoop to start the next phase.
Once you've deposited enough Chronal Energy, every player will start to gain stacks of a buff called Diastole. When a player reaches four stacks of Diastole, they'll be launched into the air automatically. At the same time, one of the three plates in the room will begin glowing with a visual effect above it.
The color of the Chronal Energy you collected determines which plate glows: white energy means the top spawn plate will glow, blue energy means the middle plate will glow, and red energy means the bottom-left plate will glow. The launched player should head to this plate and run through the floating shape on it to receive a debuff. That buff marks them as the player who will be climbing.
Your team's job now is to help that buffed player ascend each of the three pillars by building platforms. Each of the three pillars has three large Vex boxes on them. Shooting one of these boxes will cause a platform to materialize at that level. On the 4th beat of Diastole, Team B should shoot the bottom boxes simultaneously to build the initial set of platforms. The timing is tight, and so everyone needs to be ready. If you fail to do so, not only will the platform not spawn, but the timer will drain dramatically, which will eventually wipe you.
Once those are up, the debuffed player can climb up and interact with a small white Vex cube that will be floating on the 3rd platform of the climb. As soon as that first cube is grabbed, Team B should shoot the middle boxes on the 4th beat of Diastole to build the second set of platforms. The debuffed player climbs again, grabs the second cube on the 3rd platform, and calls it out. Repeat the process one more time with the top Vex boxes to build the final set of platforms and grab the third cube.
When all three cubes are collected, the boss will teleport to the plate where the climber originally started and become damageable. Once damage is over, the encounter will restart, and you'll go back to repeating the entire cycle until the boss is down.
II: Agraios, Inherent
In the Agraios encounter, you'll enter a wide room with a circle of five rings in the middle, and three plates in between those rings. To complete the encounter, you'll essentially need to charge up the five rings to get the boss damageable.
To do so, start clearing out the ads as quickly as possible. Once you've done so, a Hydra will spawn at the top of the room and make its way towards the middle. Kill that Hydra as quickly as possible, as well.
Once you've killed the Hydra, Minotaurs will spawn that will drop a buff that you can pick up (by interacting with them) called a Chronon. You'll need to pick them up and run through the five rings in the middle, making them charge with electrical energy. Once you've done all five, you'll spawn in Wyverns and another Hydra, all of which you should assign parts of your team to nuke instantly, as killing the Hydra will spawn more buff Minotaurs for later on (and the Wyverns will kill you if you don't deal with them).
After killing all of those, three players will need to head to the middle and stand on the three plates at the same time. This will give those players a buff each; Absolute, Cyclical, or Constant. These buffs will correspond to the three bosses that will be sniping from the cliffs around you.
The player whose buff matches the boss that is sniping at you will need to run over to underneath the boss and 'Align' at its pillar. When you do this, importantly, the boss will start sniping at you with a laser that you'll need to keep breaking line of sight to not get killed by. This buff is the Variable Elimination buff, which you'll need to keep an eye on.
Once a player has aligned, the non-aligned players with buffs will need to run over and check the rings in the middle. For each buffed, non-aligned player, two of the rings will have blue lights on the side while the rest will be red. Those without a buff will need to charge those four with Chronons again, and then the aligned player will need to run through all five rings to charge their buff.
Once they've done that, their grenade will change and will be a detail. A non-aligned player will need to stand in the open to get the Variable Elimination timer. Once their timer hits zero, the aligned player will hit their grenade button to block or parry the sniper shot, after which you'll need to get ready for DPS.
The boss will teleport into the middle, and you'll need to start putting as much damage as possible into him. Once the boss disappears, another player will then have to run around the rings again to once again obtain the detain grenade, in which you'll need to do the same thing again to extend DPS. While waiting for the extension, you can deal damage from far away using a sniper.
After you've done the detain buff again, the boss will teleport back, and the same will happen again, for a third total phase of damage. Once you've done all three of these phases, the boss will become immune and you'll head back to the start of the mechanics phase. With this, you'll have one less alignment (the one that you completed was eliminated), and one less Wyvern. Head back to kill the Hydra and loop the encounter until you either clear or die to the enrage.
III: Epoptes, Lord of Quanta
In the Epoptes encounter, you'll face Hydras with rotating shields covered in seven eyes arranged in a hexagon pattern — six around the outside and one larger eye in the center.
Split your fireteam into three teams, Left, Mid, and Right. The mid team will stay in the middle room and clear ads, where the left and right teams will have to do mechanics.
The left and right teams will need to quickly kill the two Cyclopses in the room and stand on the plates at the same time to receive their corresponding buffs. They then need to run into their corresponding rooms, in which a rotating hydra will be within. To keep their buff timer up, they need to keep following it round and staying in the rotating light, as that'll stop the buff from counting down.
When in the room, each team will need to look at the pillar in the room that has a symbol. They'll need to call out the position of the lit up symbol on the pillar (so, Bottom Left) for example, and the other team will have to shoot that on the shield of the hydra (where the light is emitting). Do the same four times over, and you'll see a new message in the corner of your screen.
One player from each room will need to run to the middle and look at the pillar corresponding to their room. They'll need to call out the symbol that isn't lit, and then listen out for the other team's callout. Then, they'll need to go to the other team's pillar and shoot the ones that aren't lit. Once this is done, the left and right players will need to grab their buffs and head back in to finish the mechanic. Once all the eyes are shot, shoot the big eye in the middle and run back into the main room.
Head over to the boss, and the player who shot the eye will need to shoot the eye in the middle of the boss's shield again. The shield will then disappear, and DPS will start. In the left of your screen, two players will be called out. They'll have to run to the side of the shield with light, and shoot all of the eyes and the middle eye at the same time, to keep DPS going. Once all six players have done this, you'll have one final DPS phase, and the whole damage phase for that round will be over.
Repeat until you either clear, or hit enrage after three phases.
IV: Keregos, The Worldline
In the Koregos final boss encounter, you’ll be fighting a massive 'Harpy' surrounded by layered temporal mechanics that demand tight coordination across buffs and roles. The arena has three plates in total: one on the left tied to Constant Temporality, one in the middle tied to Absolute, and one on the right for Cyclical.
Start by assigning your team to their buffs. Three players will take on the Constant Temporality role (on the left), one will be Cyclical (on the right), and one will be Absolute (in the middle). The other person on your team will be dedicated to ad clear (and generating a lot of special ammo). You'll need to clear ads and get rid of the hydras to access the plate, whilst also hiding from the huge laser beam attack the boss emits so you're not instantly melted.
Once you have your buffs, two players with Constant will need to be shooting the boss's weapons to stop the laser beam. It's best to split this into two, with one player taking left and one player taking right. When it starts its laser beam, shoot the two weapons on the side with a sniper rifle to stop the laser attack and stun the boss. Keep doing this, constantly, as the laser attacks will keep coming to hinder your team's progress.
Around the map, you'll see mine-esque bombs floating around. If you're not on turret or ad-clear duty, you're going to need to keep an eye on these, as this is how you're going to be able to charge DPS. You'll need to find the right ones to break to get the buff that you need to dunk in the middle of the ring.
The rest of the players with the buffs will need to go around the arena into the lit up circular zones on the platforms, and stand it in at the same time to get the Temporal Oculus buff. With this, each of those three players will have to work together; the Absolute player will be able to see the color of the ring in the middle, the Constant player will be able to see the color of the mines, and the Cyclical player can see if a mine is real or a dud (a real mine will have energy around it).
Once you've worked out the color of the ring, the Constant player will need to look around at the mines of each color and point out the right ones, at which point the Cyclical player will say if that mine is real or not. Once a mine matches the conditions of both being the correct color and real, the Cyclical player will go and shoot it to pick up the Chronon and dunk it into the ring.
Once you've done this six times, a staircase will appear at the middle of the arena. Go up these stairs as quickly as possible (after gathering ammo, if required, as you'll have a bit of time if you do the other steps quickly enough), as this will be the DPS platform. Once at the top, there will be four pillars with cubes around them.
The Constant and Cyclical players will be able to see two different pairs of cubes, whereas the Absolute will be able to see all three. With this, the Constant and Cyclical players will need to tell the Absolute which of theirs overlap. The easiest way of doing this is by having one player stand between the two that they see, and the other one shooting at the one that they see of the two that the player is standing between.
Once you've done all of these, DPS will start, and you'll need to shoot the boss in the face. During DPS, Chronons will drop. To extend DPS, a player will need to find the Chronon of the right color and dunk it into the ring. This can be done three times to ensure DPS is as long as possible. The rest of the players will just have to deal DPS the whole time, while also making sure to avoid the beam attacks that the boss emits.
With this, there are three 'lanes', close, middle, and far. Each beam will take up one of the lanes, and there are two beams, and so to avoid dying you'll need to stand in the right lane to avoid the boss attack.
Once DPS is finished, you'll be kicked off back to the main arena, and will have to once again do the same thing. You'll have three phases before enrage, and the Last Stand is pretty tight.
And, importantly. Once you finish Last Stand, run away from the boss, as far as you can to get out of the radius of his kill, or he will kill you (and many teams have wiped to this mechanic).
