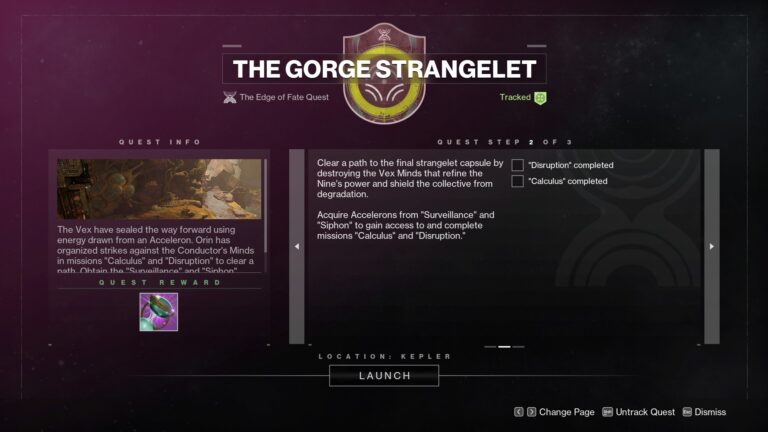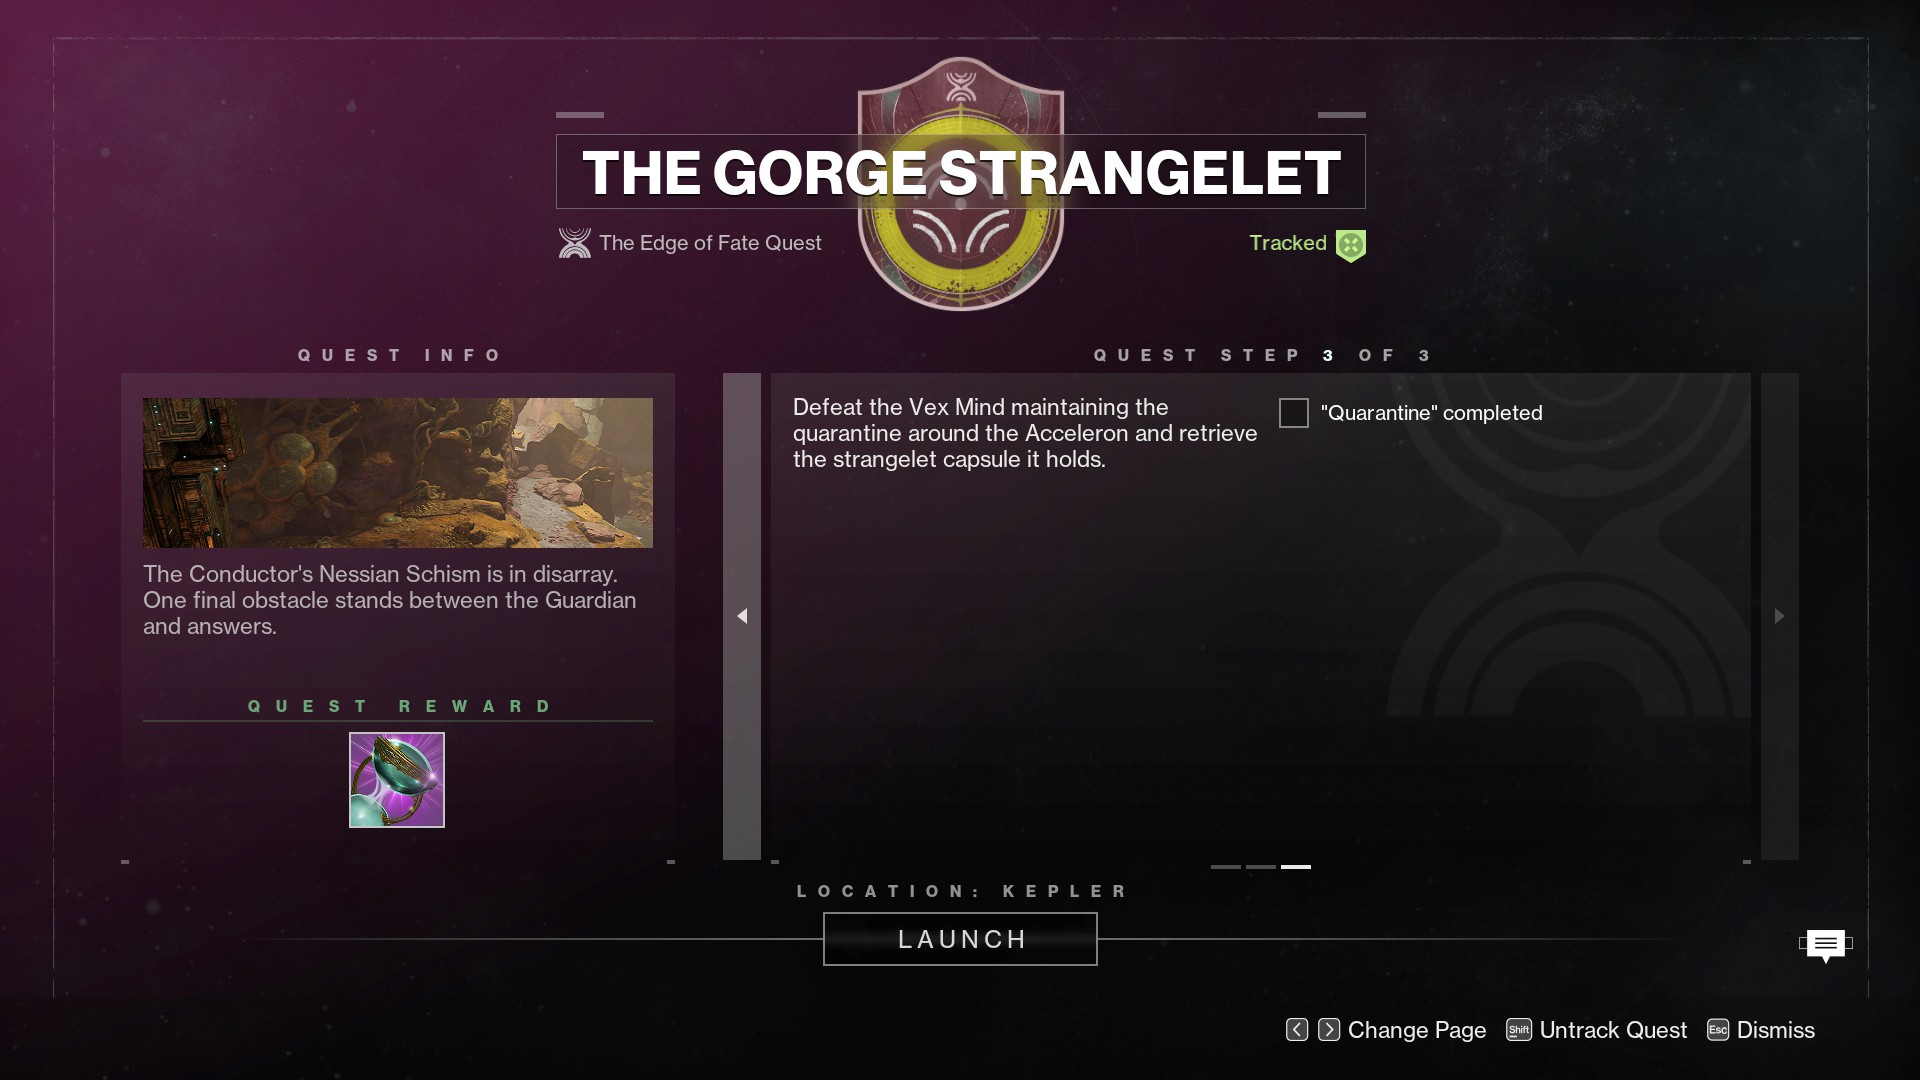
The Calculus, Disruption, and Quarantine missions are all missions related to The Gorge Strangelet in The Edge of Fate campaign. With these missions, you'll upgrade your abilities and work to stop Maya Sunderesh from sending Kepler to Ruin.
Once finishing these missions, you'll have the last Strangelet capsule, and will be able to conclude The Edge of Fate campaign.
Mission Calculus Guide

Once you enter the mission, walk forward into the train.
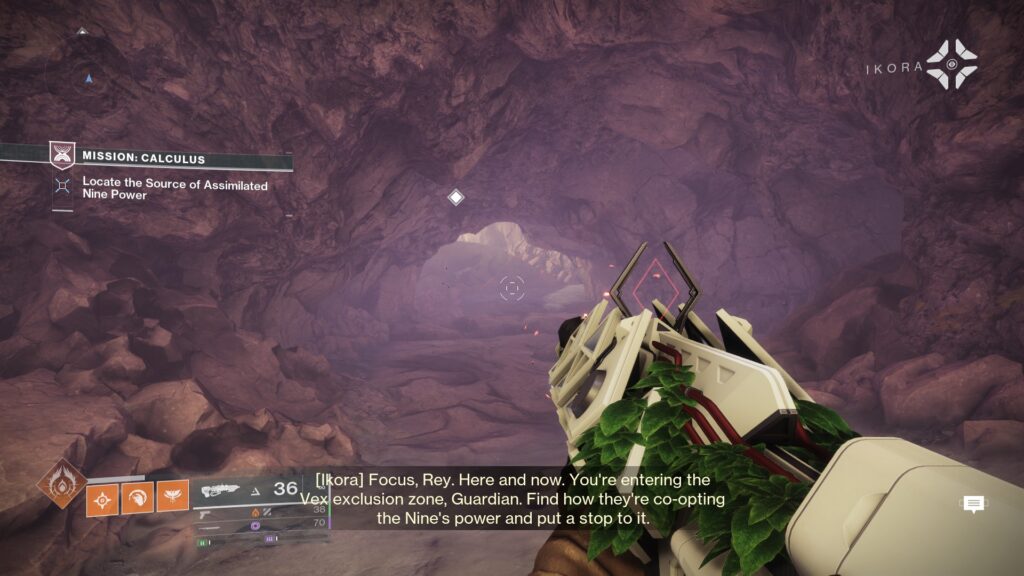
When you exit the train, continue heading forward through the Gorge.
Slay out enemies as you press on forward.
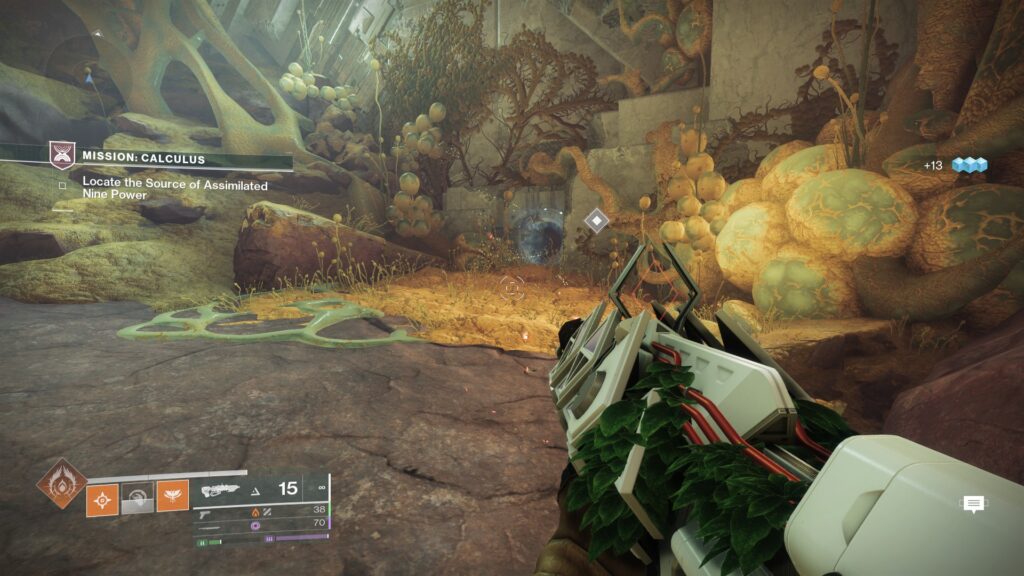
As you come to a dead end, you'll see a Matterspark pad and tunnel entrance. Enter Matterspark and continue through.
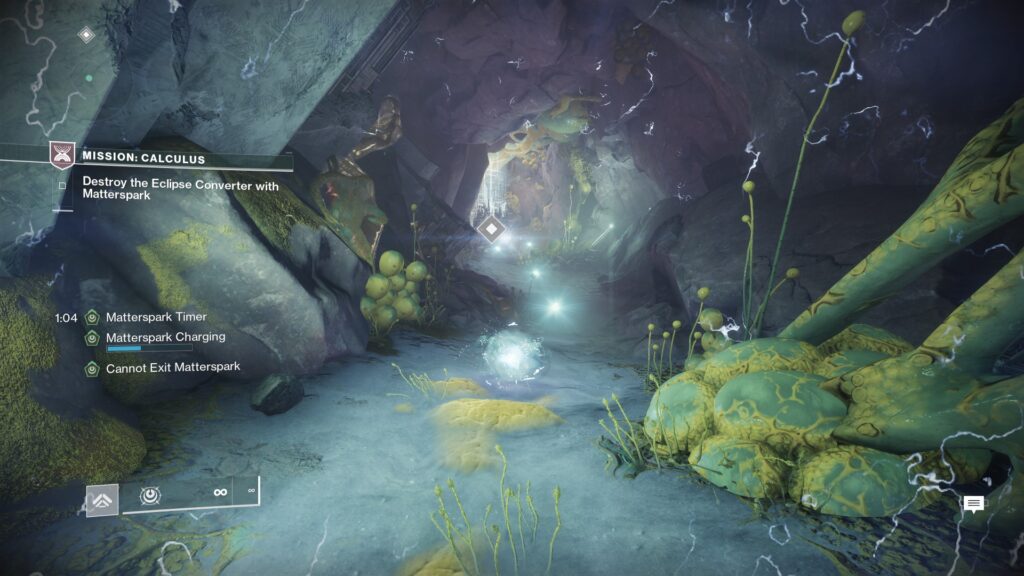
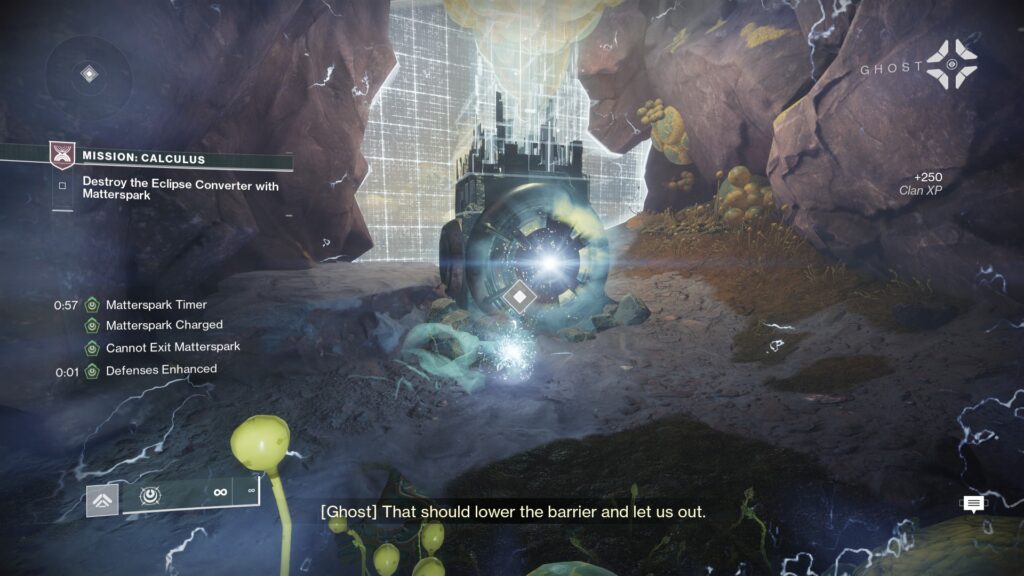
You'll be met with many Arc Charges across the floor inside the area. Pick these up to Supercharge your Matterspark, and use your ability on the Vex Pylon at the end of the room to break the shield and continue forward.
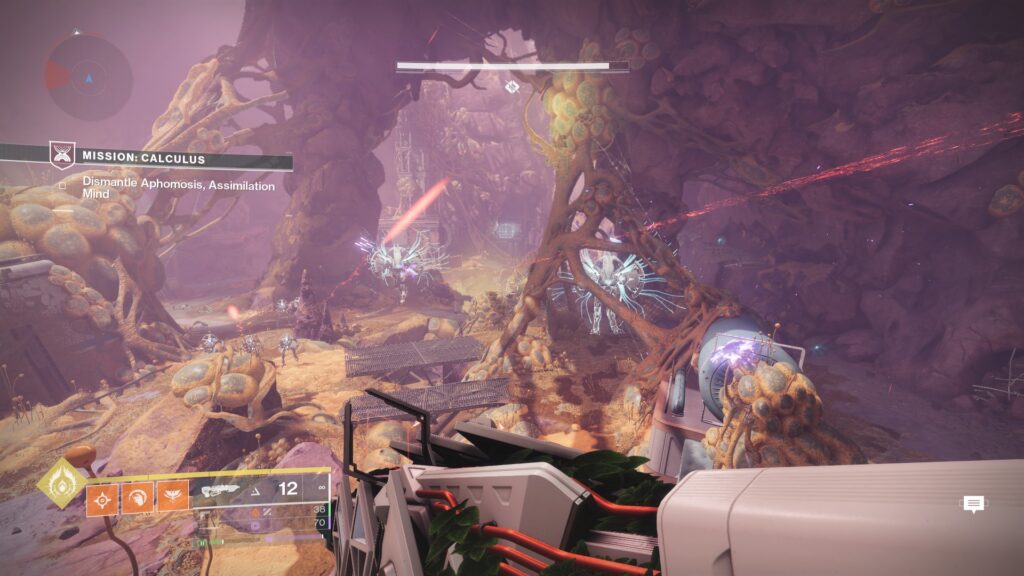
Exit Matterspark and rally up to begin the encounter.
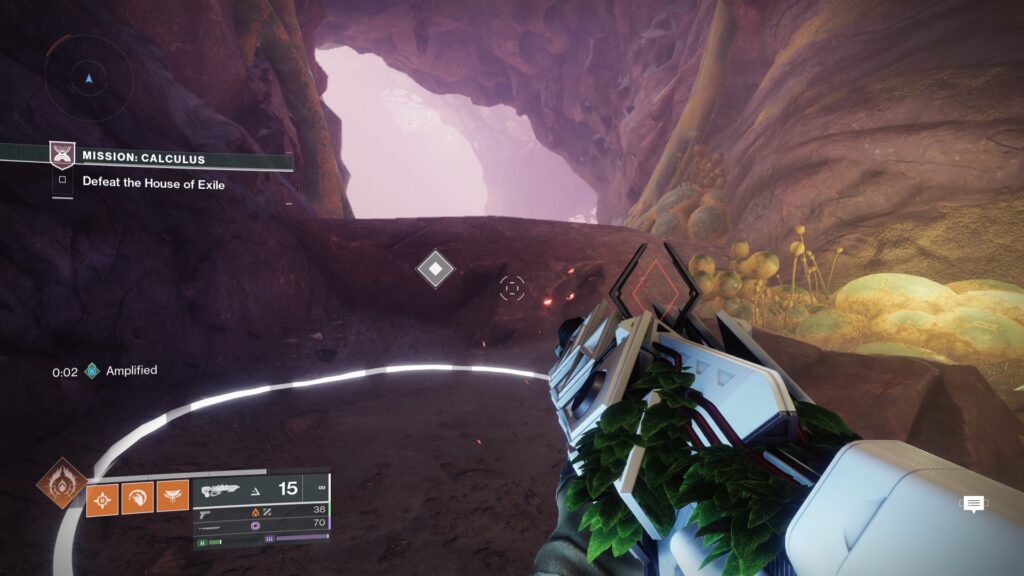
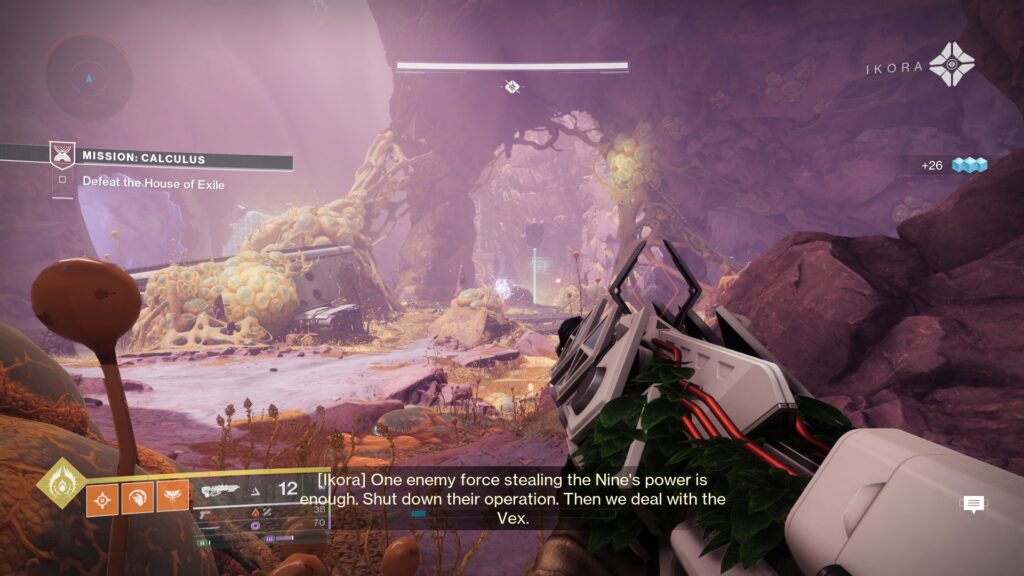
As you begin the encounter, you'll find many House of Exile Eliksni around the room. Eliminate them all to continue to the next phase.
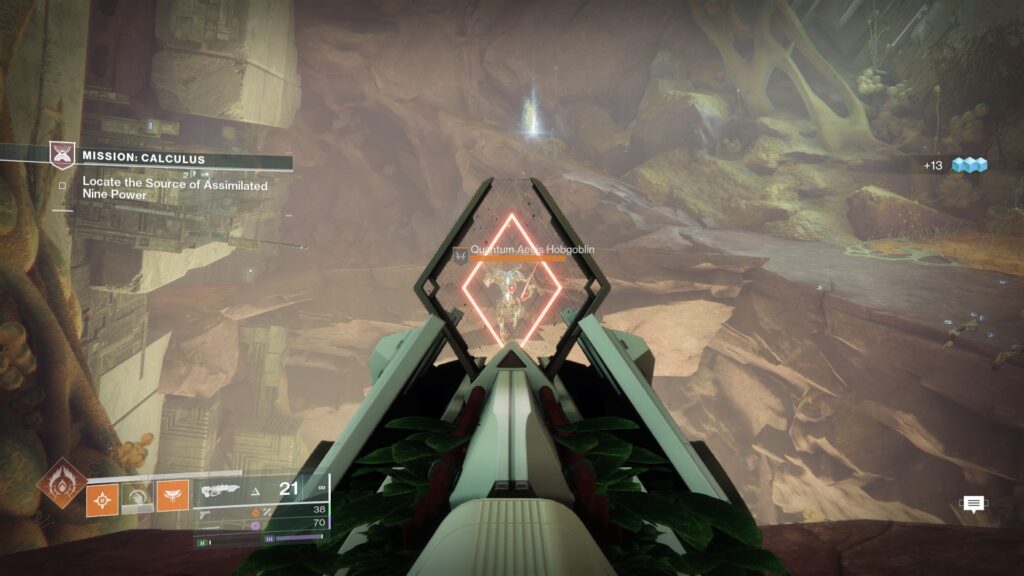
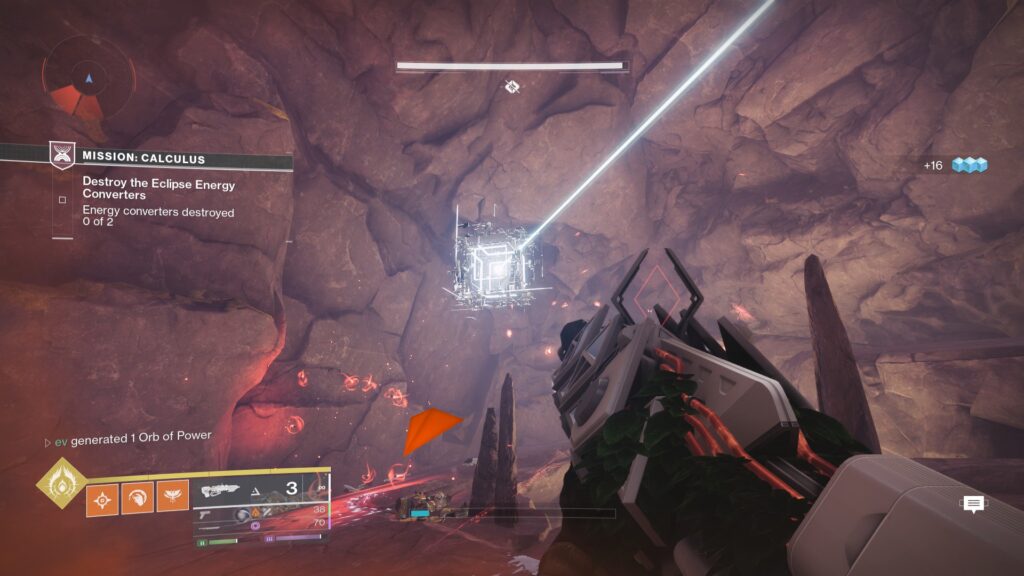
Here, you'll have to destroy two Vex Pylons to progress forward. There will be two large entryways branching off from the main area, one closer to the first entrance and one further away. Inside both, you'll find set of Hobgoblins guarding signal cubes.
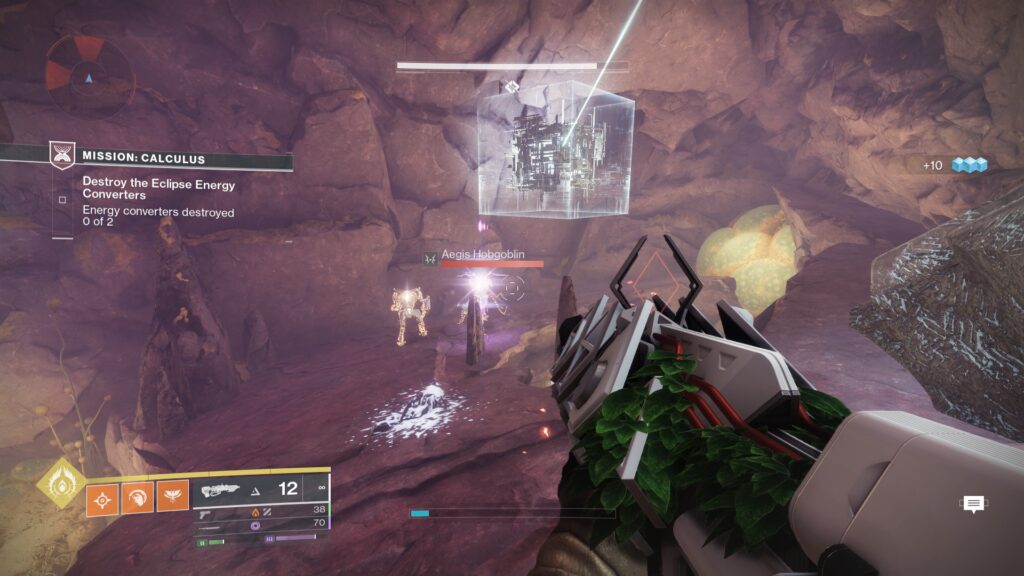
Eliminate the Hobgoblins to reveal the signal cubes. Break them to open the Vex Pylons.
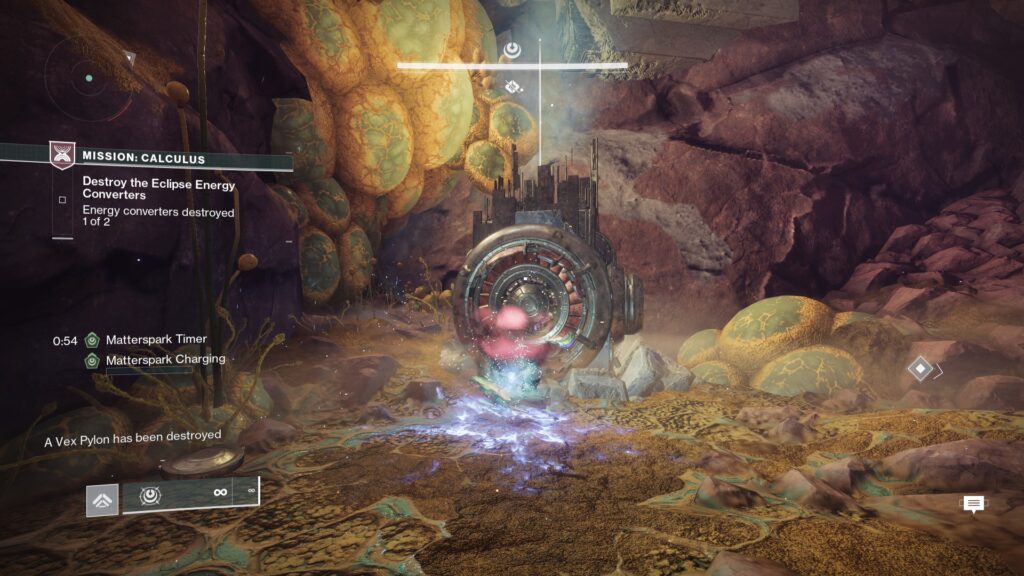
Next to each entryway, you'll find two smaller holes with a Matterspark Pad and Arc Charges across the floor.
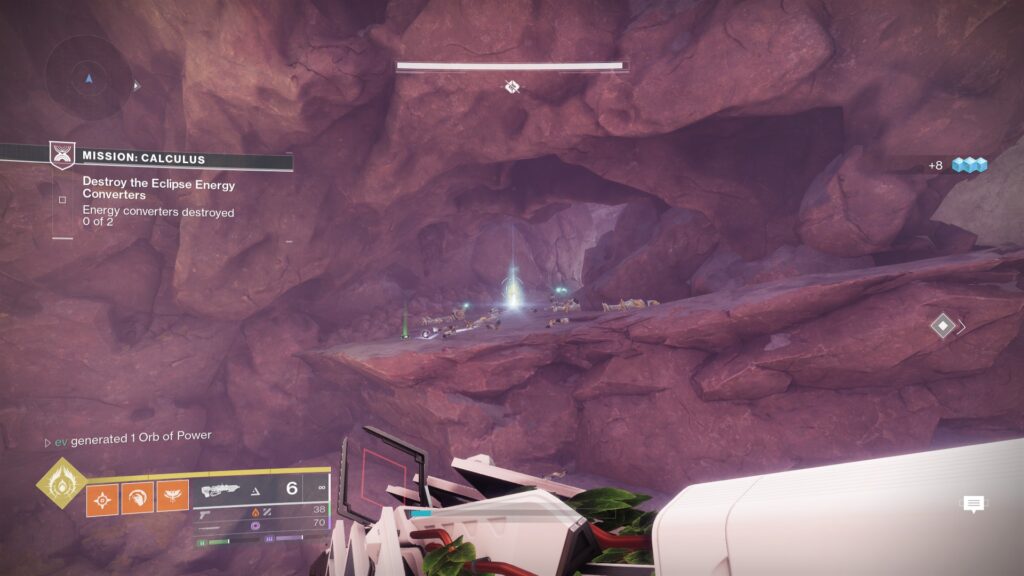
Supercharge your Matterspark ability to break the Vex Pylon, and repeat for the other side.
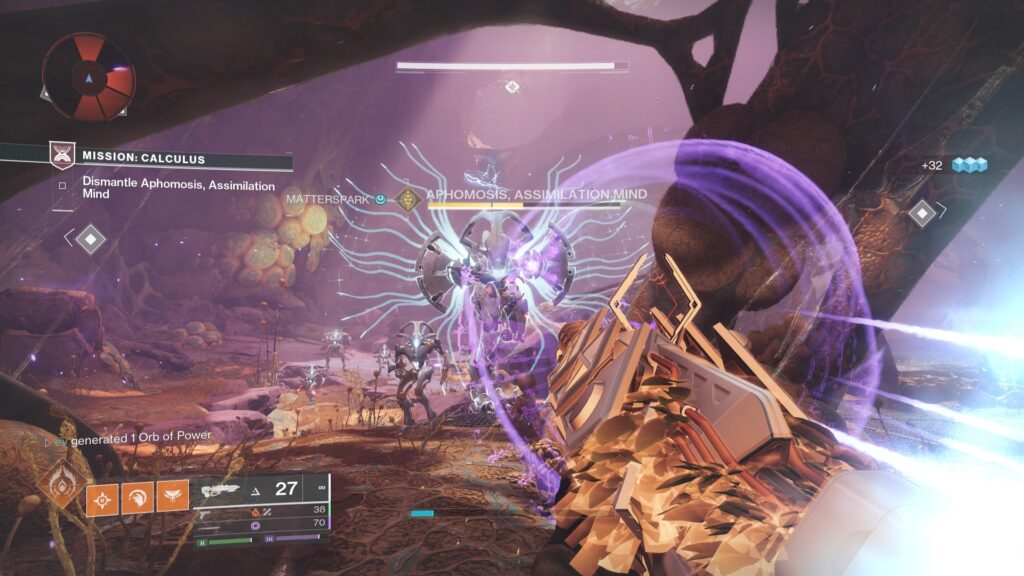
After this, a boss encounter will begin. Two Wyverns will spawn, one unshielded, one shielded. This encounter can be played in two ways: Either focus on eliminating one boss before dealing with the other, or tackle both at once.
To break the shield of either boss, you'll have to enter Matterspark and Supercharge your Matterspark ability.
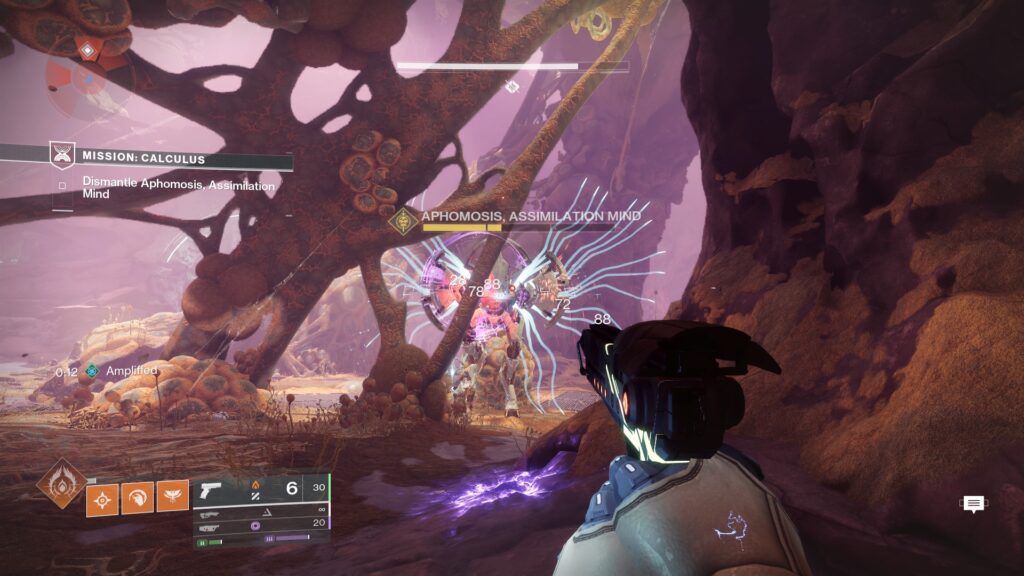
Once either boss is at half of their health, their shield will regenerate, and you'll have to re-enter Matterspark to break it once again. Watch out for enemies, as more will spawn during this phase.
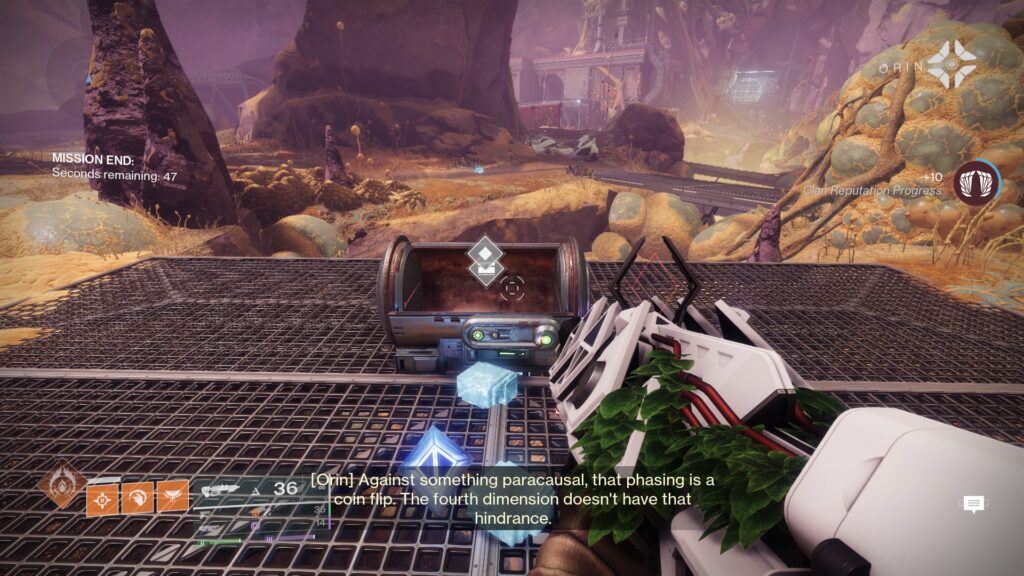
Once both Wyverns are dead, head towards the middle to claim your rewards.
Mission Disruption Guide
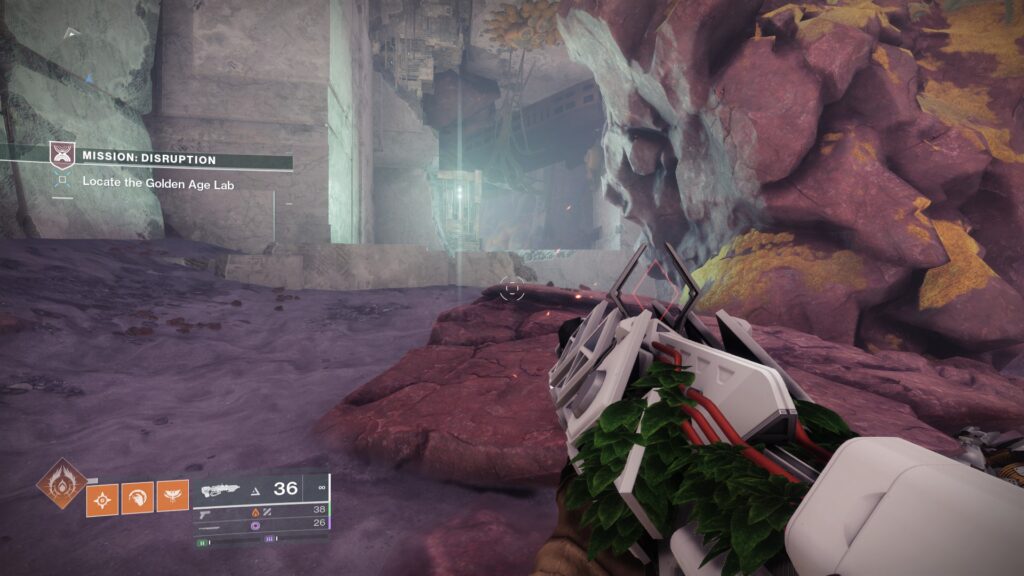
When you enter the mission, continue forward into the train.

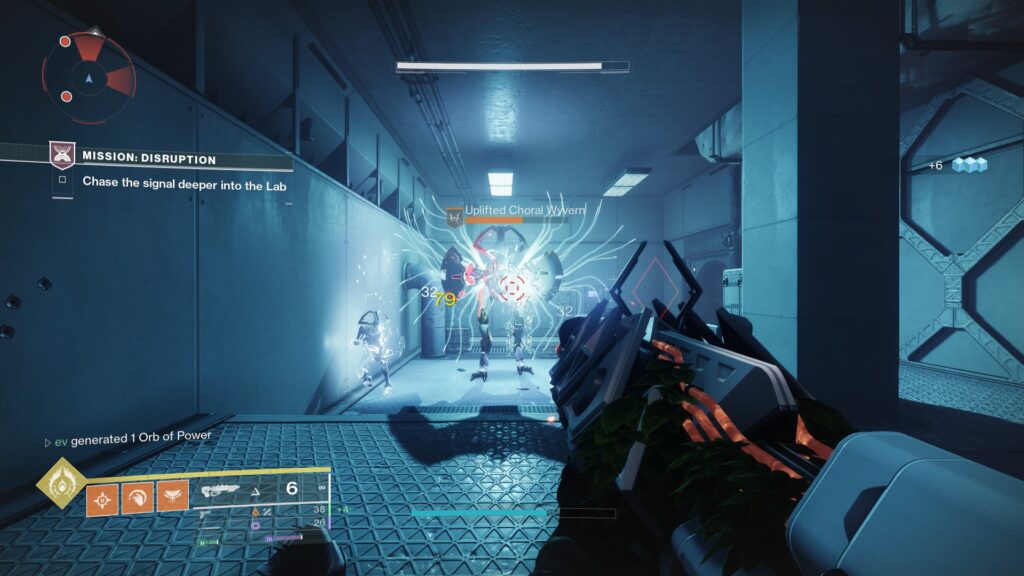
Once you exit, keep heading forward, slaying waves of Choral Vex as you go.
Eventually, you'll come across a small puzzle room with Matterspark and a Mattermorph wall.
To gain access to Mattermorph, enter Matterspark using the pad nearby, and hug the opposite wall; you'll enter a small tunnel which weaves itself across most of the room.
When you get to the end of the tunnel, you'll find the Mattermorph pillar. Use your Mattermorph on the wall next to you to enter back into the main room.
To exit, head to the left corner of the Mattermorph wall, and you'll see a hole you can drop down.
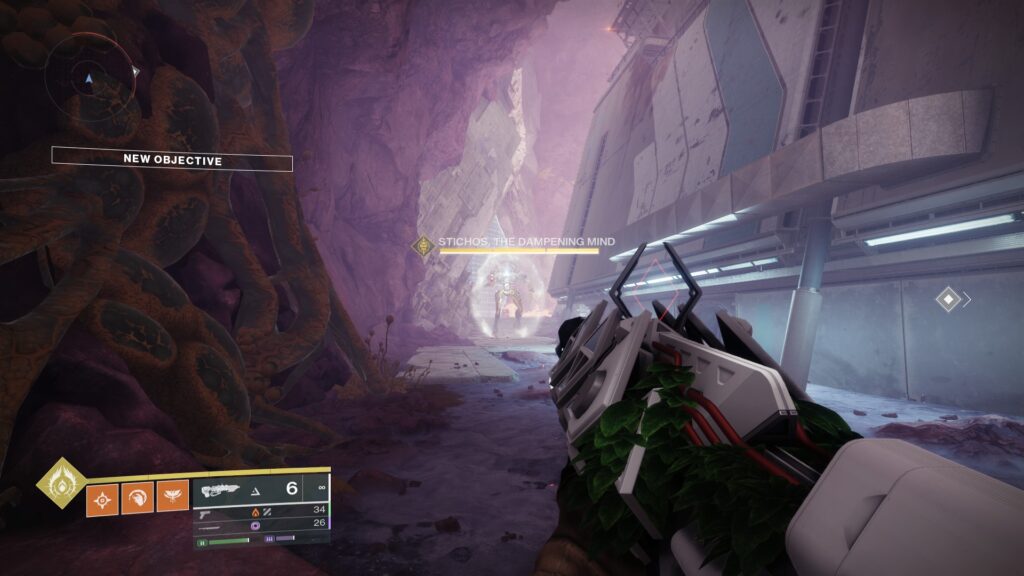
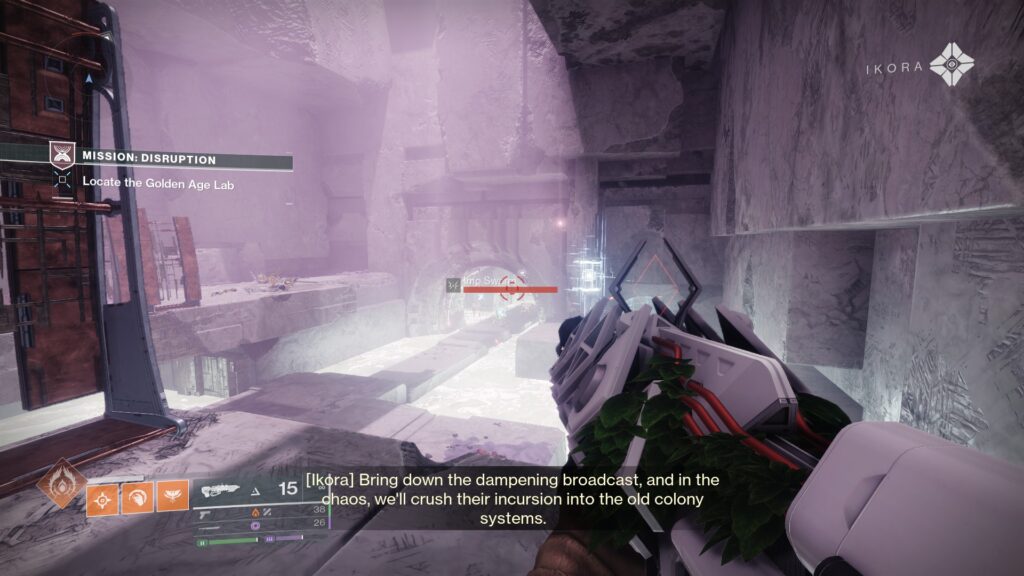
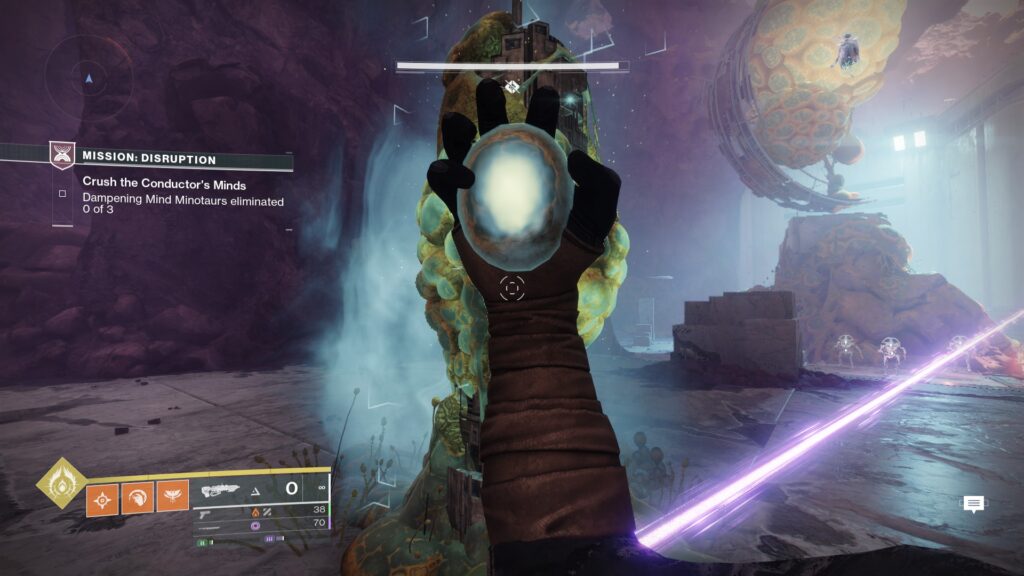
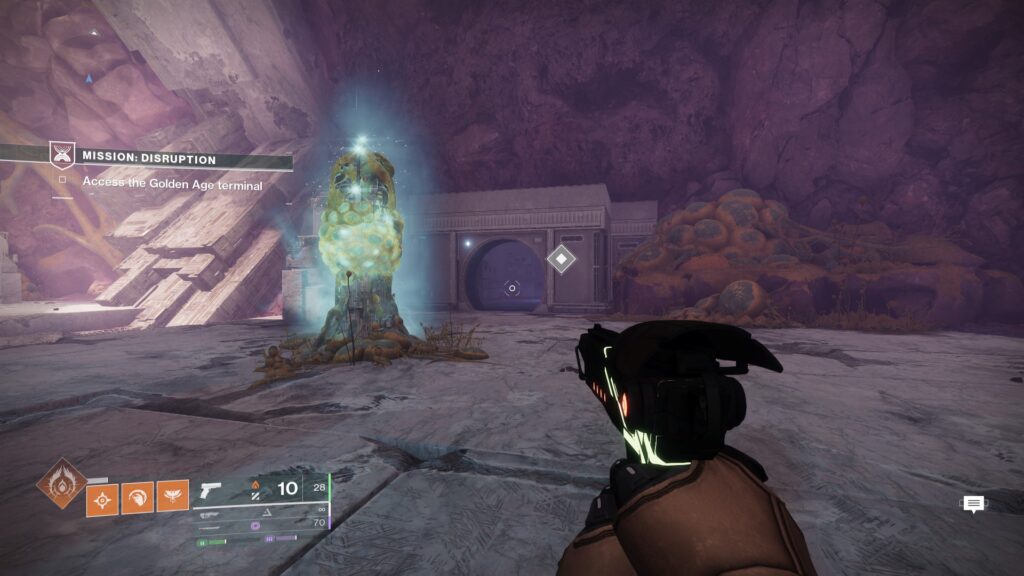
After this, press onwards until you come across a large Minotaur named 'Stichos, The Dampening Mind'. This is one of three 'Dampening Mind' bosses you'll be fighting in this mission, alongside 'Coda' and .
For now, ignore them and continue onwards into the Lab.
Slay out the enemies in this first room and progress to the next.
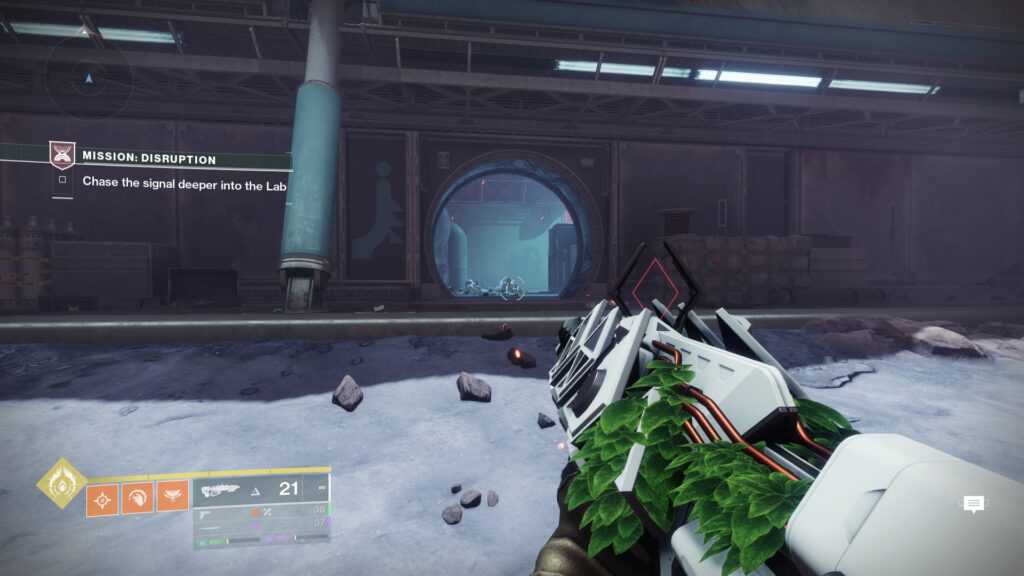
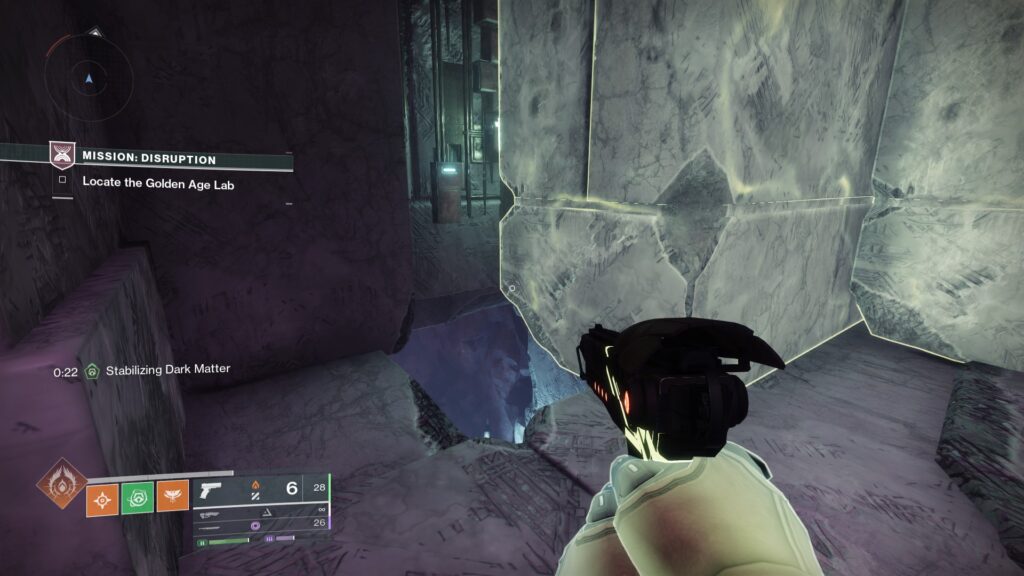
From the second room, you won't be able to simply run to the third.
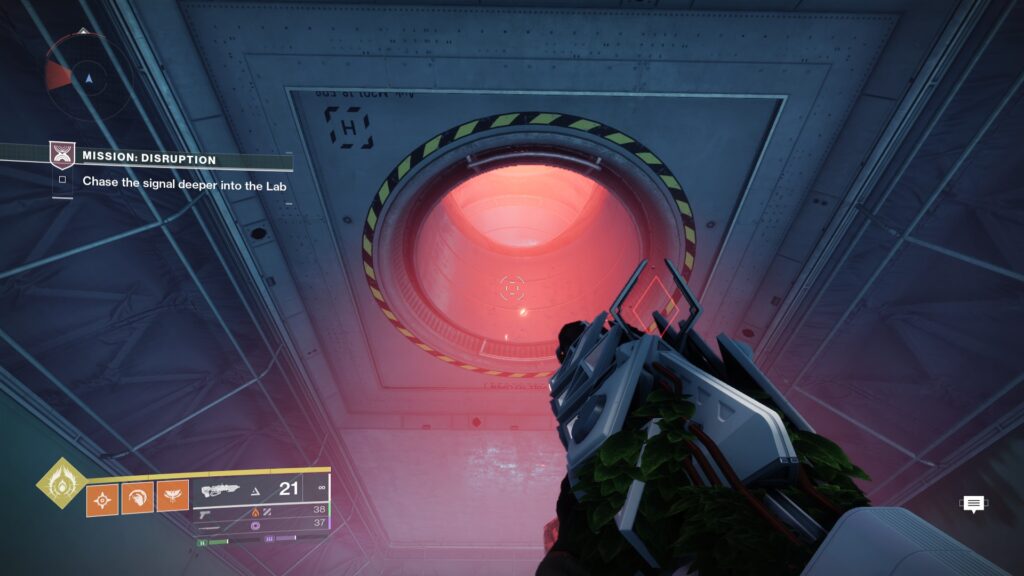
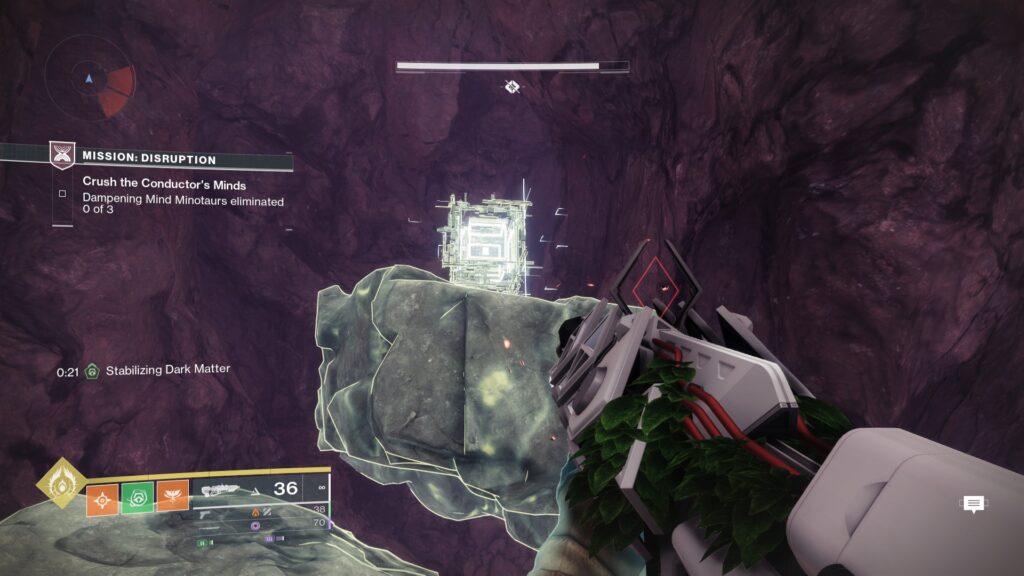
To get to the third room, look upwards to find a red-lit hole in the ceiling.
Jump up it to find a Matterspark pad, and an entrance to a Matterspark tunnel. Jump into it to head towards the third room.
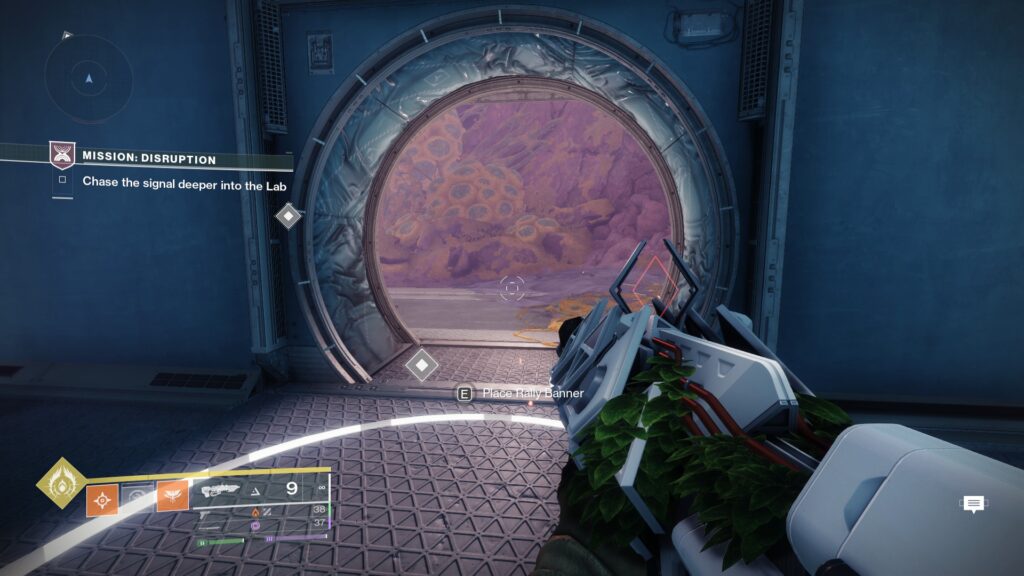
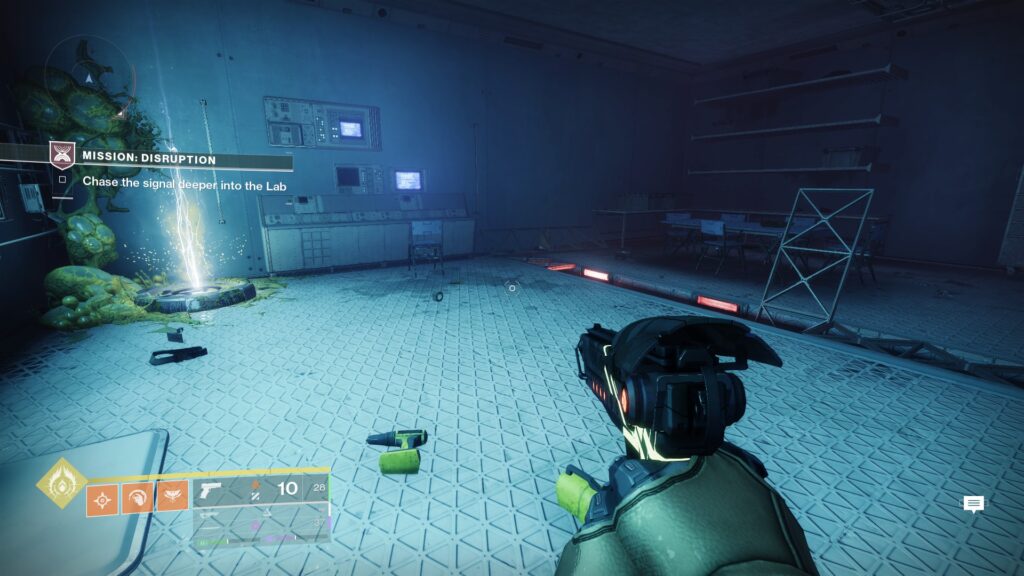
Slay out the ads in this room, and walk to the end of it to rally up and begin the boss encounter.
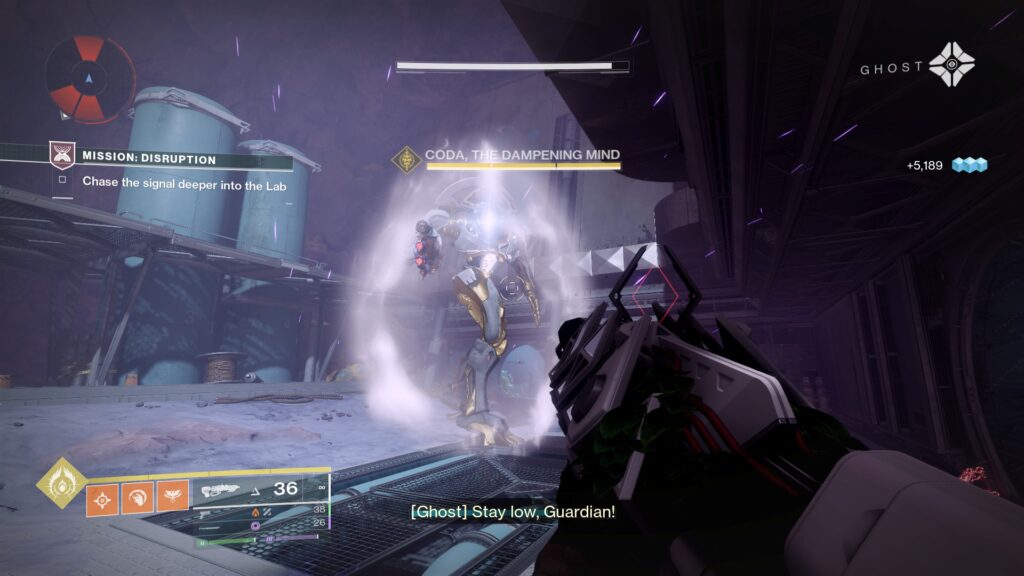
As you enter the encounter, the three Minotaur bosses will reappear, still shielded. You'll have to lower each boss's shield before dealing damage to them.
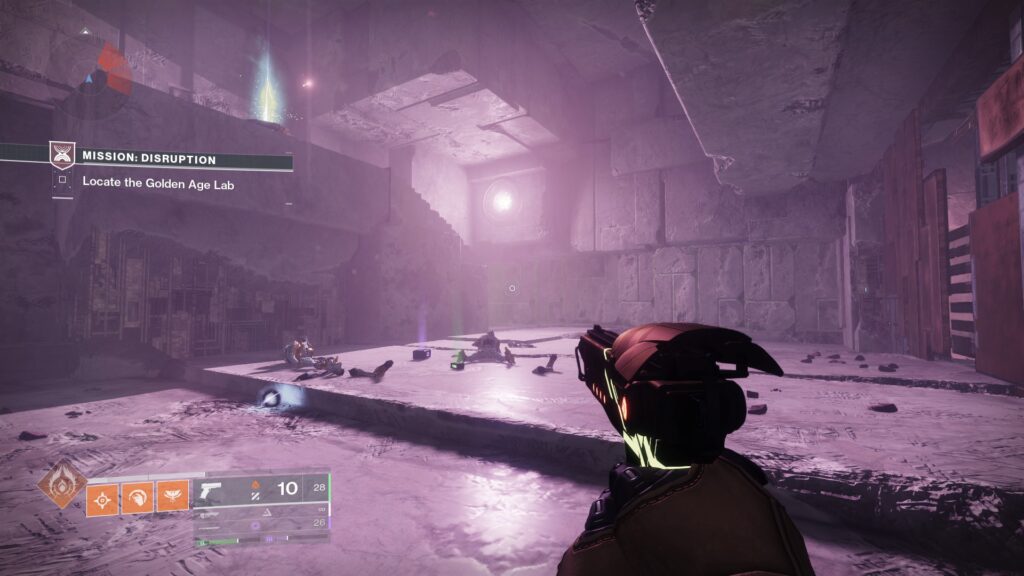
Clear out the enemies in the room, then interact with the Mattermorph pillar in the center of the room.
Within the room, you'll find three different areas to use Mattermorph with; two to the left of the pillar, and one to the right. Use Mattermorph on one of them to create a pathway upwards.
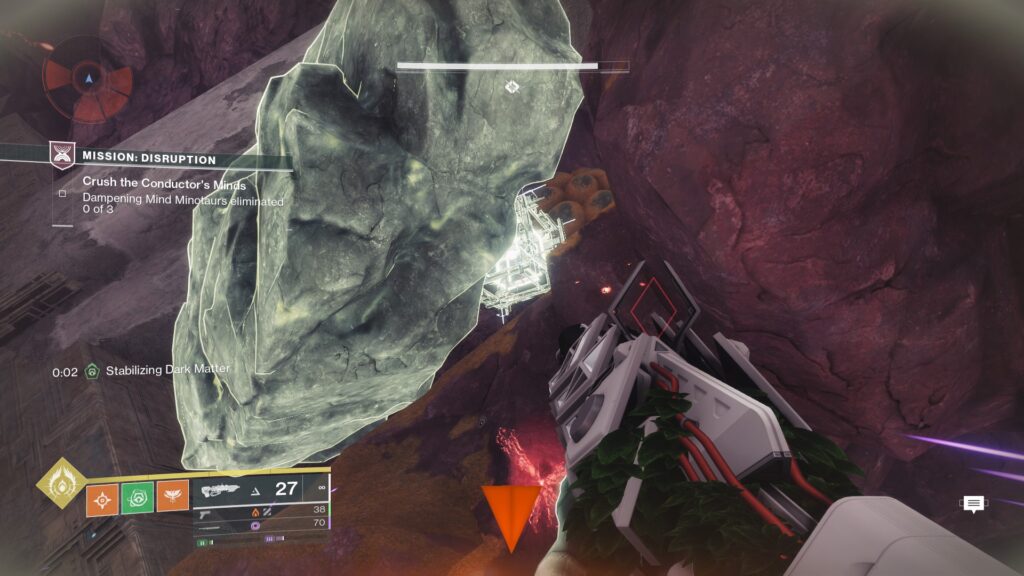
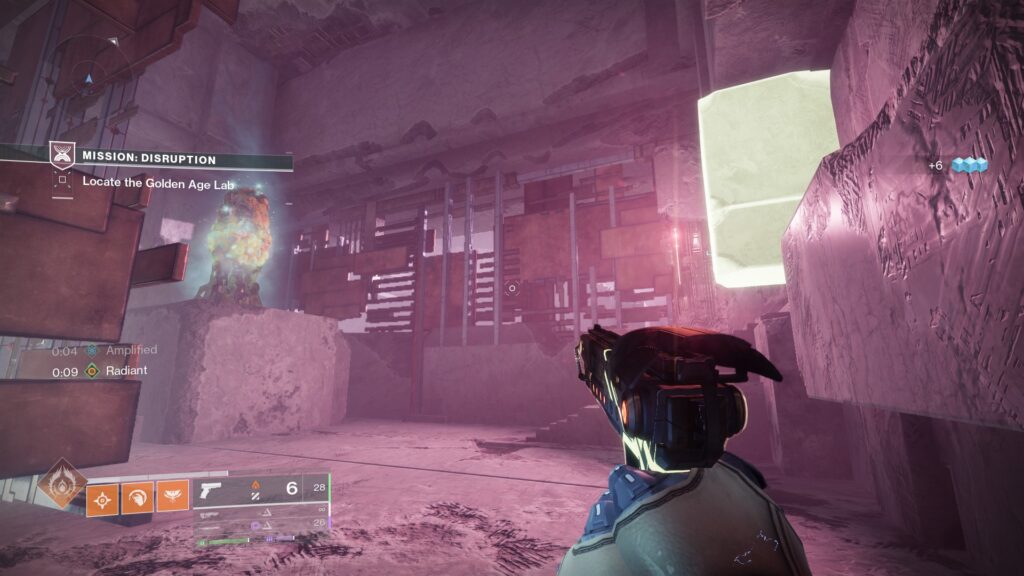
Jumping up will reveal a signal cube. Break it to destroy one of the boss's shields.
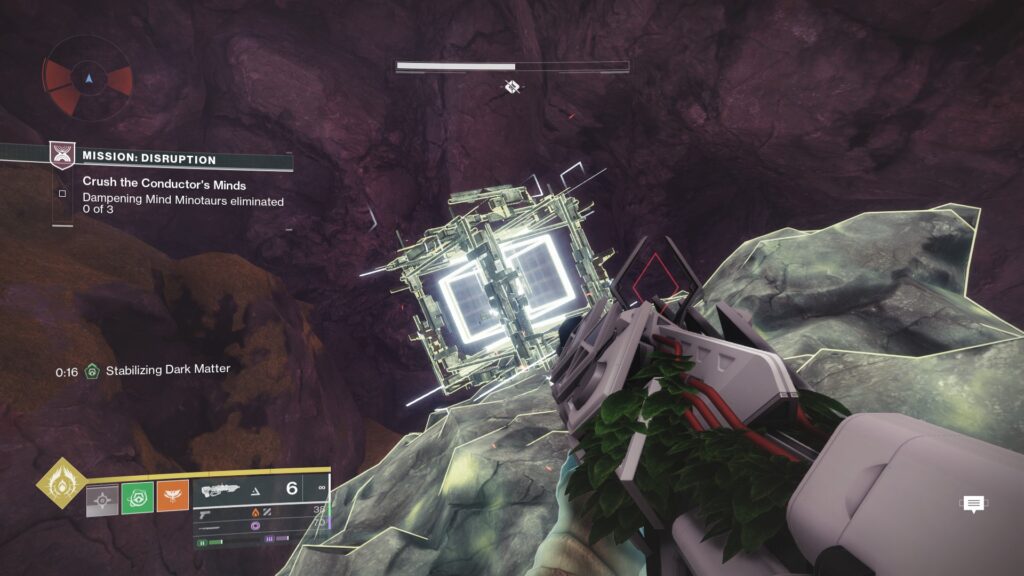
You can either choose to eliminate one boss at a time, or continue to use Mattermorph around the room to destroy the remaining two signal cubes. Each time you break a shield, more enemies will spawn, so continue to ad clear as you go.
Once all three Minotaurs are down, head to the back of the room and interact with the Golden Age Terminal.
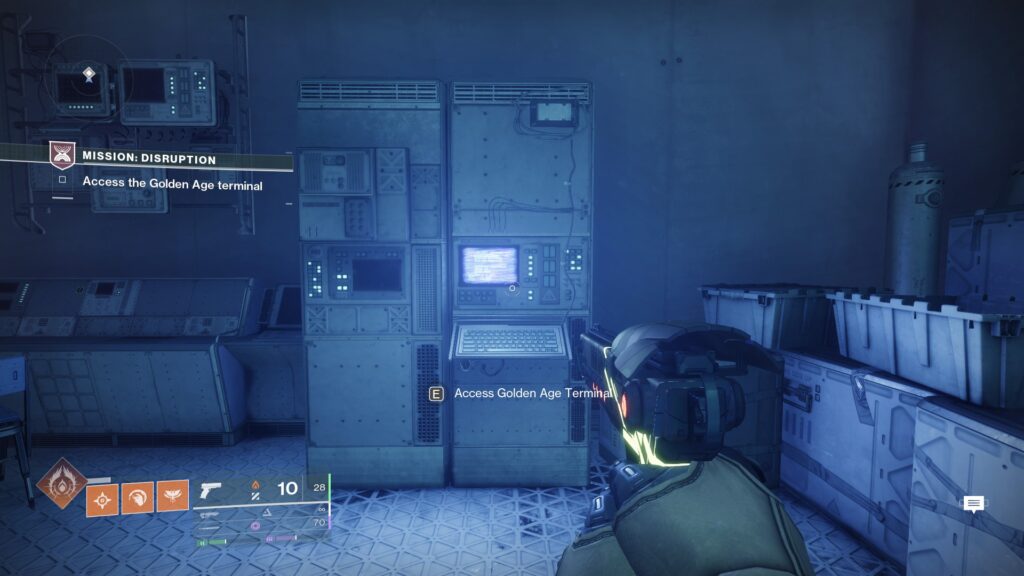
Claim your rewards in the middle of the room.

Mission Quarantine Guide
After completing both Calculus and Disruption missions and advance to the next quest step, you'll be able to access the Quarantine mission.
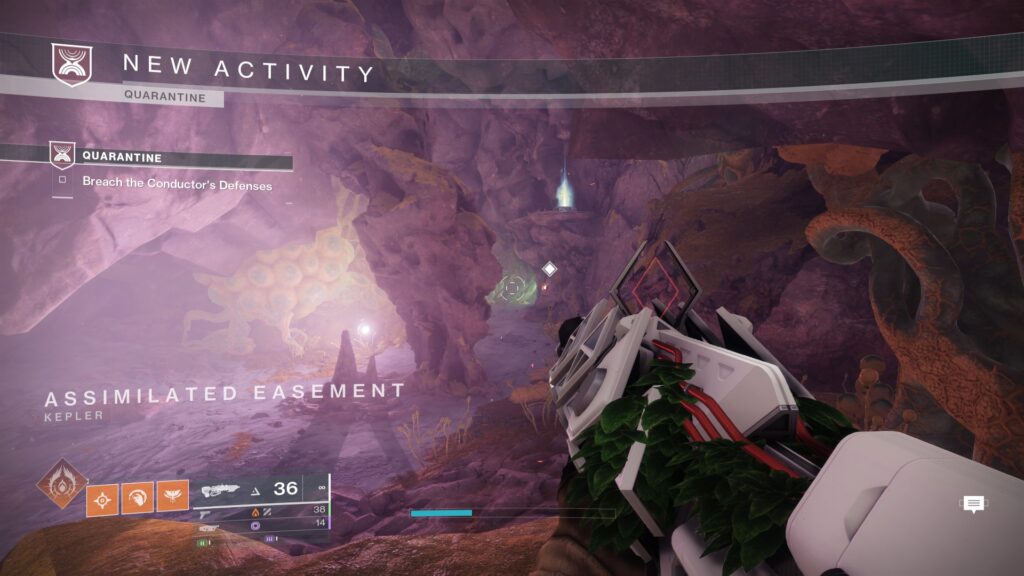
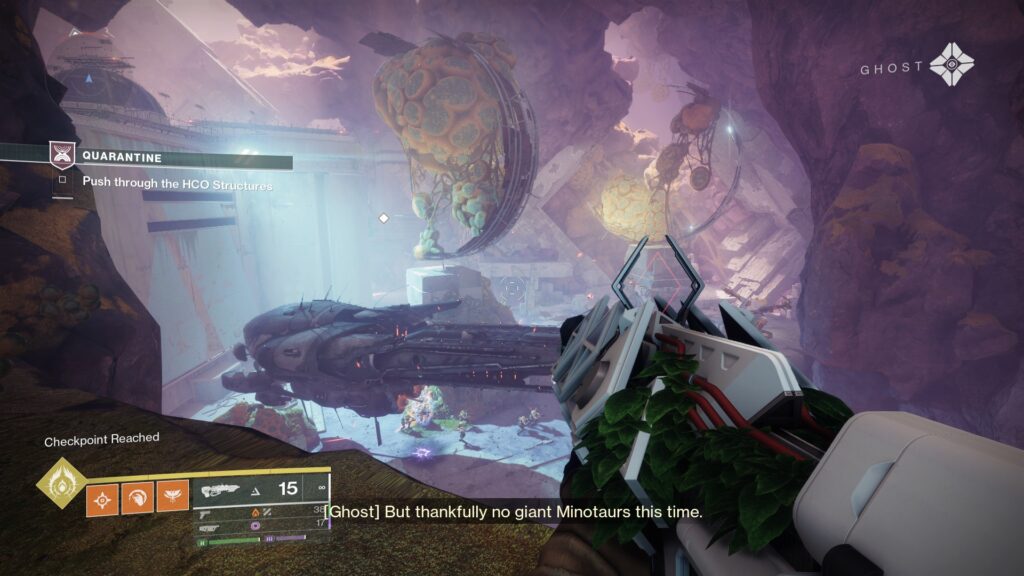
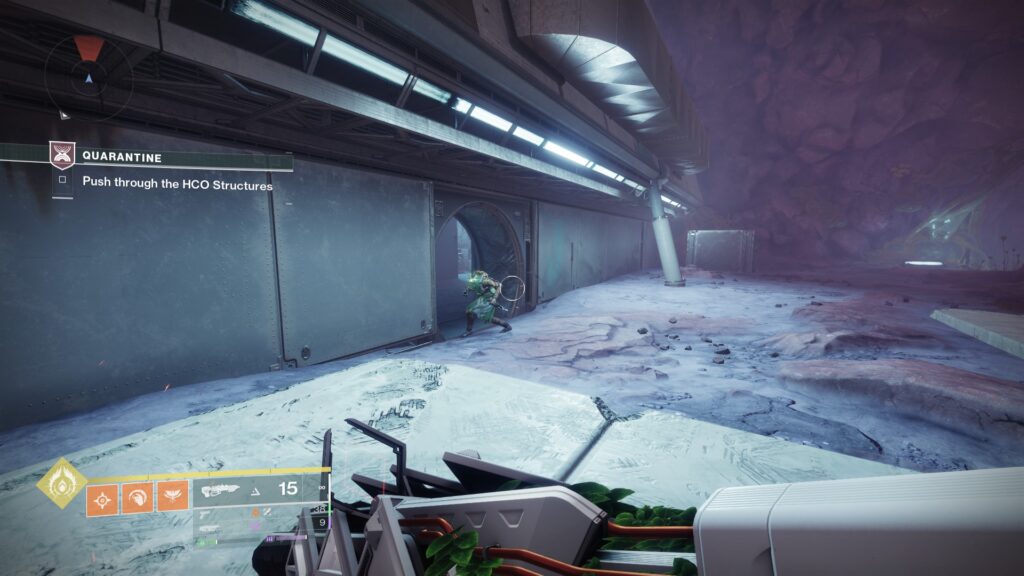
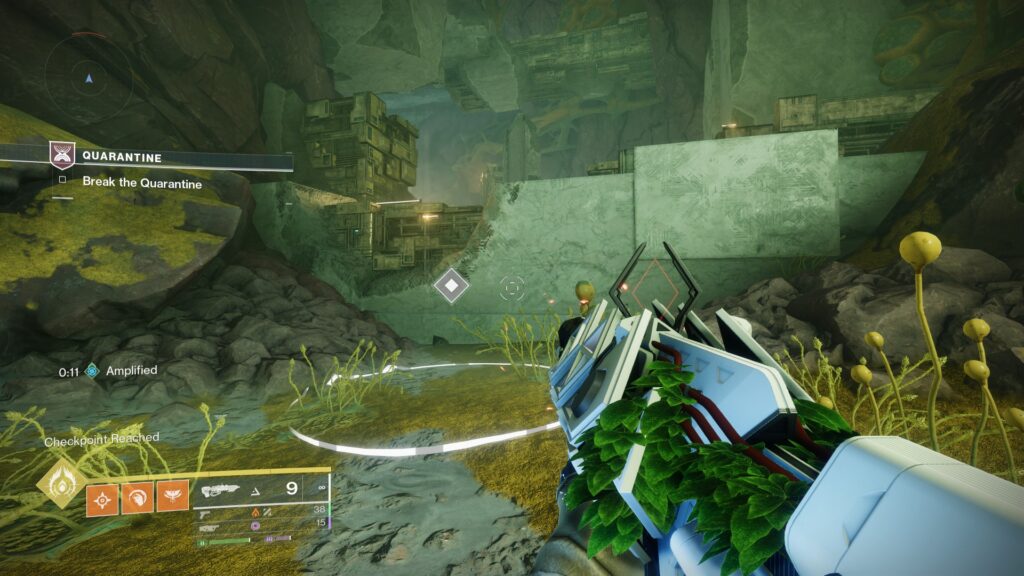
Once inside the mission, head forward further into the Gorge.
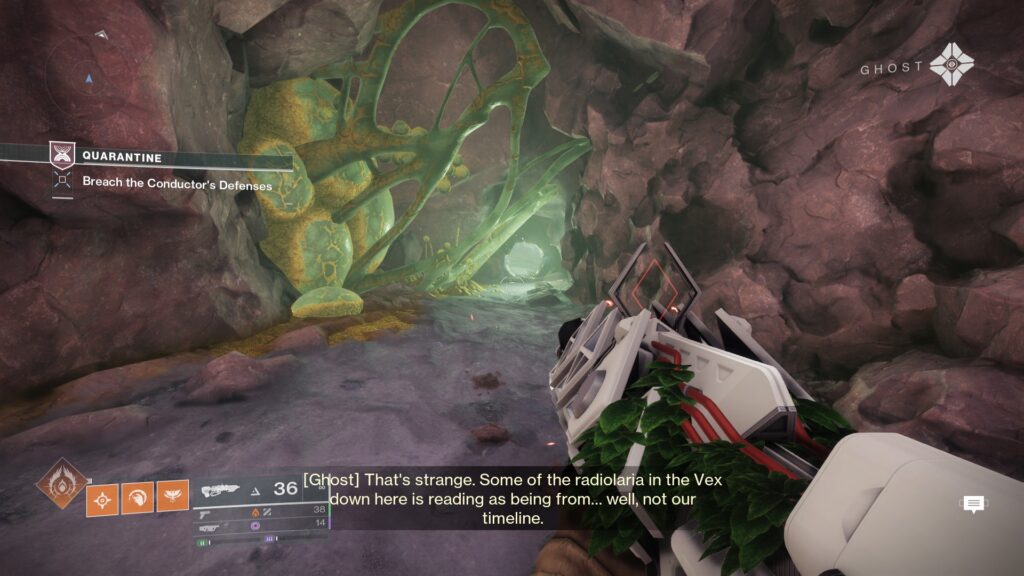
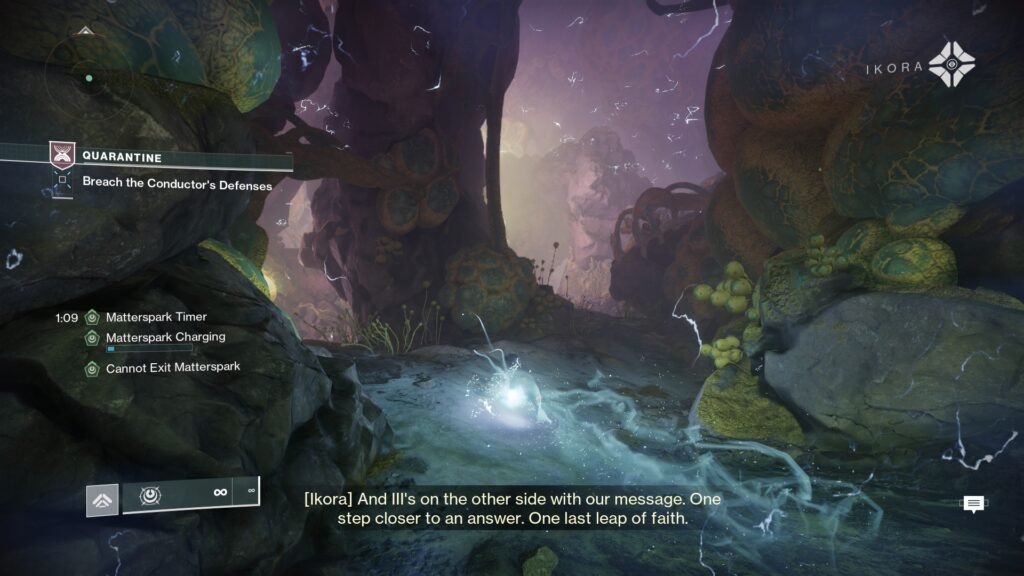
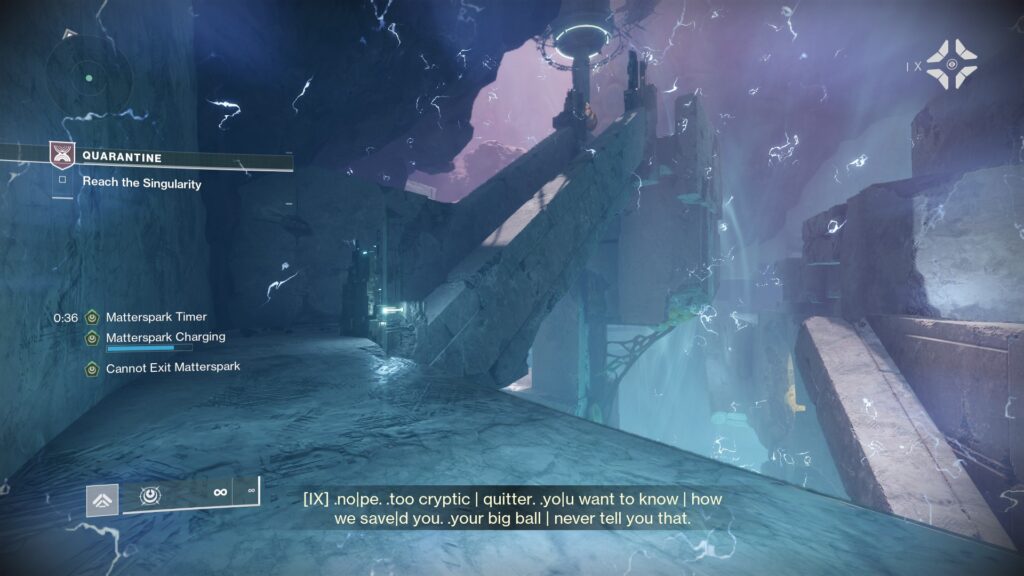
Eventually, you'll hit a wall with a Matterspark Pad and a Matterspark Tunnel. Enter Matterspark and head inside.

You'll traverse your way through a Matterspark-locked zone. Continue heading forward to find the way out.
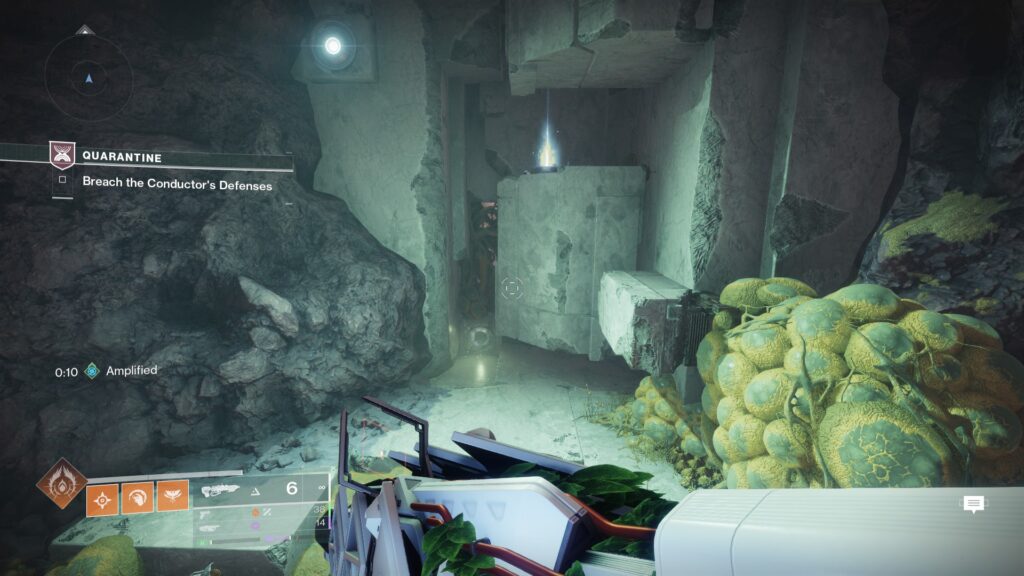
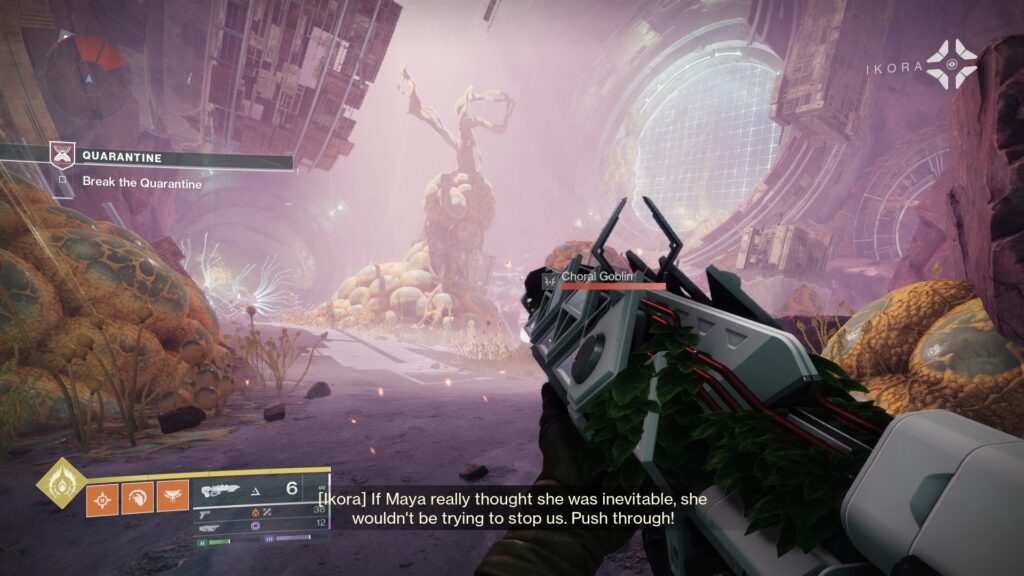
Clear your way through the next room of enemies until you find another Matterspark Pad and Tunnel. Head inside in Matterspark once more.
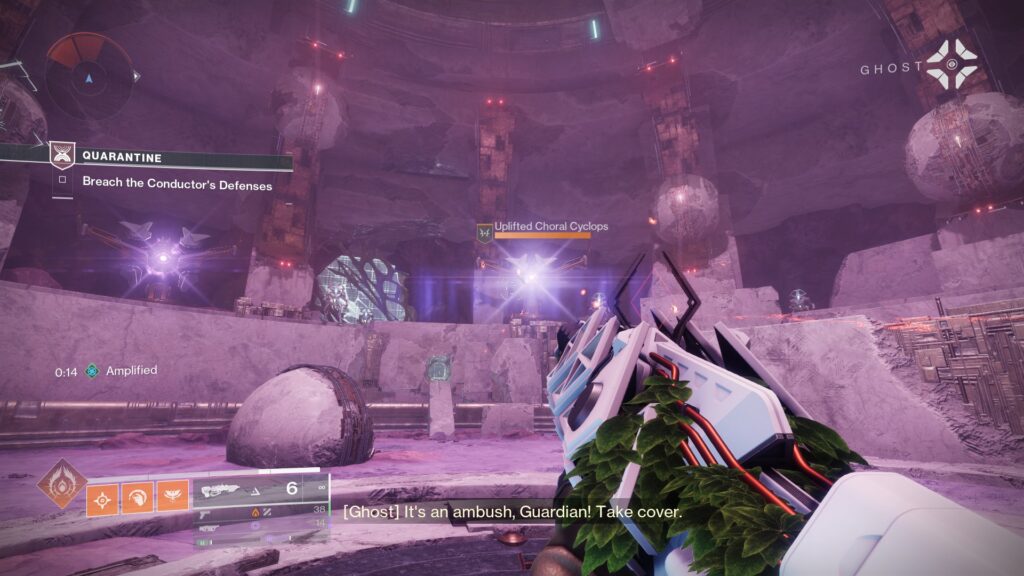
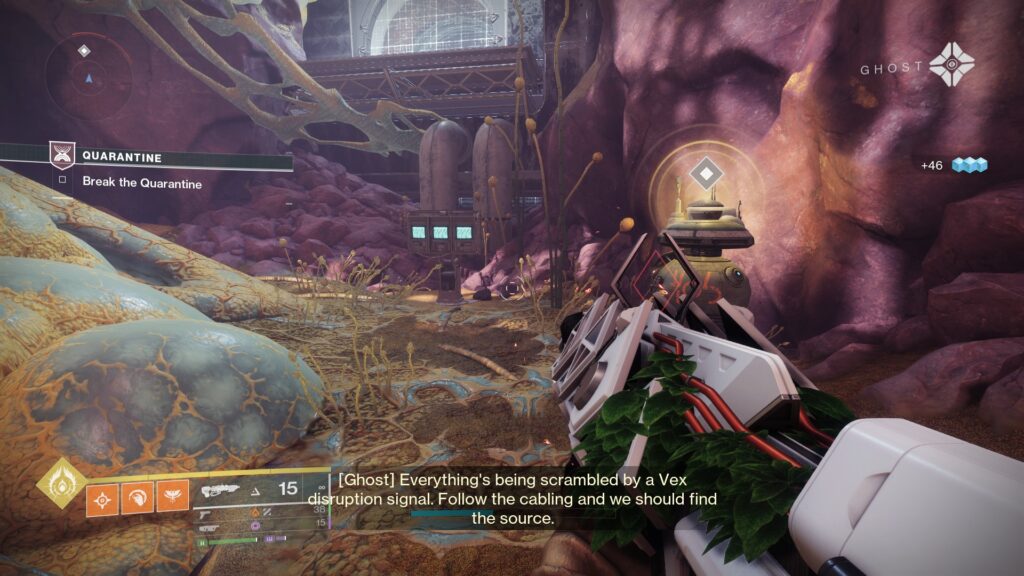
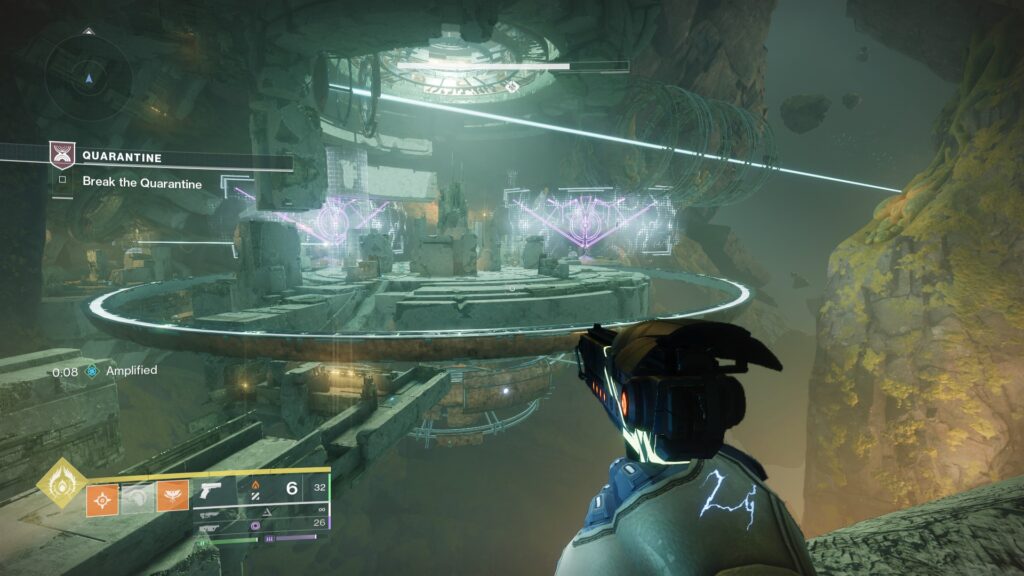
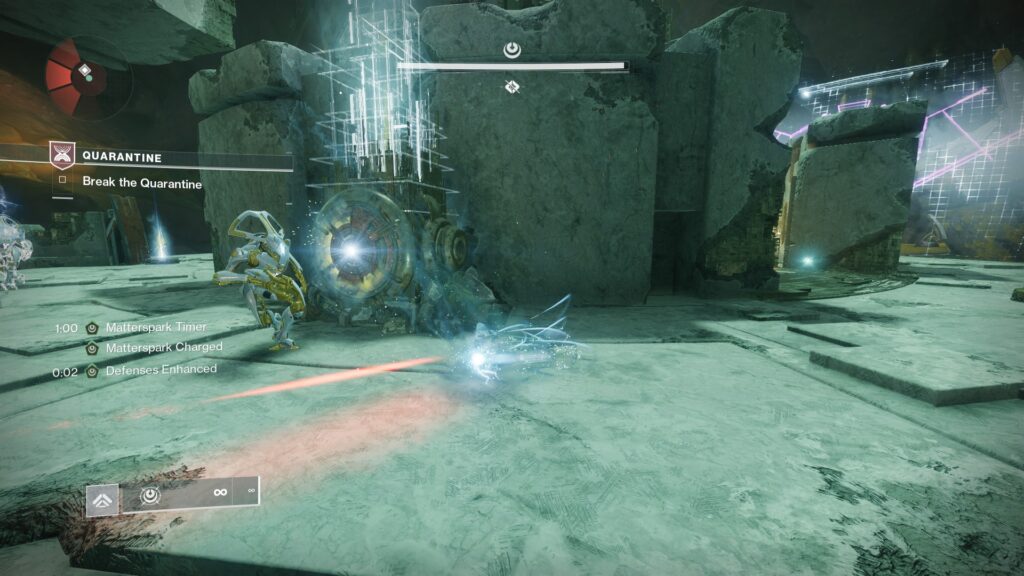
As you fall down, you'll enter an ambush trap by the Vex. Clear all of the enemies in the room before proceeding with the puzzle.
You'll have to find two charged nodes to lower the barrier. To find these, activate Mattermorph in the center of the room, and send it towards the platforms on the left and right side of the room.
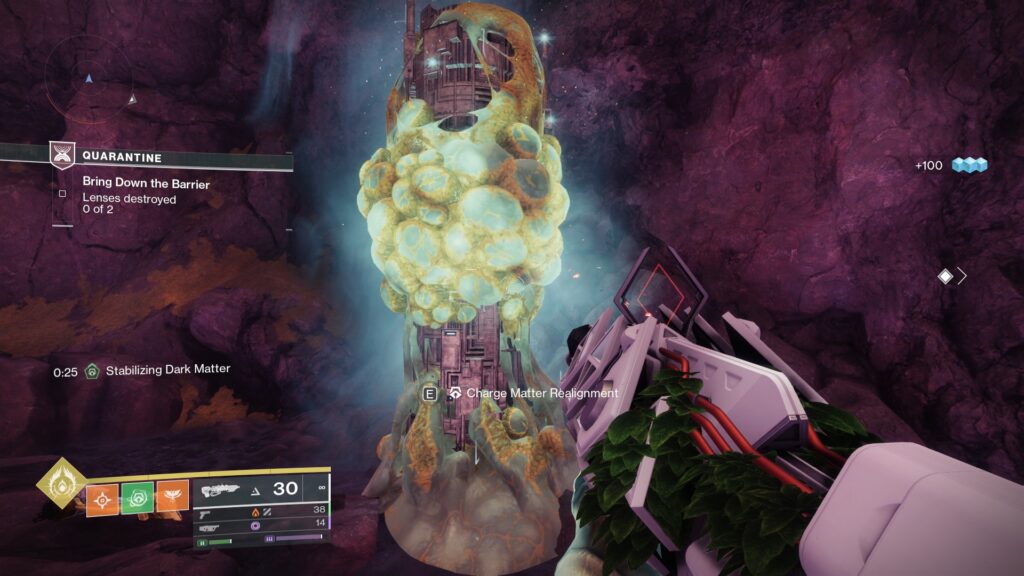
Climb across the platforms and look inside of the sphere; you should find a charged node inside. Break both nodes to lower the barrier.

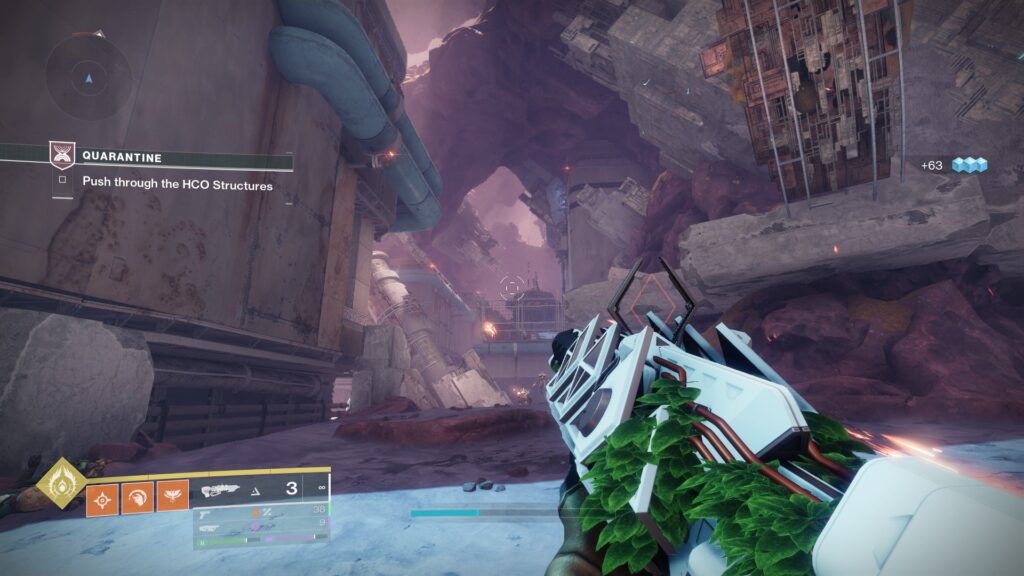
Head through the barrier and press forward.
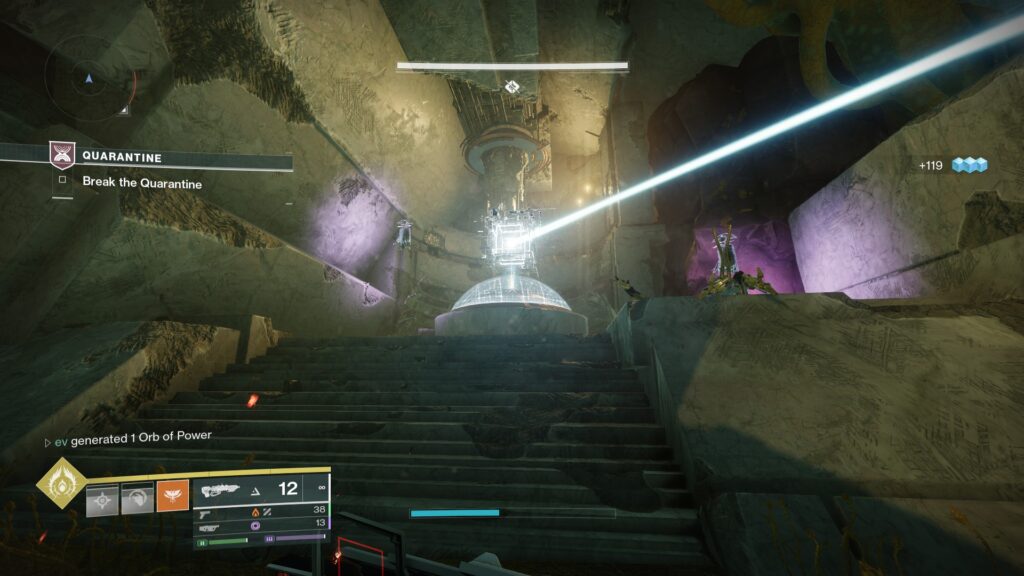
Eventually, you'll come across an open room with House of Exile Eliksni. Jump down to start the next encounter.
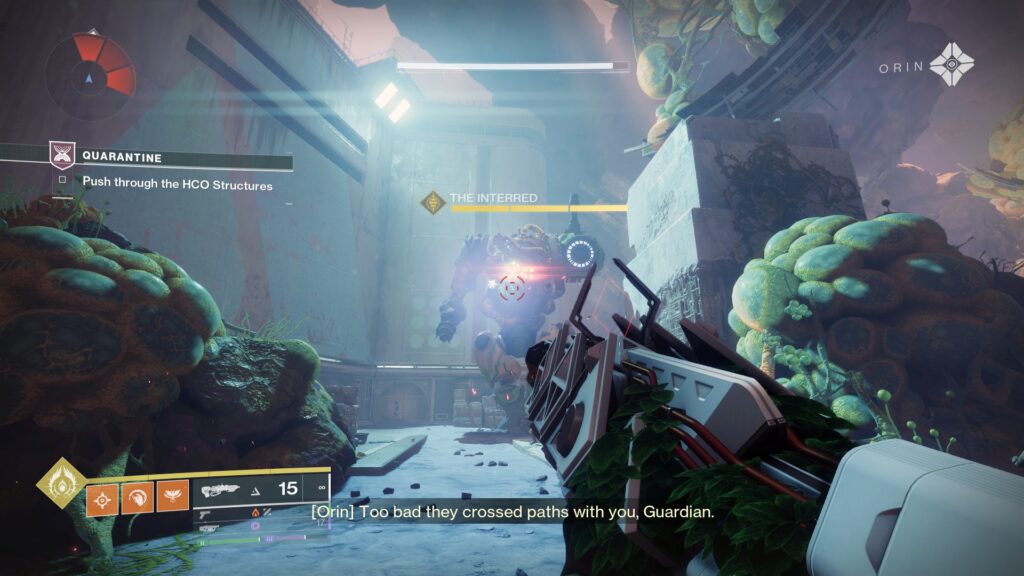
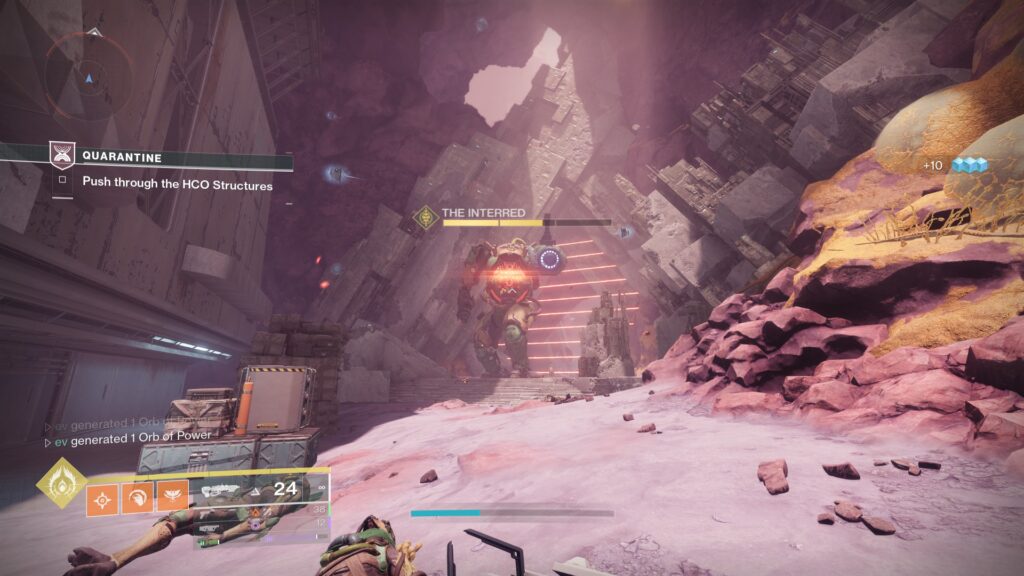
A large Brig named 'The Interred' will spawn. To continue forward, begin dealing damage to it.
Once at half of its health, The Interred will retreat. Follow it around the map, slaying enemies as you go.
As you catch up with it, begin dealing damage once more to eliminate the boss.
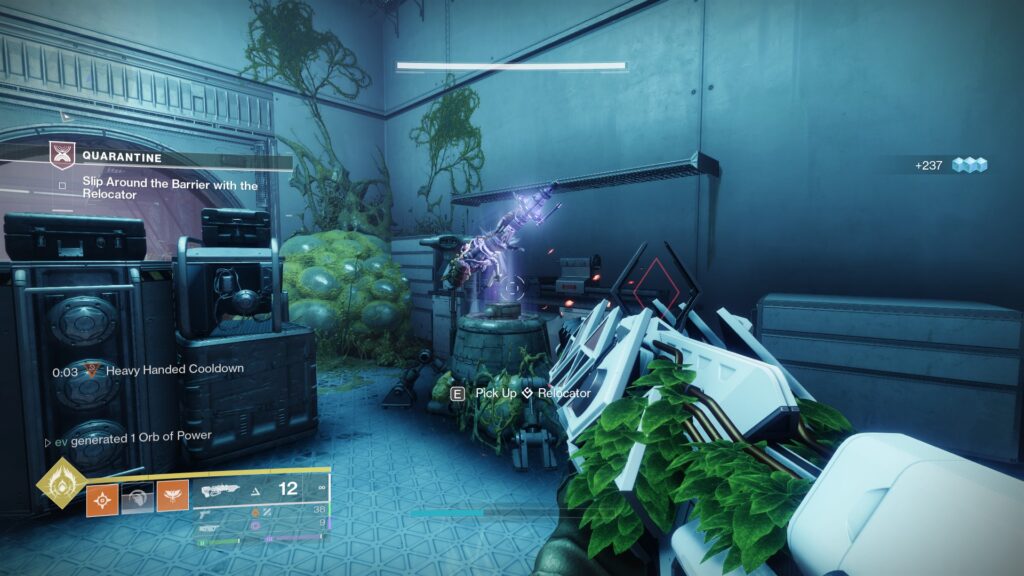
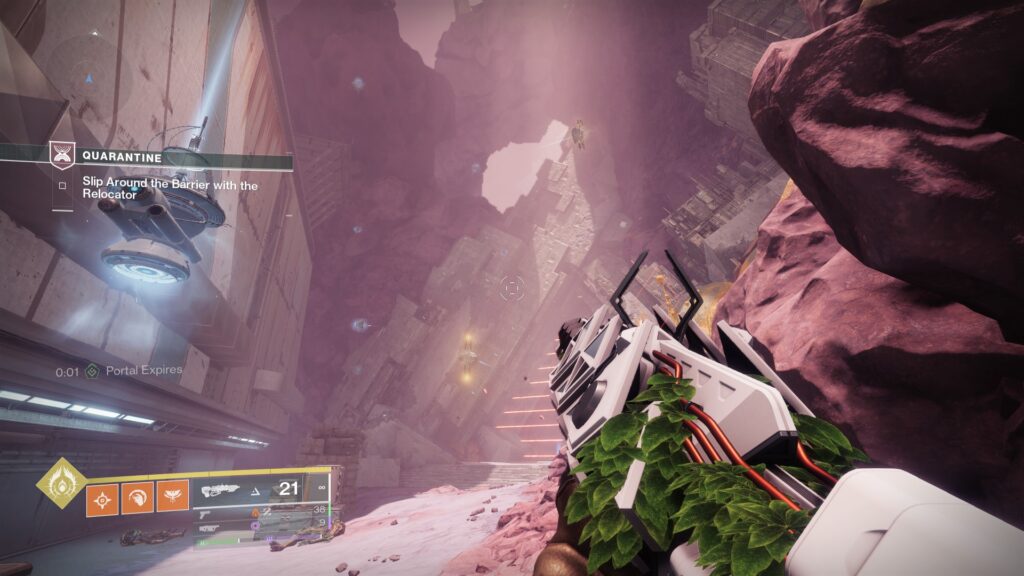
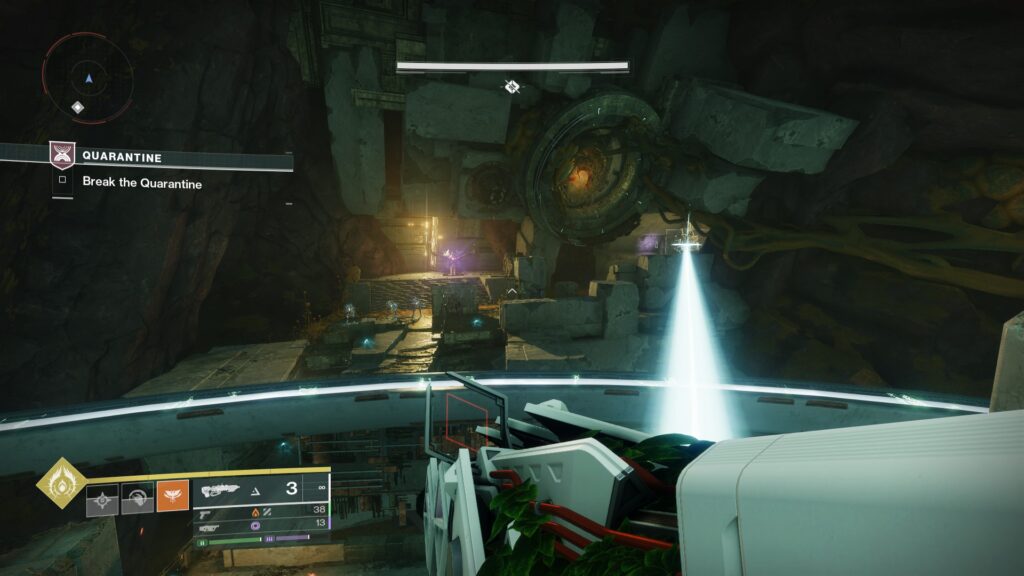
Once it's down, a room to your left should open. Heading inside will give you access to a Relocator Cannon.
Pick it up and head back outside.
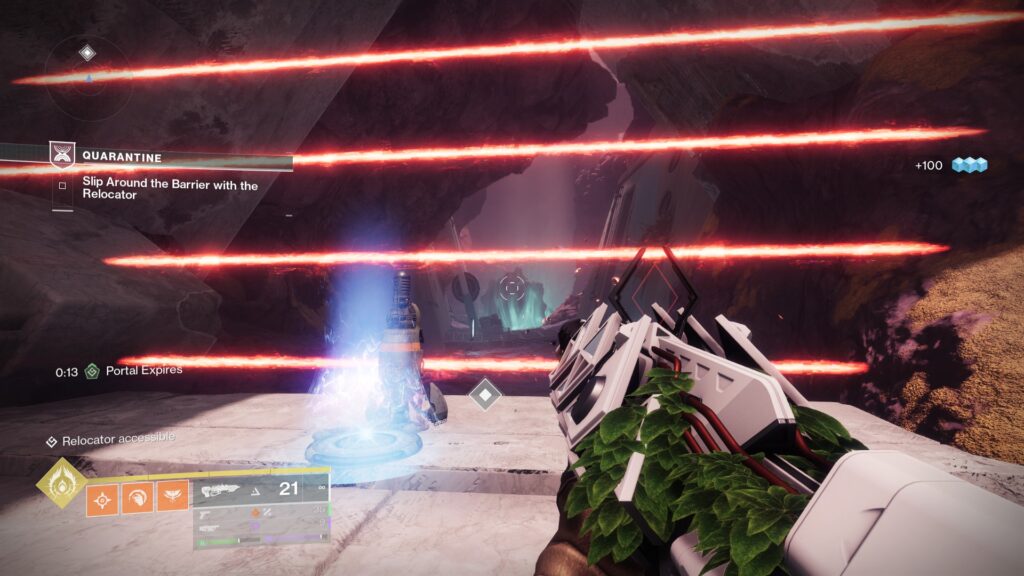
Here, you'll need to shoot a Relocator Pad located past the wall of lasers. The starting node should be where you entered the area.
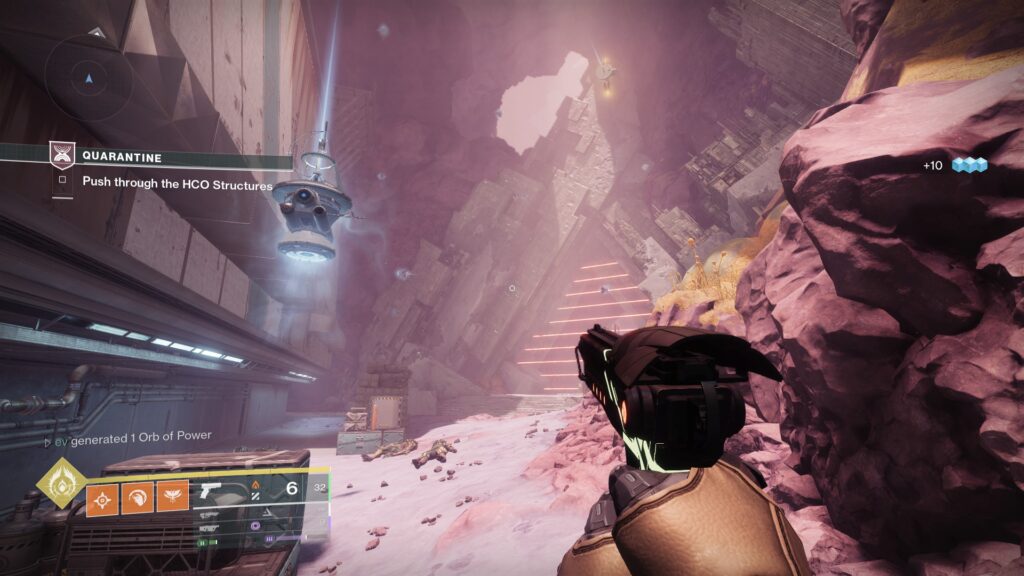
There are two satellites in the chain of nodes. If neither are shot, the Relocator bullet will continue to chain between them in a circle.
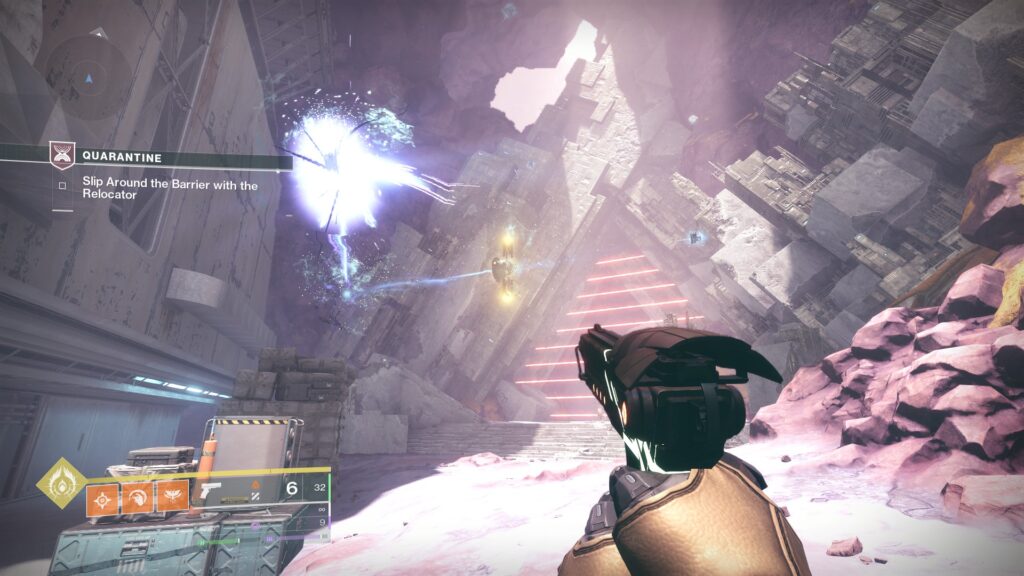
The top satellite should be facing downwards, and the second one forwards towards the laser.
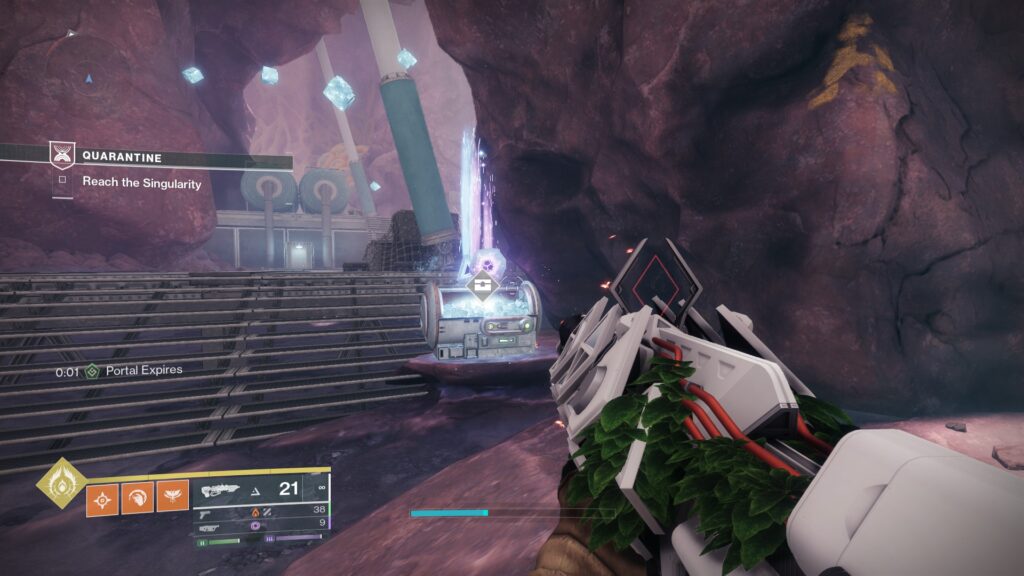
Shoot the cannon to successfully bounce the node and activate the Relocator Portal.
Step through to claim your rewards, and continue on to the next encounter.
As you go forward, you'll encounter a signal cube blocking the path forward. Eliminate the Hobgoblin and break the cube to open a Matterspark tunnel.
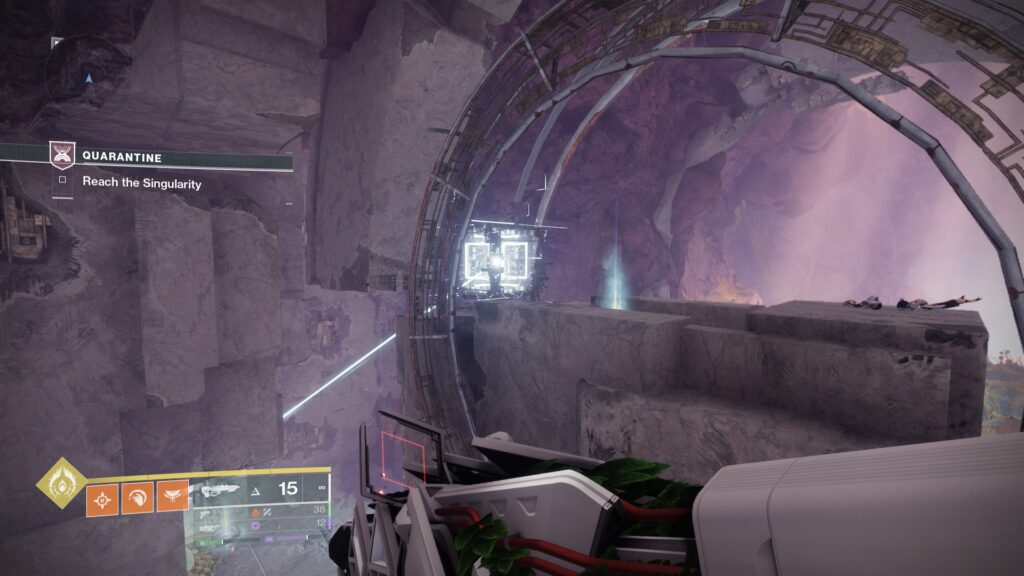
Make your way around this maze, being careful not to fall off any of the ledges. You'll eventually enter an area where you can exit Matterspark and continue forward normally.
Continue to press forward, slaying out enemies as you go.
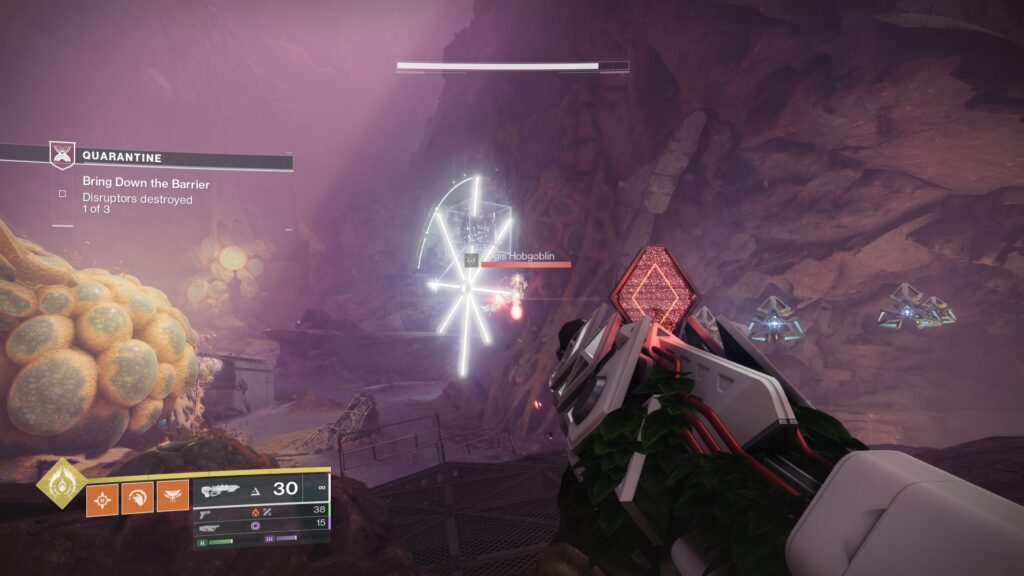
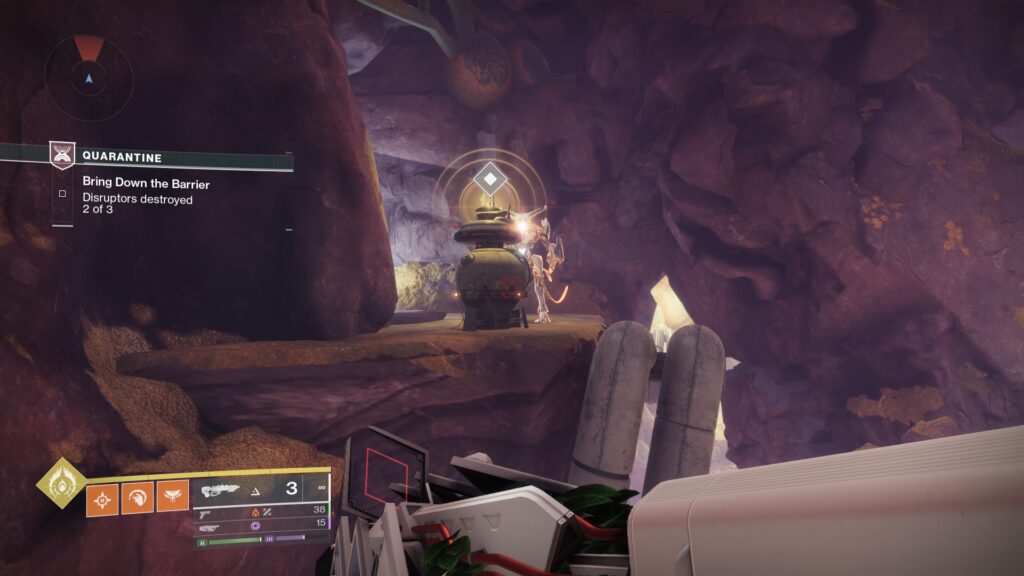
Eventually you'll come across an open room with a blocked door. To open the door, you'll have to break three Rosetta Frequencies located around the room. One should be directly to the right of the terminal.
For the other two, head to the left where you'll find Hobgoblins protecting two signal cubes. Defeat all the Hobgoblins to reveal the cubes. Break the cubes to lower the laser shields.
You'll find one Rosetta Frequency in each room; one towards the back of the room and one on a ledge at the front of the room. Break both.
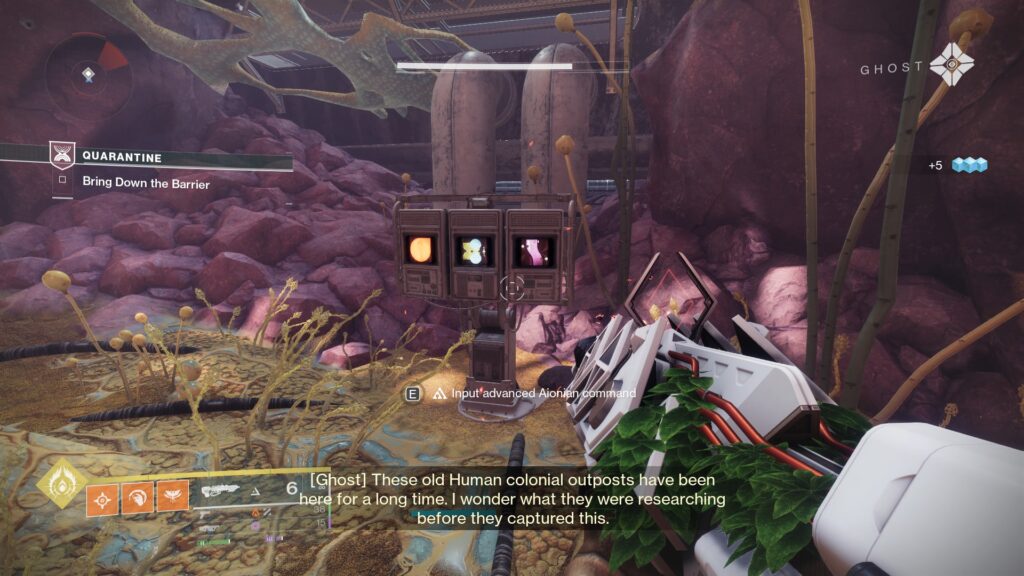
Return to the terminal and interact with it to lower the door.
As you walk through, turn right and jump up to find a Matterspark pad. Activate Matterspark, and then head over to the far left of the room and enter the tunnel.
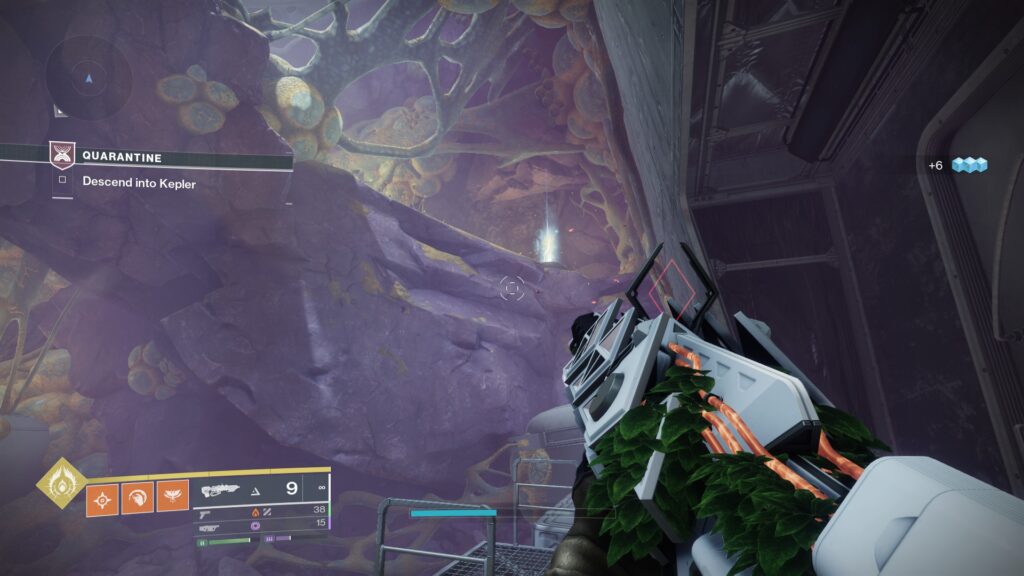
This tunnel should take you straight out next to the boss arena.
Rally to the flag and head in to begin.
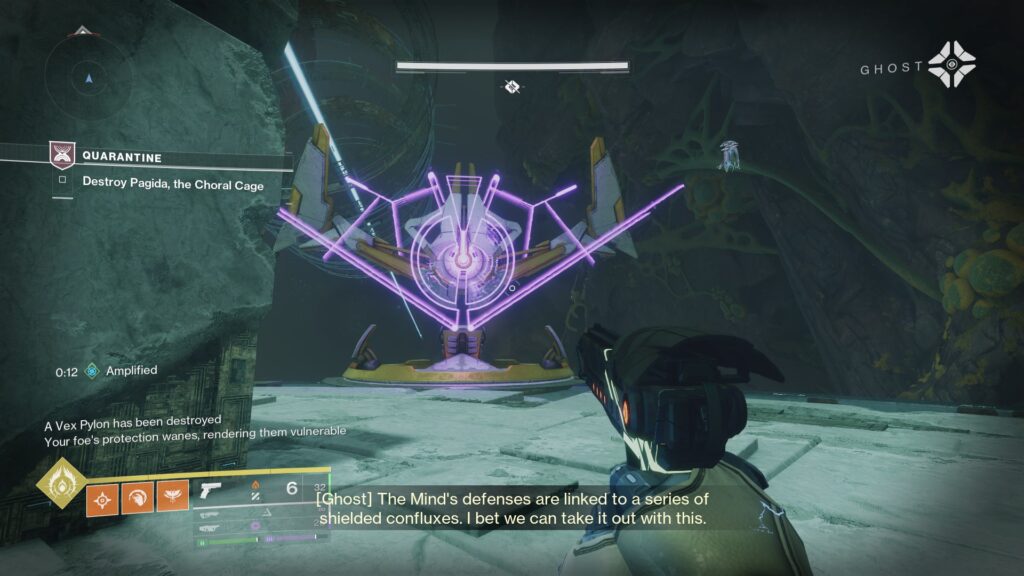
For this boss encounter, you'll be defeating a large Vex Mind, split into two large Cyclops heads. Both will be shielded, but they'll fire large Void projectiles your way as you're running around the arena, so watch out for those.
Walk forward, and you'll find a signal cube blocked by a shield. Kill both the Hobgoblins next to it to remove the shield. Break the cube to reveal a Matterspark Pad underneath.

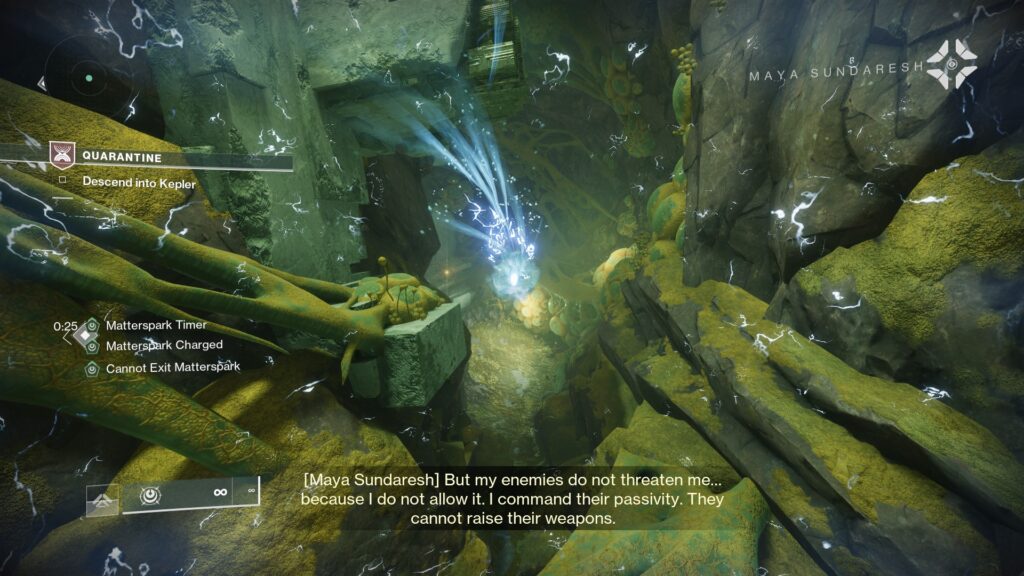
Go into Matterspark mode and follow the path forward leading into the middle, whilst picking up as many arc charges as you can.
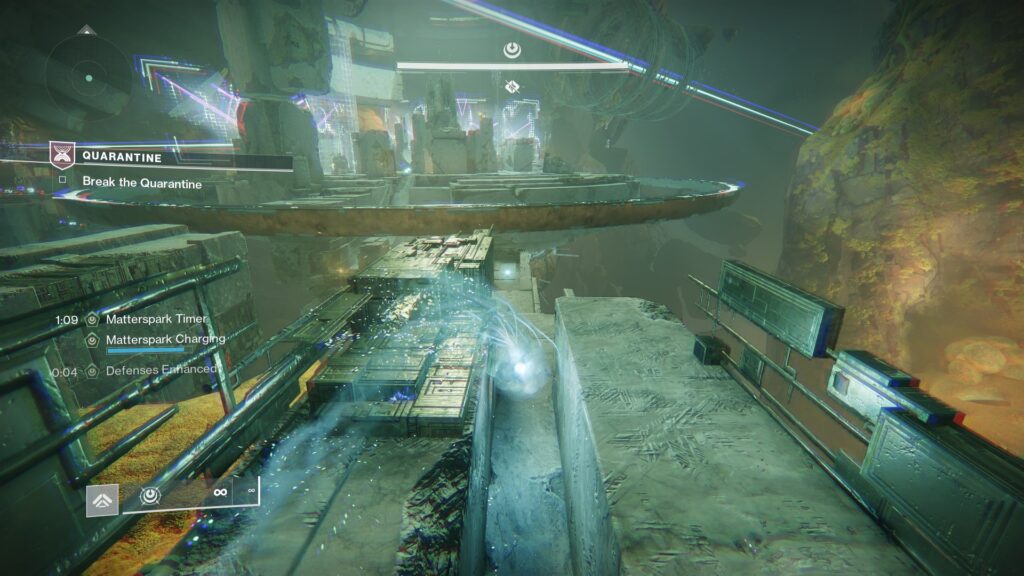
Once you're on the middle platform, head to the inner ring to find a Vex Pylon. Use your Supercharged ability to break the pylon and start damage.
One of the Cyclops bosses will have their shield removed. Eliminate the boss, watching out for ads in the middle as you damage.
Once it is down, you'll have to lower the shield of the second Cyclops. Head off the middle platform towards the opposite direction to where you came in.
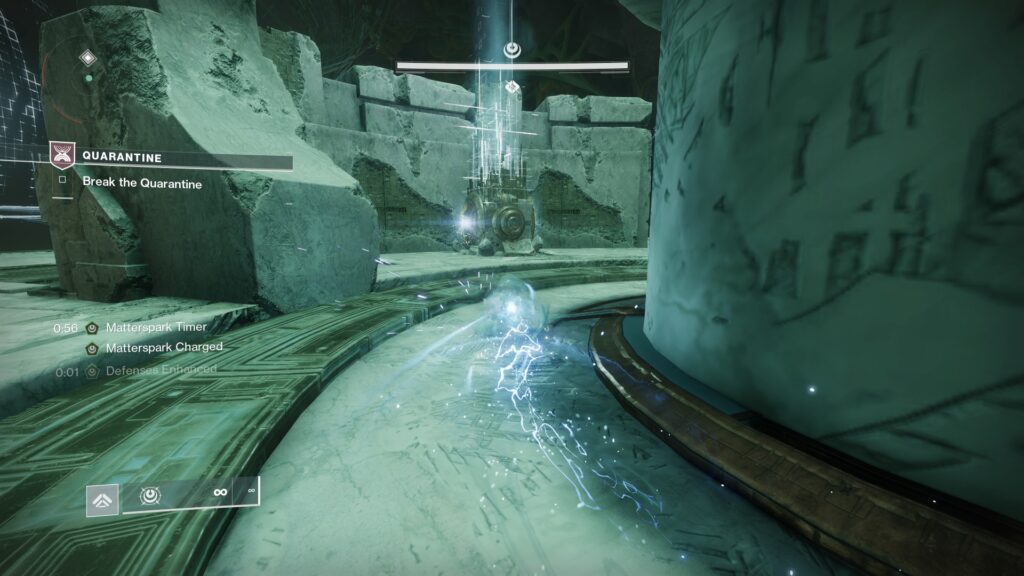
Here, you'll once again have to eliminate Hobgoblins to expose a signal cube and open a Matterspark pad.
Activate Matterspark and make your way back up to the middle arena, collecting arc energy as you do.Use your Supercharged ability on the second Vex Pylon to lower the boss's shield and resume damage.
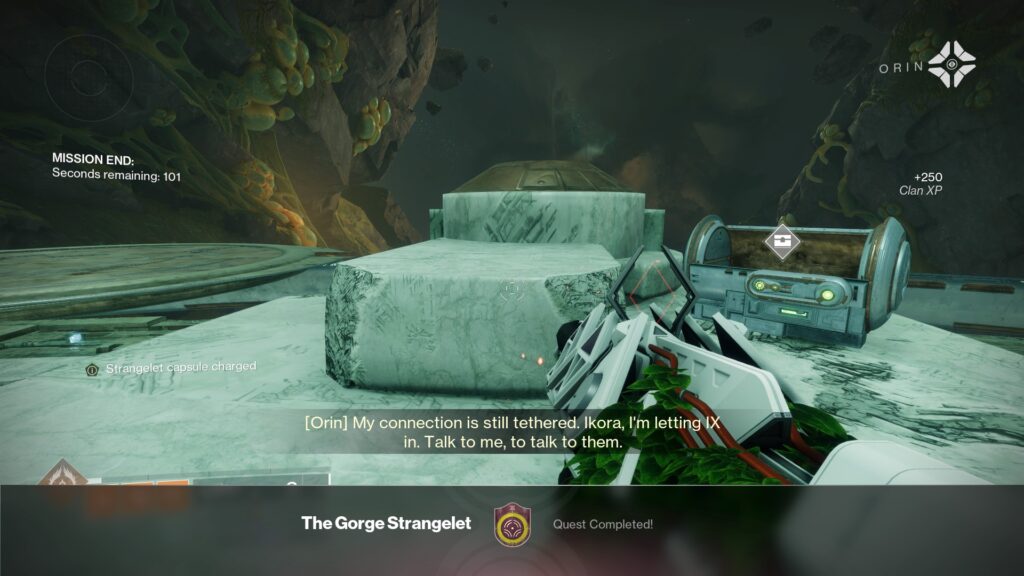
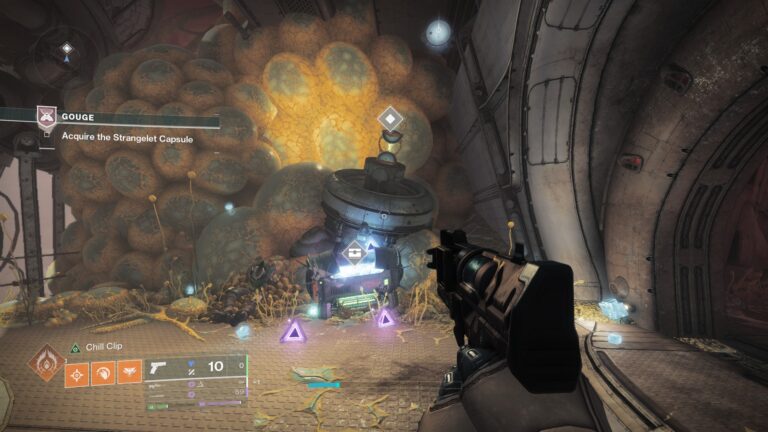
Once the boss has been defeated, your reward will be in the center, with The Gorge Strangelet ready to be acquired.
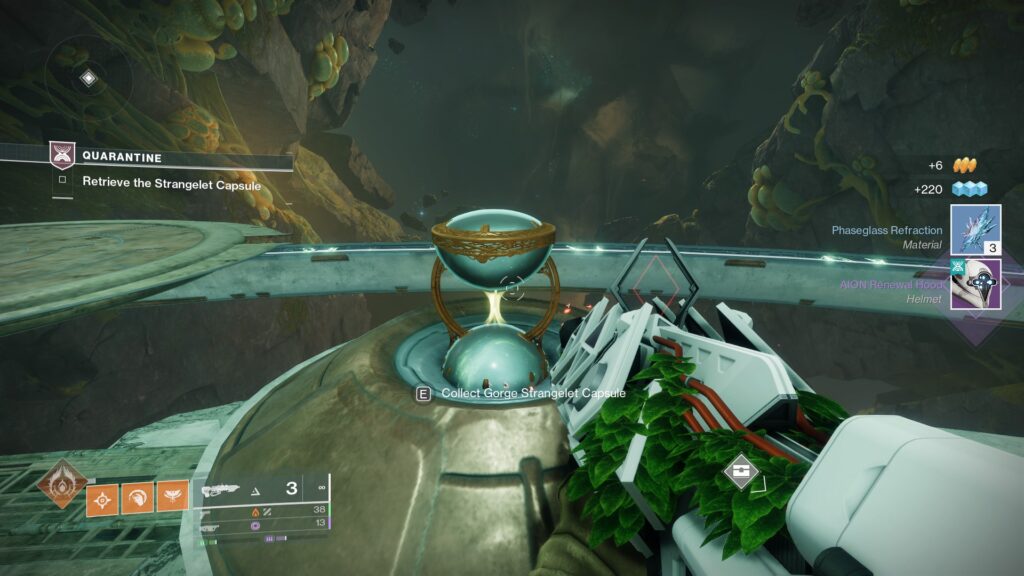
This marks the end of The Gorge Strangelet Questline.